Your account: sign-in, connected accounts, login email, and deletion
This guide covers the parts of CDRoster that are yours: how you sign in, connecting a Google or Apple account so you don’t need a password, changing the email you sign in with, and — if you ever want it — deleting your account.
Everything here is available to every member. None of it needs a coordinator.
Reading time: about five minutes.
Signing in
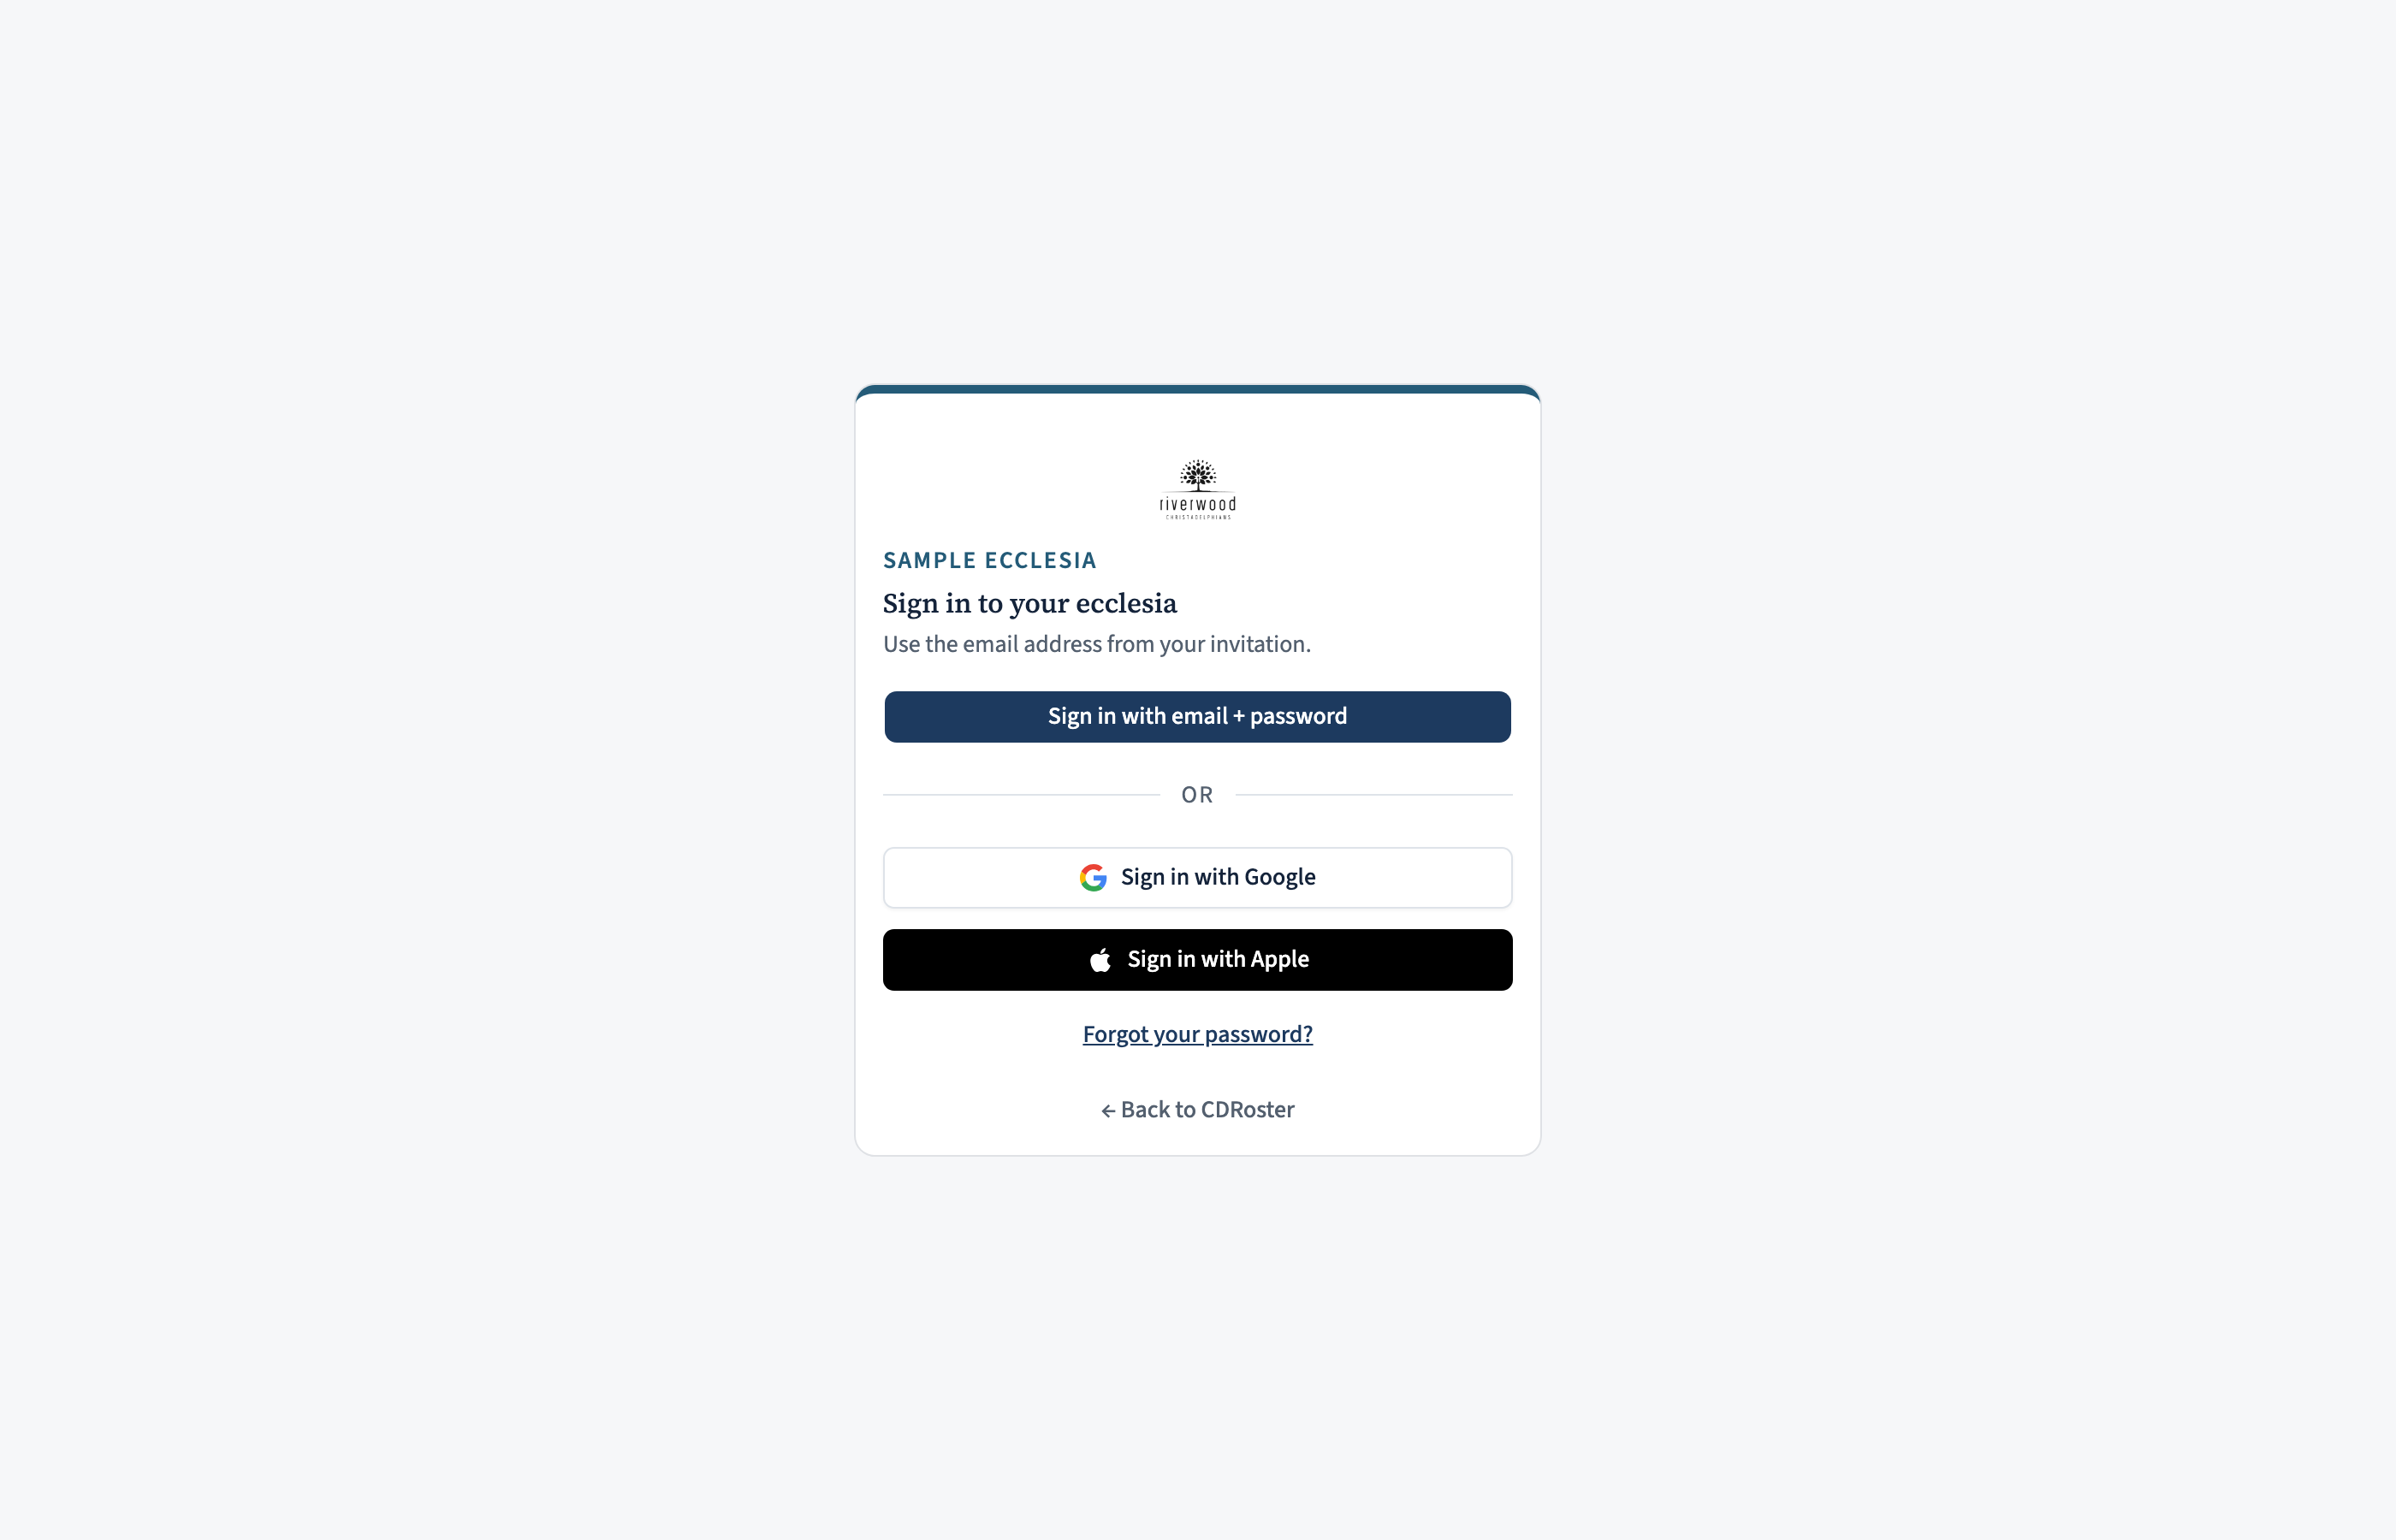
You can sign in with a password, Sign in with Google, or Sign in with Apple. They all reach the same place; Google and Apple are simply one less password to remember. If your ecclesia has set up passkeys, you can also sign in with Face ID / Touch ID.
You’ll only see the buttons that are switched on for your ecclesia. If Google or Apple is missing, that’s a setting your administrators control — not something wrong with your account.
One thing about Apple “Hide My Email”. When you first use Sign in with Apple, Apple asks whether to share your real address or hide it. If you hide it, Apple gives CDRoster a disposable relay address that doesn’t match your account — so that first sign-in can’t find you. That’s expected: sign in with your password (or Google) once, link Apple from your settings (next step), and after that Sign in with Apple works every time. If you share your address and it matches the one your ecclesia has for you, you’re straight in with nothing to set up.
Connect a Google or Apple account
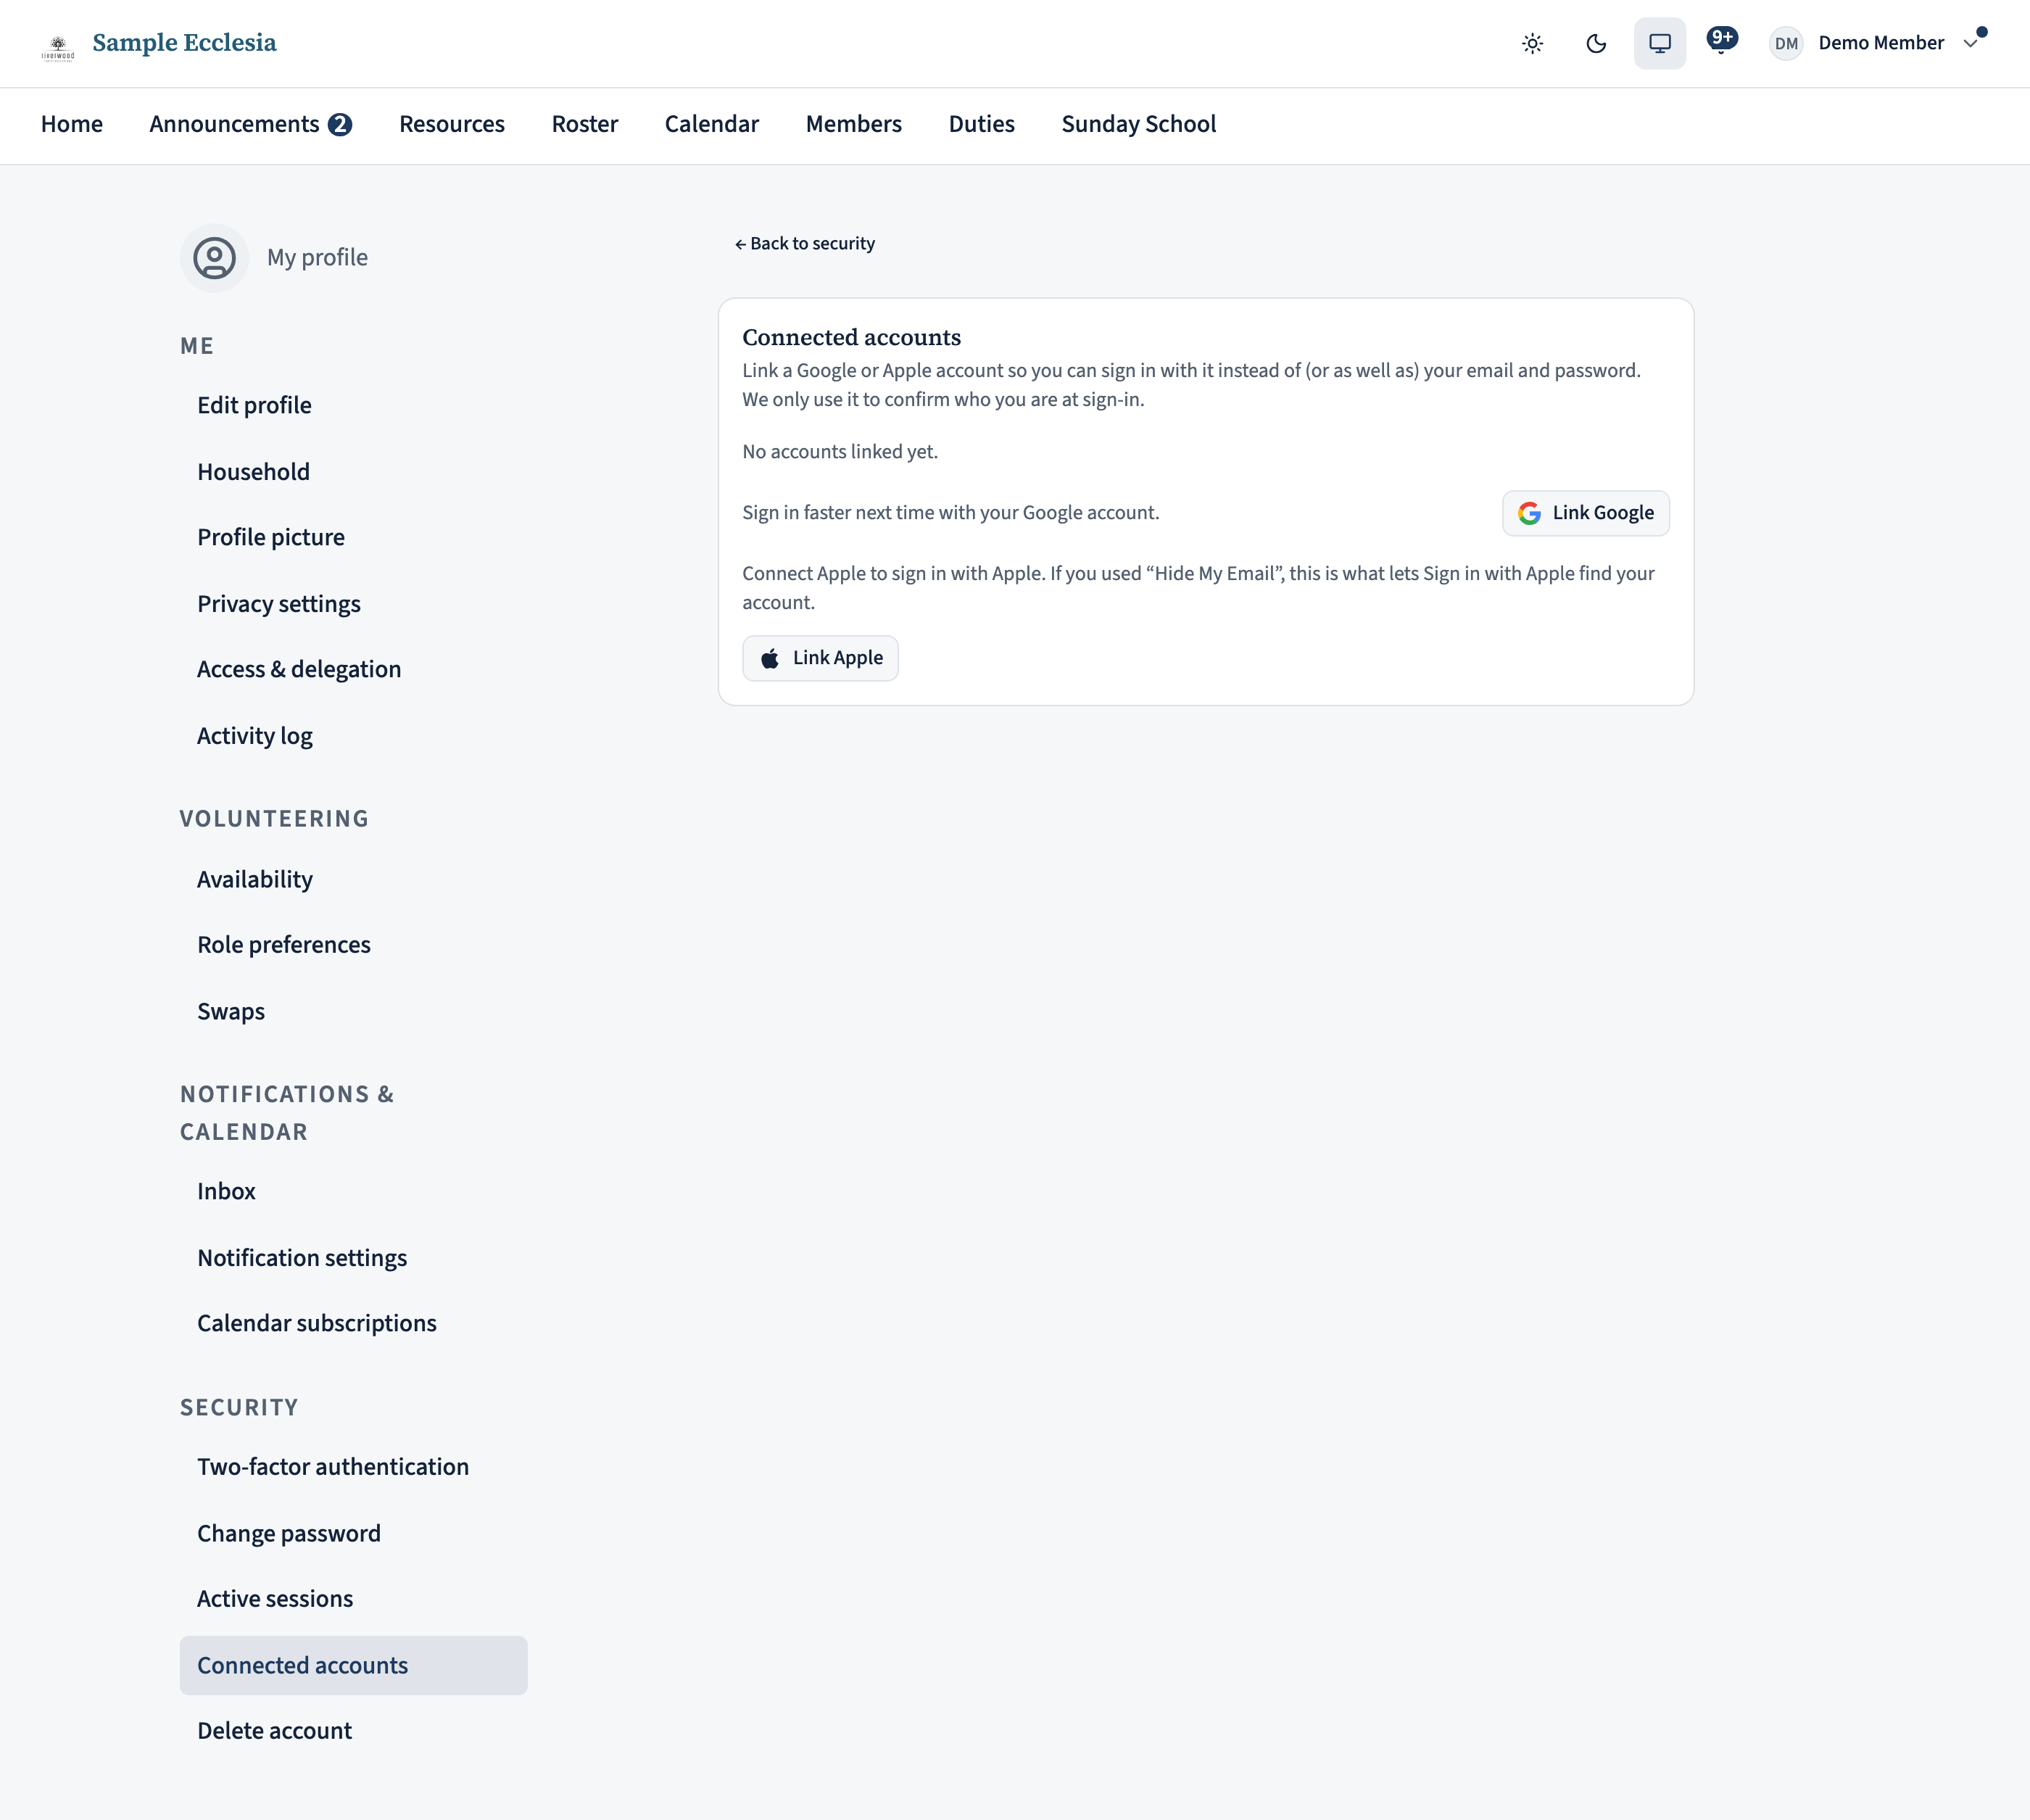
Go to My profile → Connected accounts and choose Link Google or Link Apple. You’ll be sent to Google or Apple to confirm, then straight back. You can link both if you like — they’re independent.
You may be asked to confirm your password (or code) first. That’s deliberate — adding a new way into your account is worth one extra check that it’s really you.
This page is also the fix for Apple “Hide My Email”: because the relay address never matches on its own, linking Apple here — once, from an already-signed-in session — is what lets Sign in with Apple recognise you afterwards, on the web and in the app.
Disconnect a linked account
The same page has an Unlink action beside each linked account. After unlinking, that provider’s sign-in stops working for you and you go back to your password (or another linked account).
So make sure you have another way in before you unlink. If a linked account is your only way in, set a password first — otherwise you’ll be locked out and need an administrator to send you a fresh invitation.

Change the email you sign in with
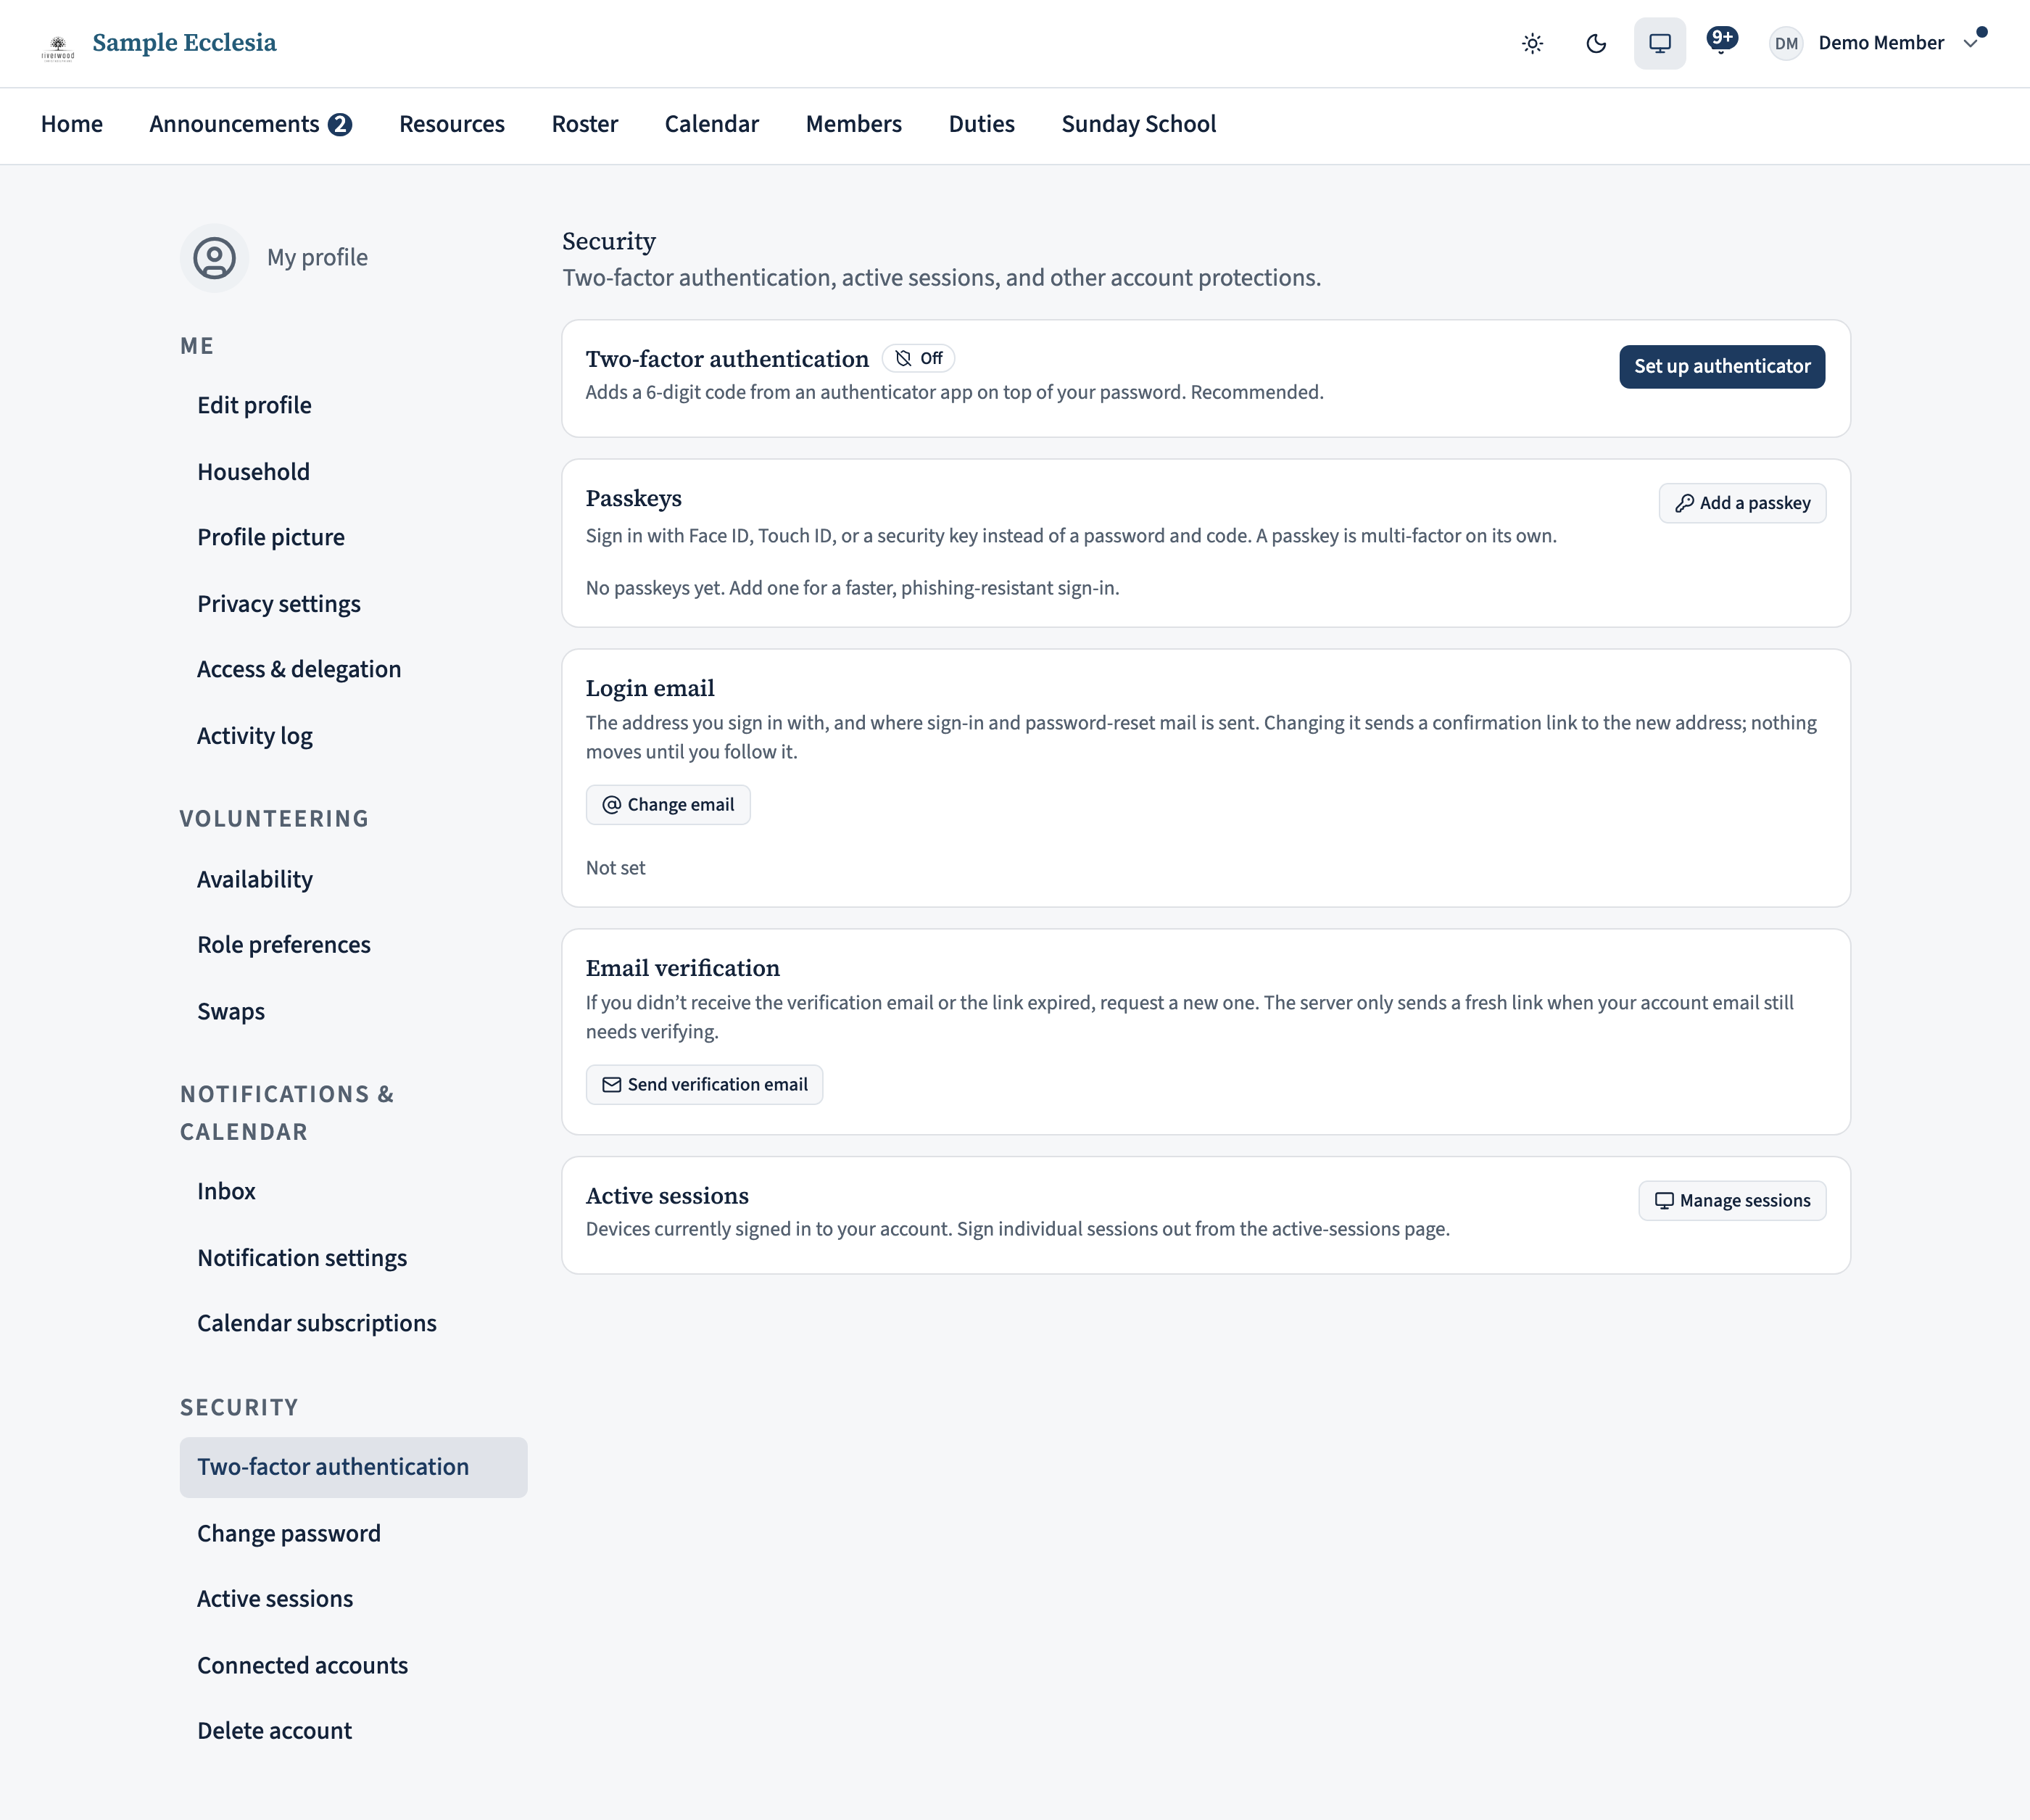
The address you sign in with — and where sign-in and password-reset mail is sent — is on My profile → Security, in the Login email card. Choose Change email and enter the new address.
We send a confirmation link to the new address, and nothing changes until you follow it — your current email keeps working the whole time, so a typo can’t lock you out. Once you click the link, that address becomes your login email. You may be asked to confirm it’s you first.
While it’s waiting, the card shows a pending note with Resend and Cancel. Cancelling doesn’t need a second check — if you spot a change you didn’t start, you can stop it straight away. Everything else stays put: your password, passkeys, and any linked Google or Apple accounts keep working; only the address moves.
Lost access to your current address entirely? An administrator can point your login email at a new one for you — same confirmation-to-the-new-address step.
Deleting your account
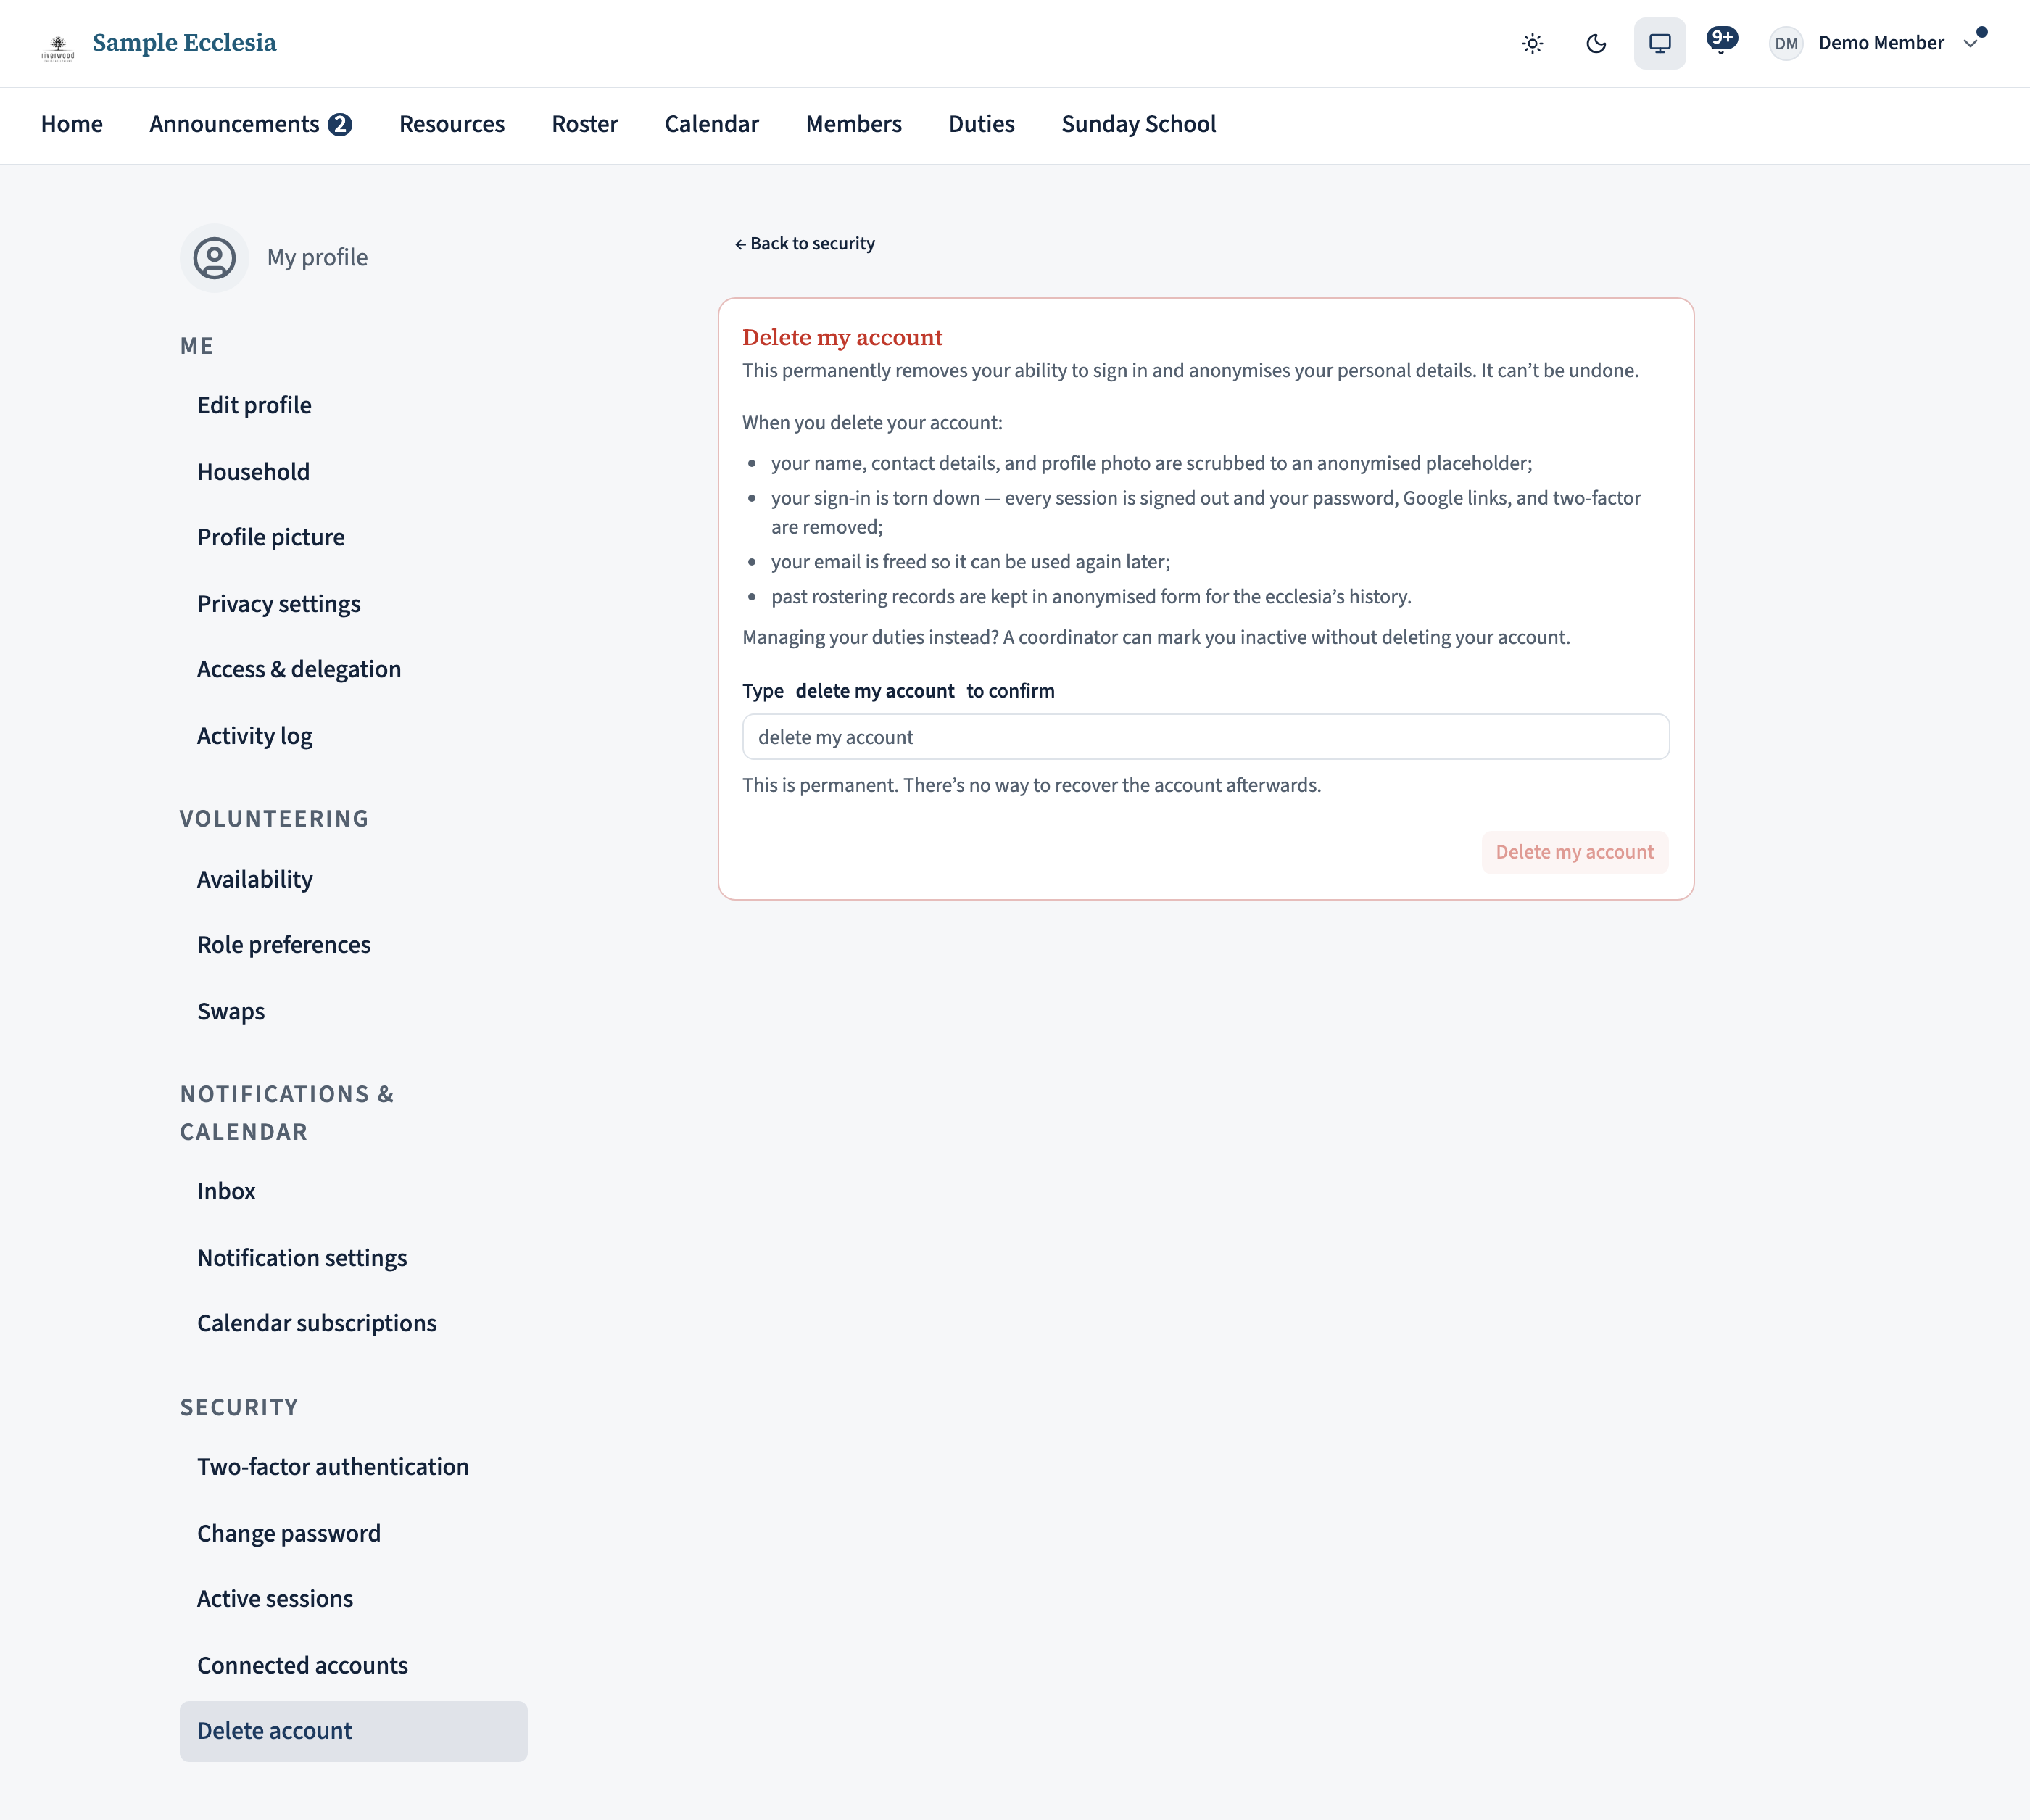
My profile → Delete account removes your access permanently. You’ll be asked to type a confirmation phrase, because this cannot be undone from inside the app.
What happens: your sign-in is torn down entirely — password, any linked Google or Apple account, and any second factor — every session is signed out, and your personal details are stripped from your member record. Your rostering history stays, but anonymised, so past rosters don’t develop holes where you used to be.
If you are the only administrator left, deletion is refused — the ecclesia would be left with nobody able to administer it. Make someone else an administrator first.
Deleting is not how you leave an ecclesia
This is the point most worth getting right. If you have moved to another ecclesia, or you simply want to stop being rostered, do not delete your account — speak to a coordinator. They can mark you inactive, which takes you out of the rosters while keeping your record intact, so nothing is lost if you come back.
Deleting is for when you want your personal details gone. It is irreversible, and rejoining later means starting from a fresh invitation with none of your history attached to you.
On the iPhone app
Everything on this page is in the app too.
Tap the person icon (top-right) to open your profile menu.
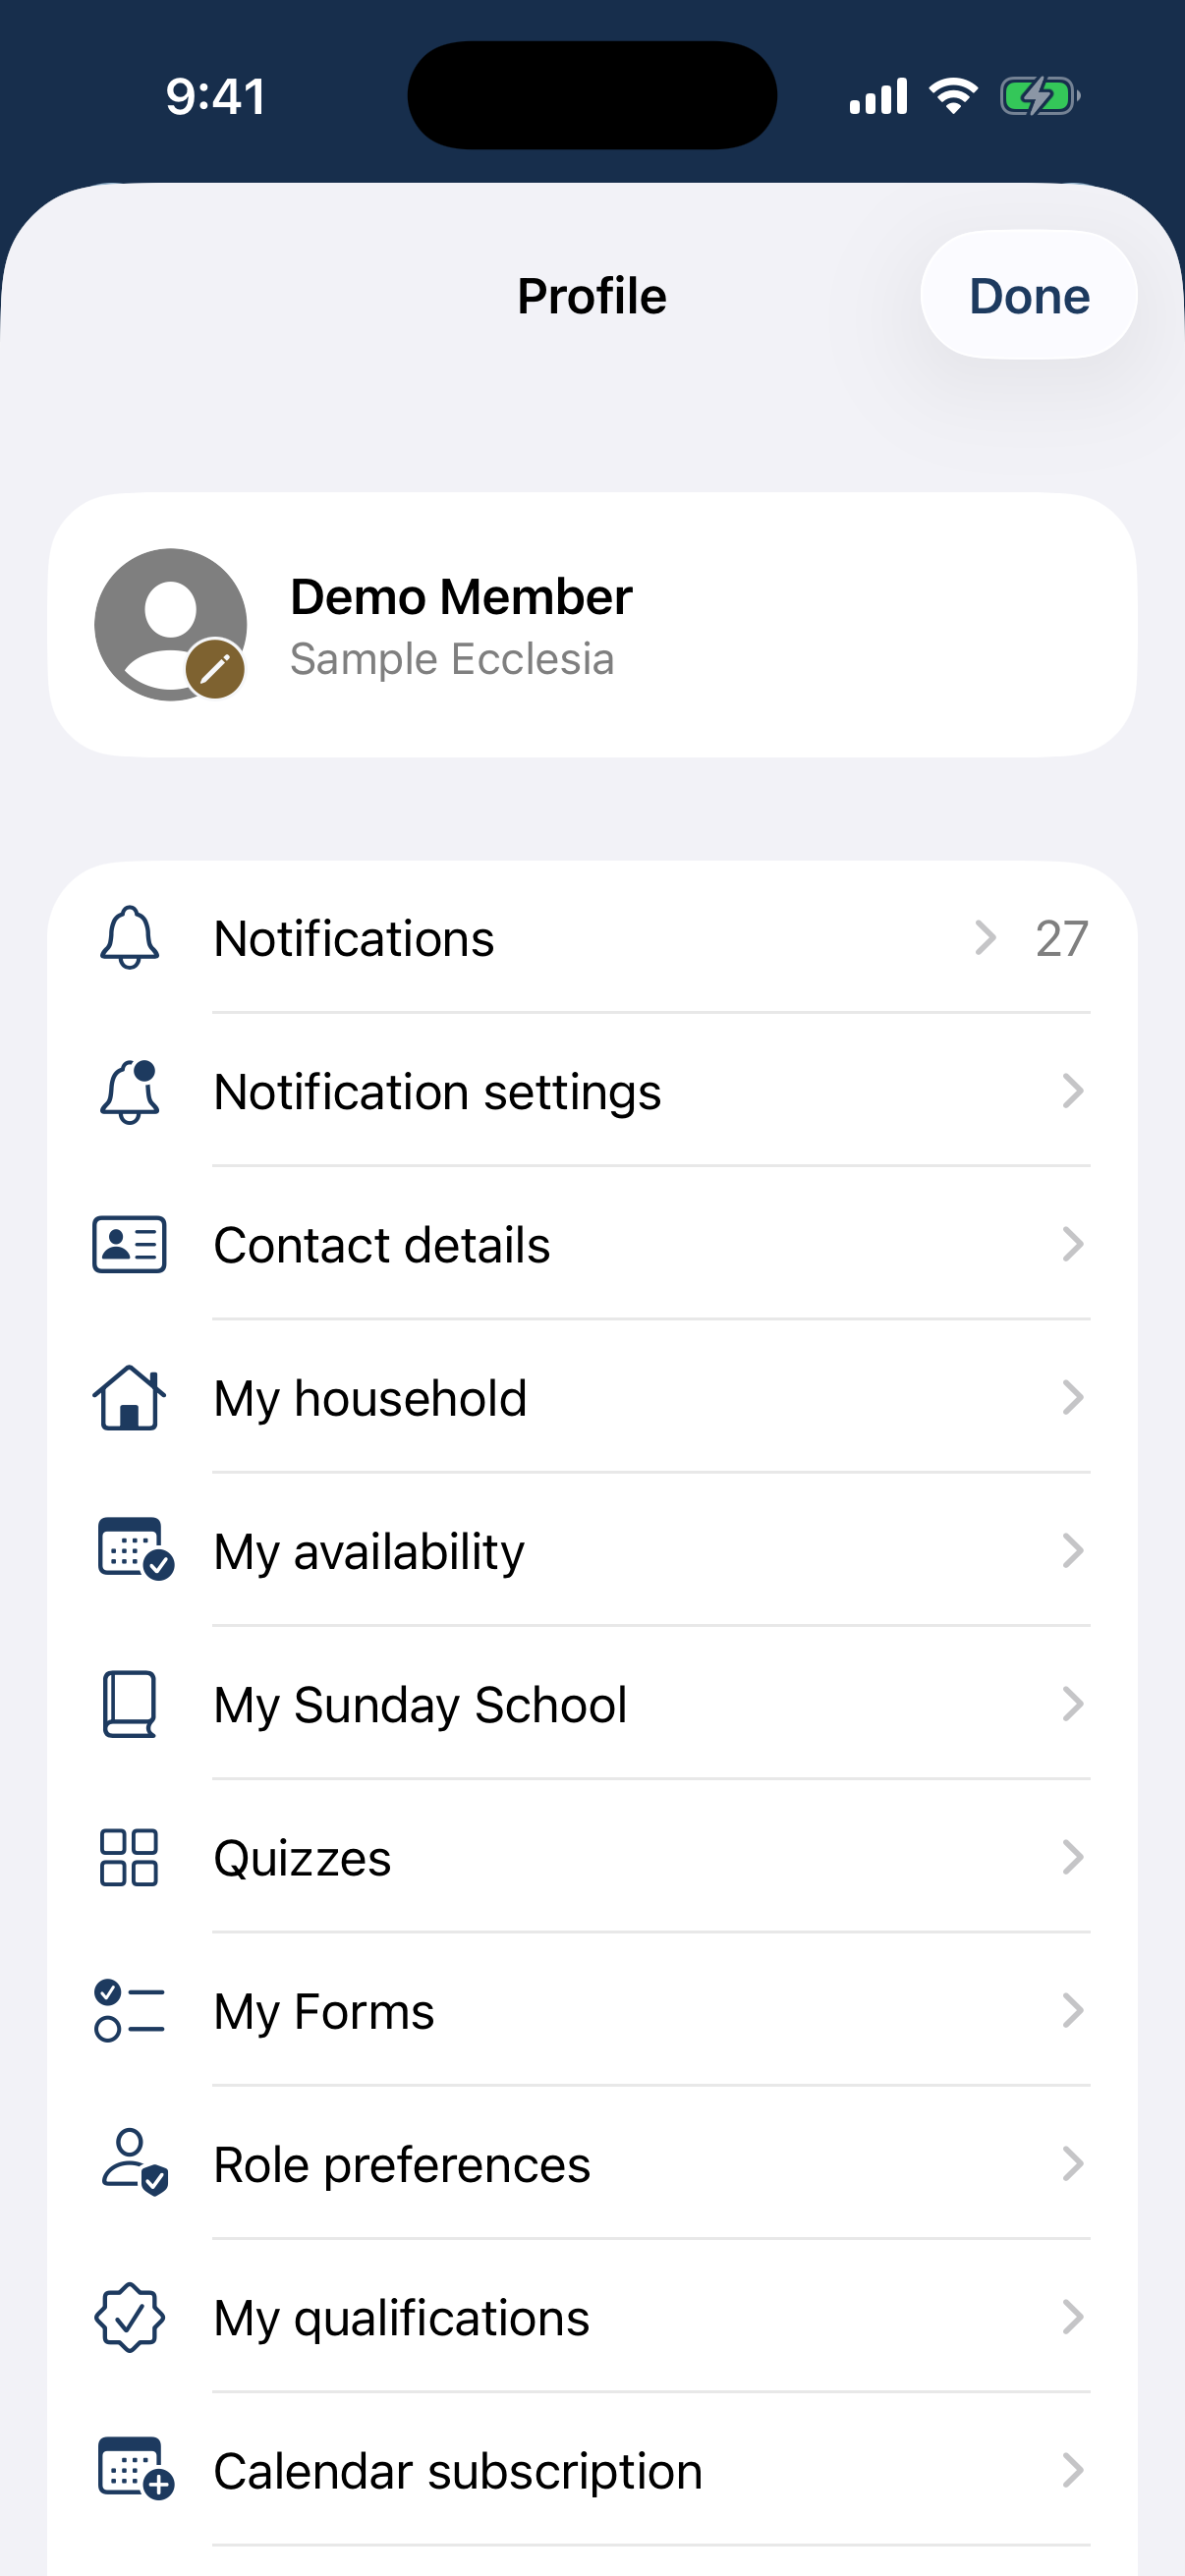
The profile menu opened from the person icon. Scroll to the account rows: Login email, Password, Connections (link/unlink Apple & Google), Passkeys, Signed-in devices, Security, and Delete account at the bottom.
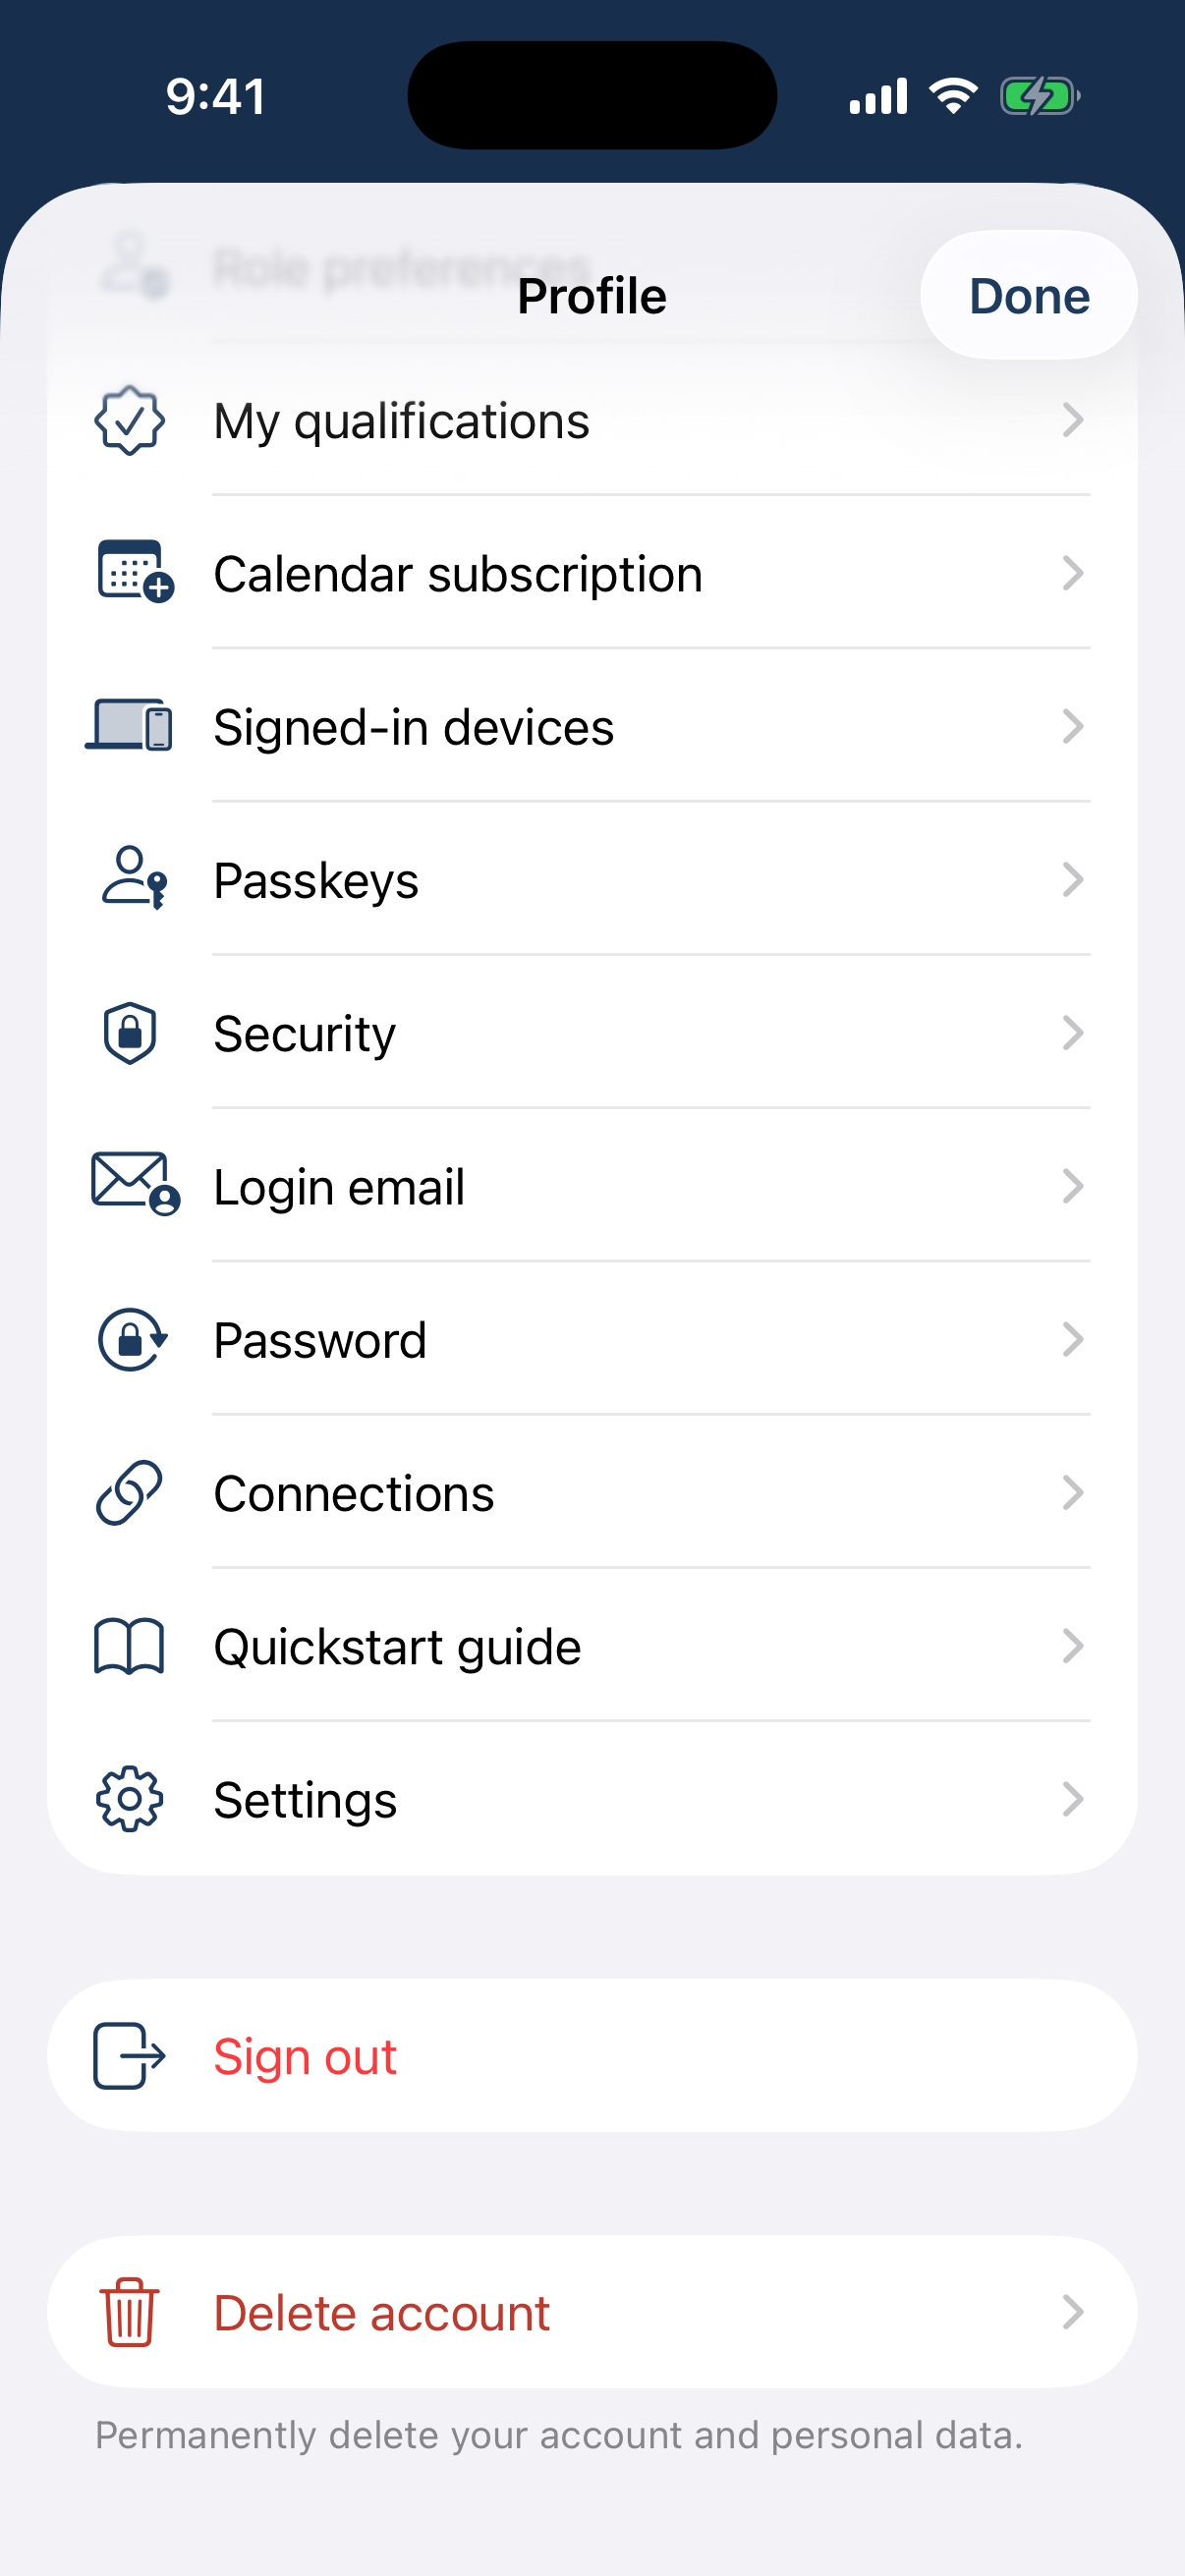
The account rows: Login email, Password, Connections, Passkeys, Signed-in devices, Security, and Delete account.
Different on the app: Sign-in and account connections use Face ID, Apple, or Google natively.