Sunday School student registration: an online enrolment form
A student registration form lets parents enrol their children for the new Sunday School year — student details, parent and guardian contacts, and the consents you need — all online. There are two ways to reach parents, and you can use both:
- Send it to the Sunday School parents audience, so every parent who’s a member finds it in My forms and gets a notification — with one shared copy per household so a family enrols once.
- Share a public link that anyone — including parents who aren’t members — can open and fill in once, without signing in.
This guide builds the form once and shows both ways to collect it. You need coordinator or administrator access, and Duty forms must be switched on for your ecclesia. Reading time: about six minutes.
Create the form
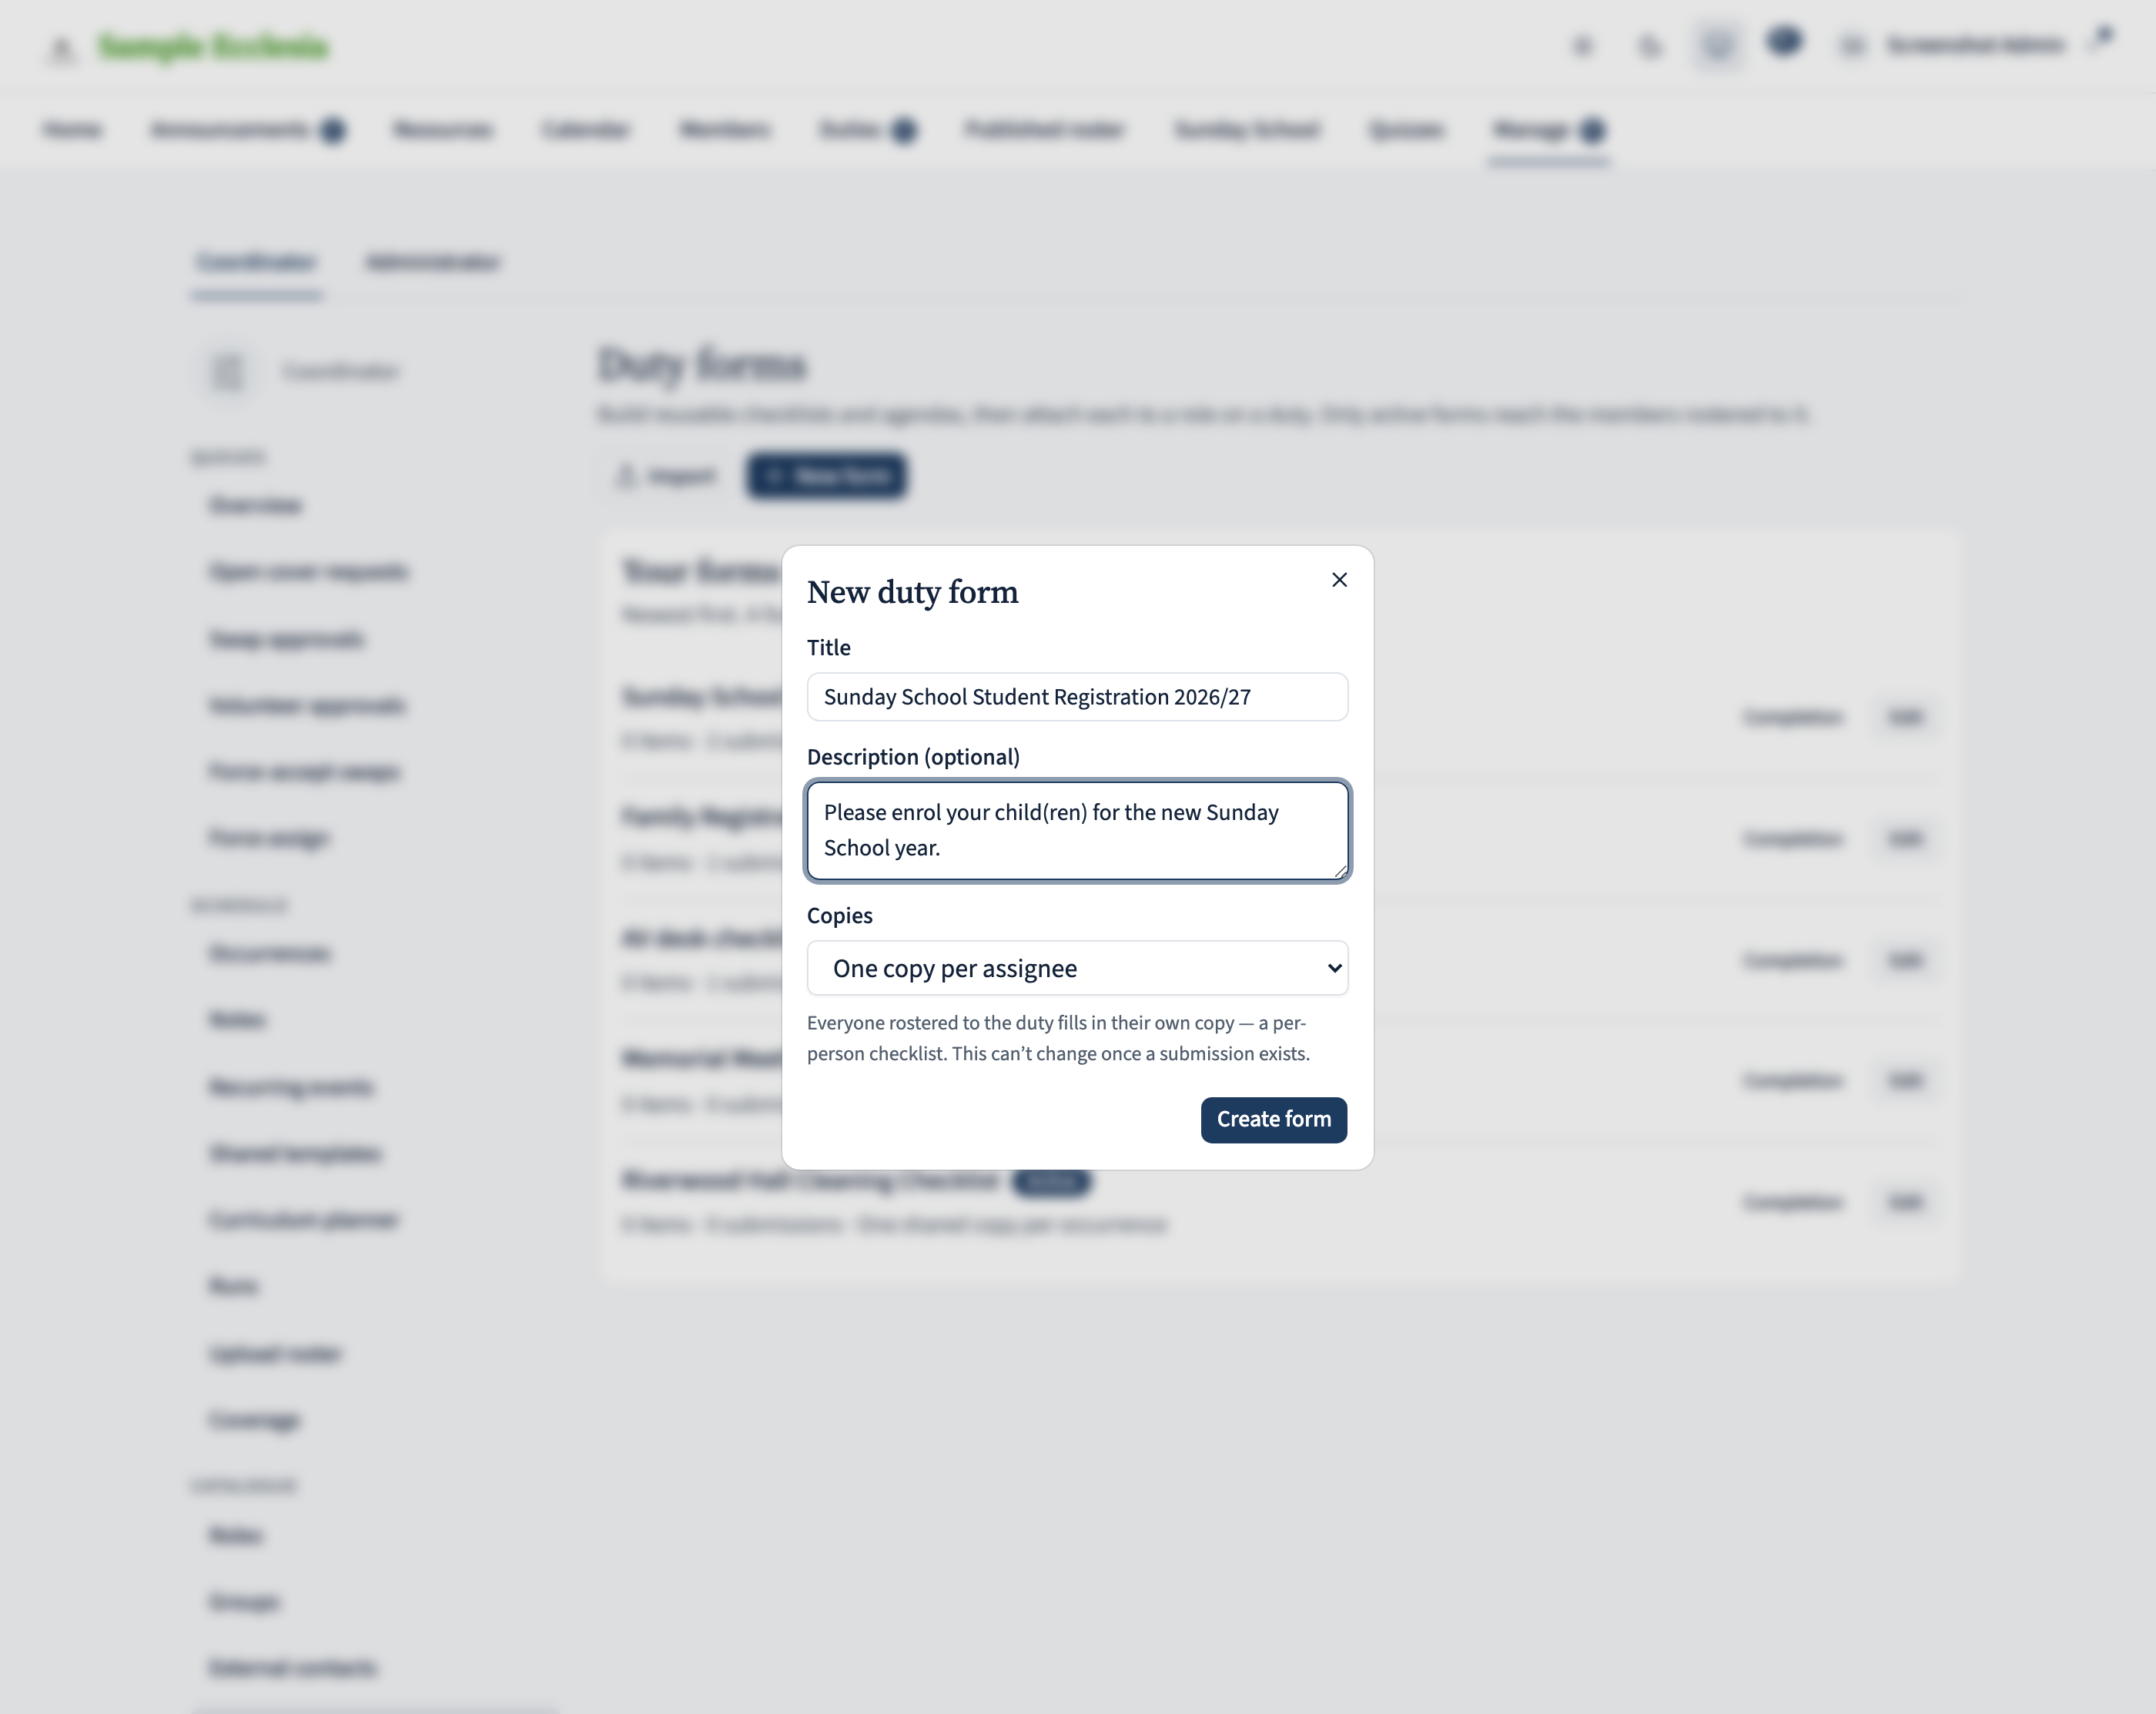
From Manage → Duty forms, click New form. Give it a clear title such as “Sunday School Student Registration” and a one-line description like “Please enrol your child(ren) for the new year.” For copies, choose one shared copy per household if you’ll send it to the Sunday School parents audience — a family enrols once, and either parent can edit it. (If you’ll only share a public link, leave it as one per assignee, which for a public form just means one submission per person who opens the link.) The form starts as a draft, invisible to anyone until you activate it.
Prefer not to build it by hand? Import a ready-made definition file from the forms list, then jump to step 4.
Add the student details as a repeatable group
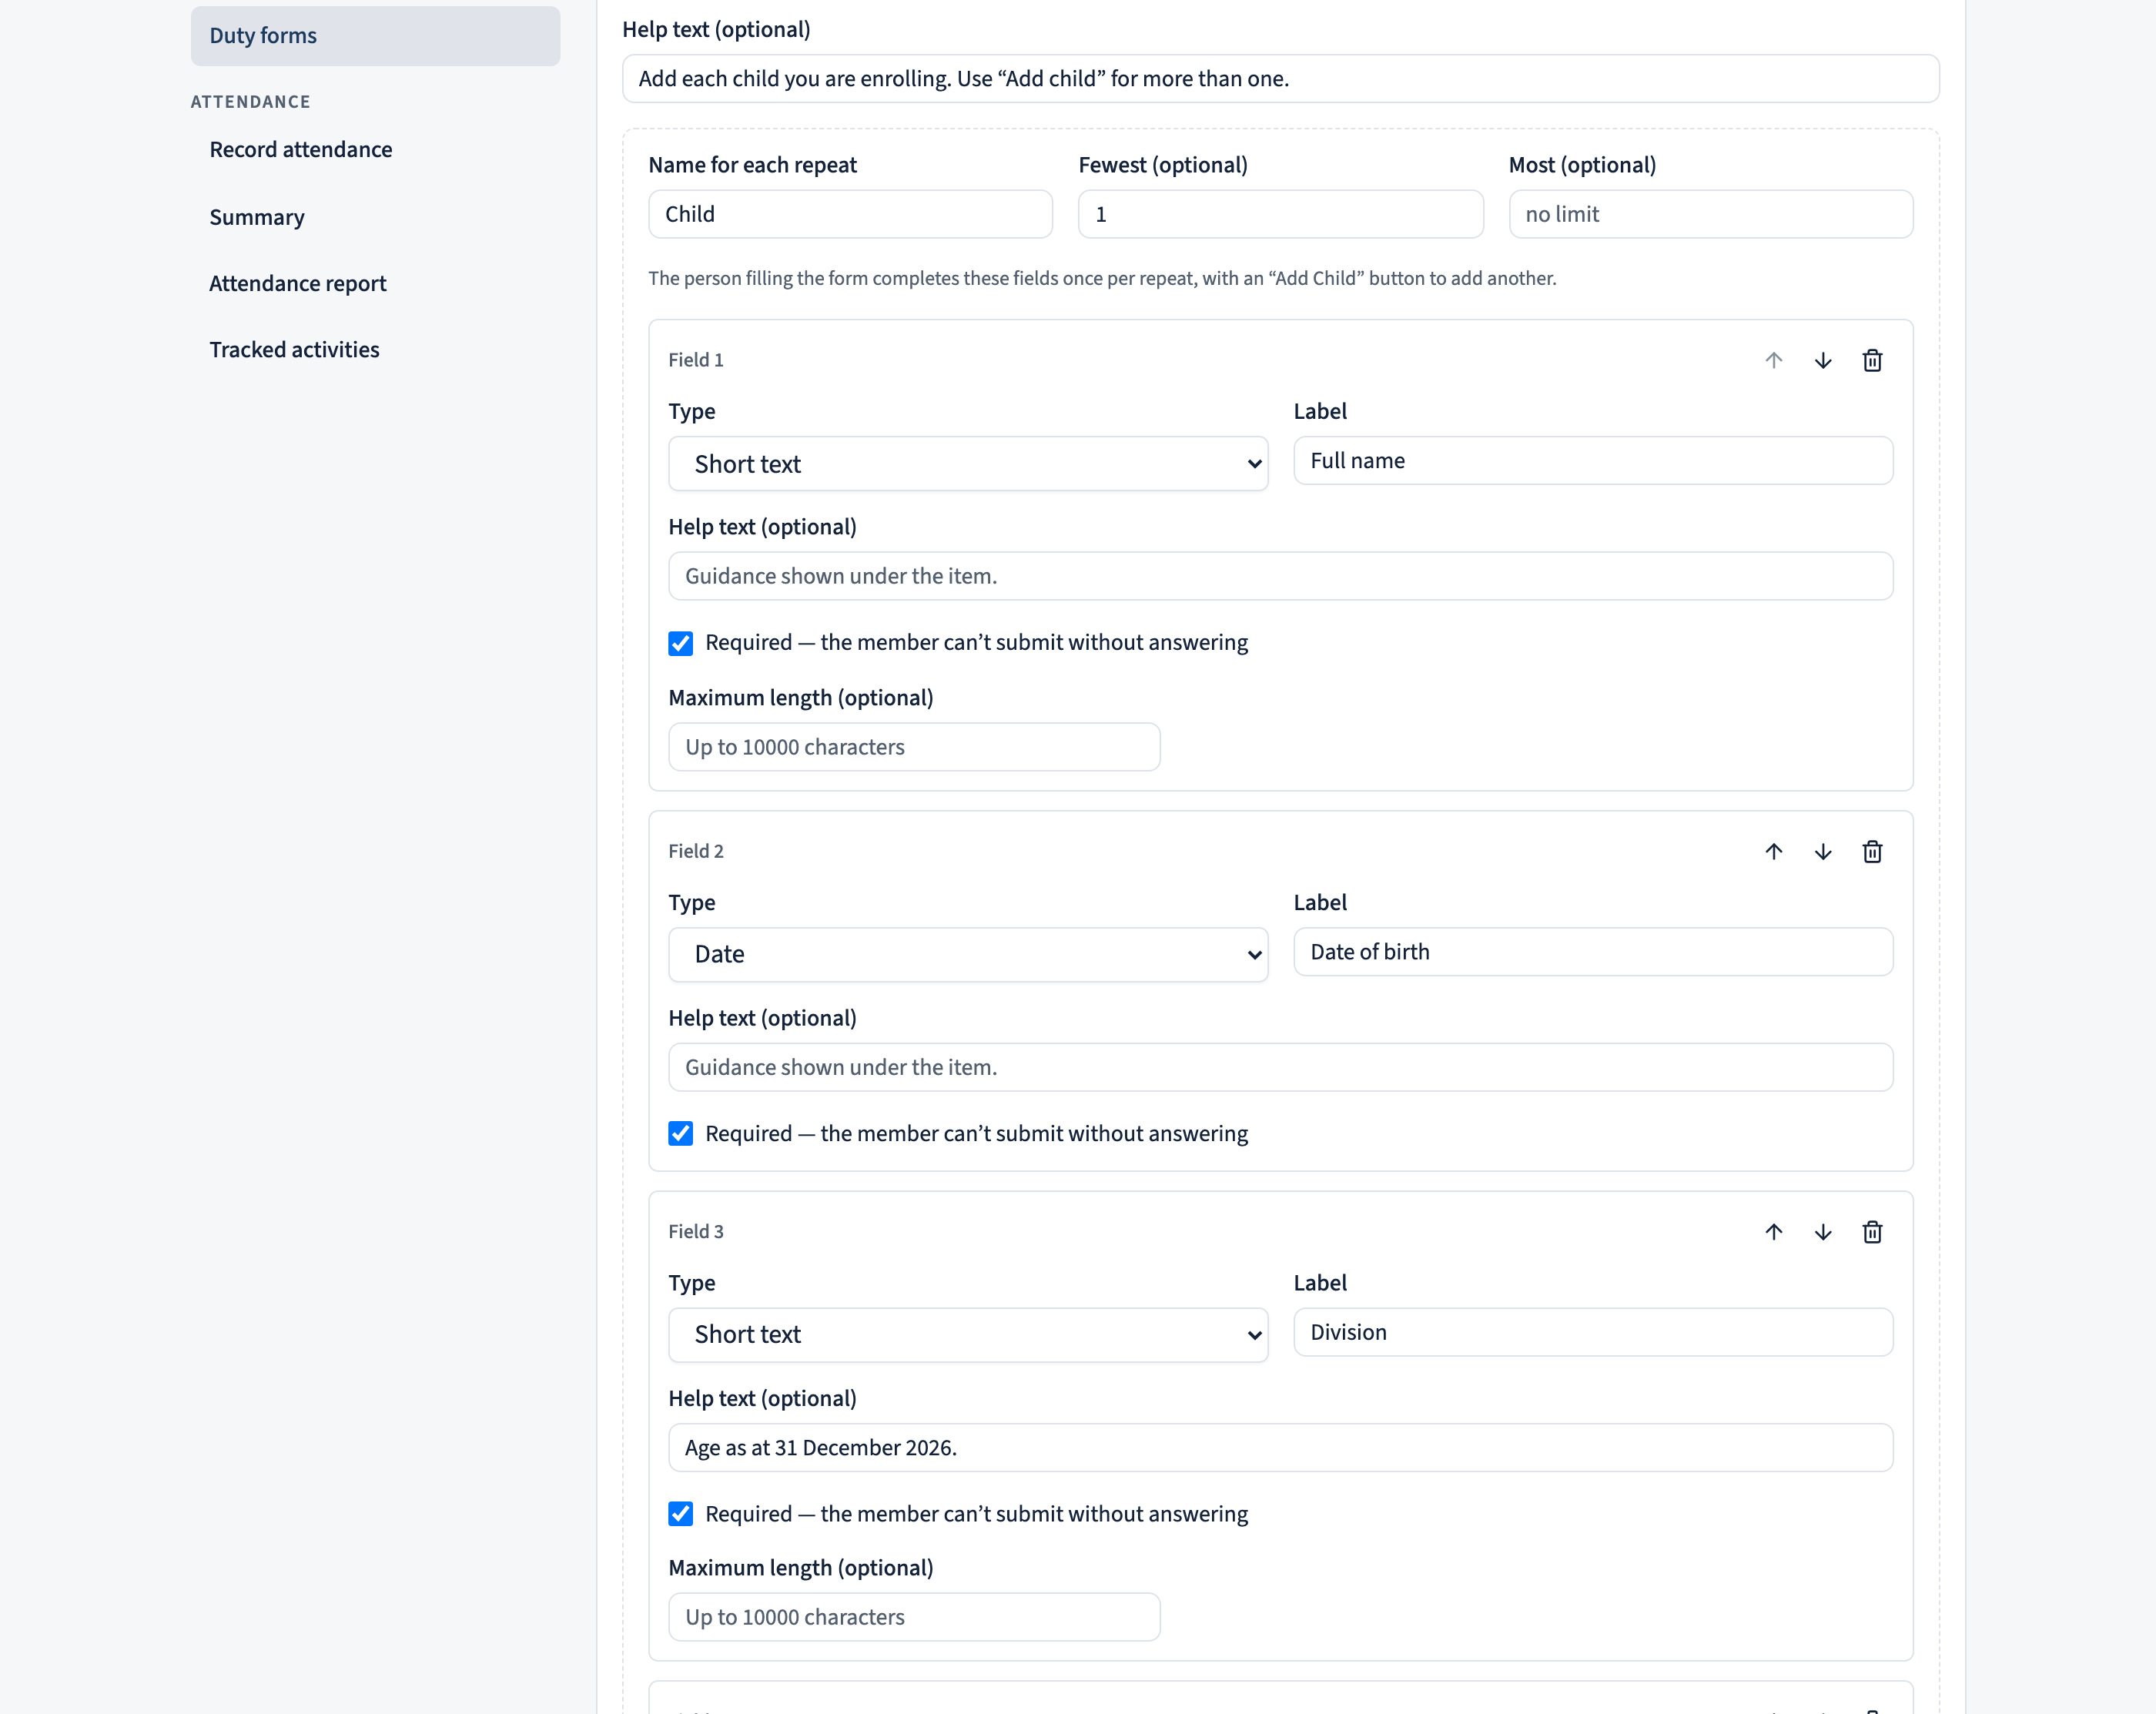
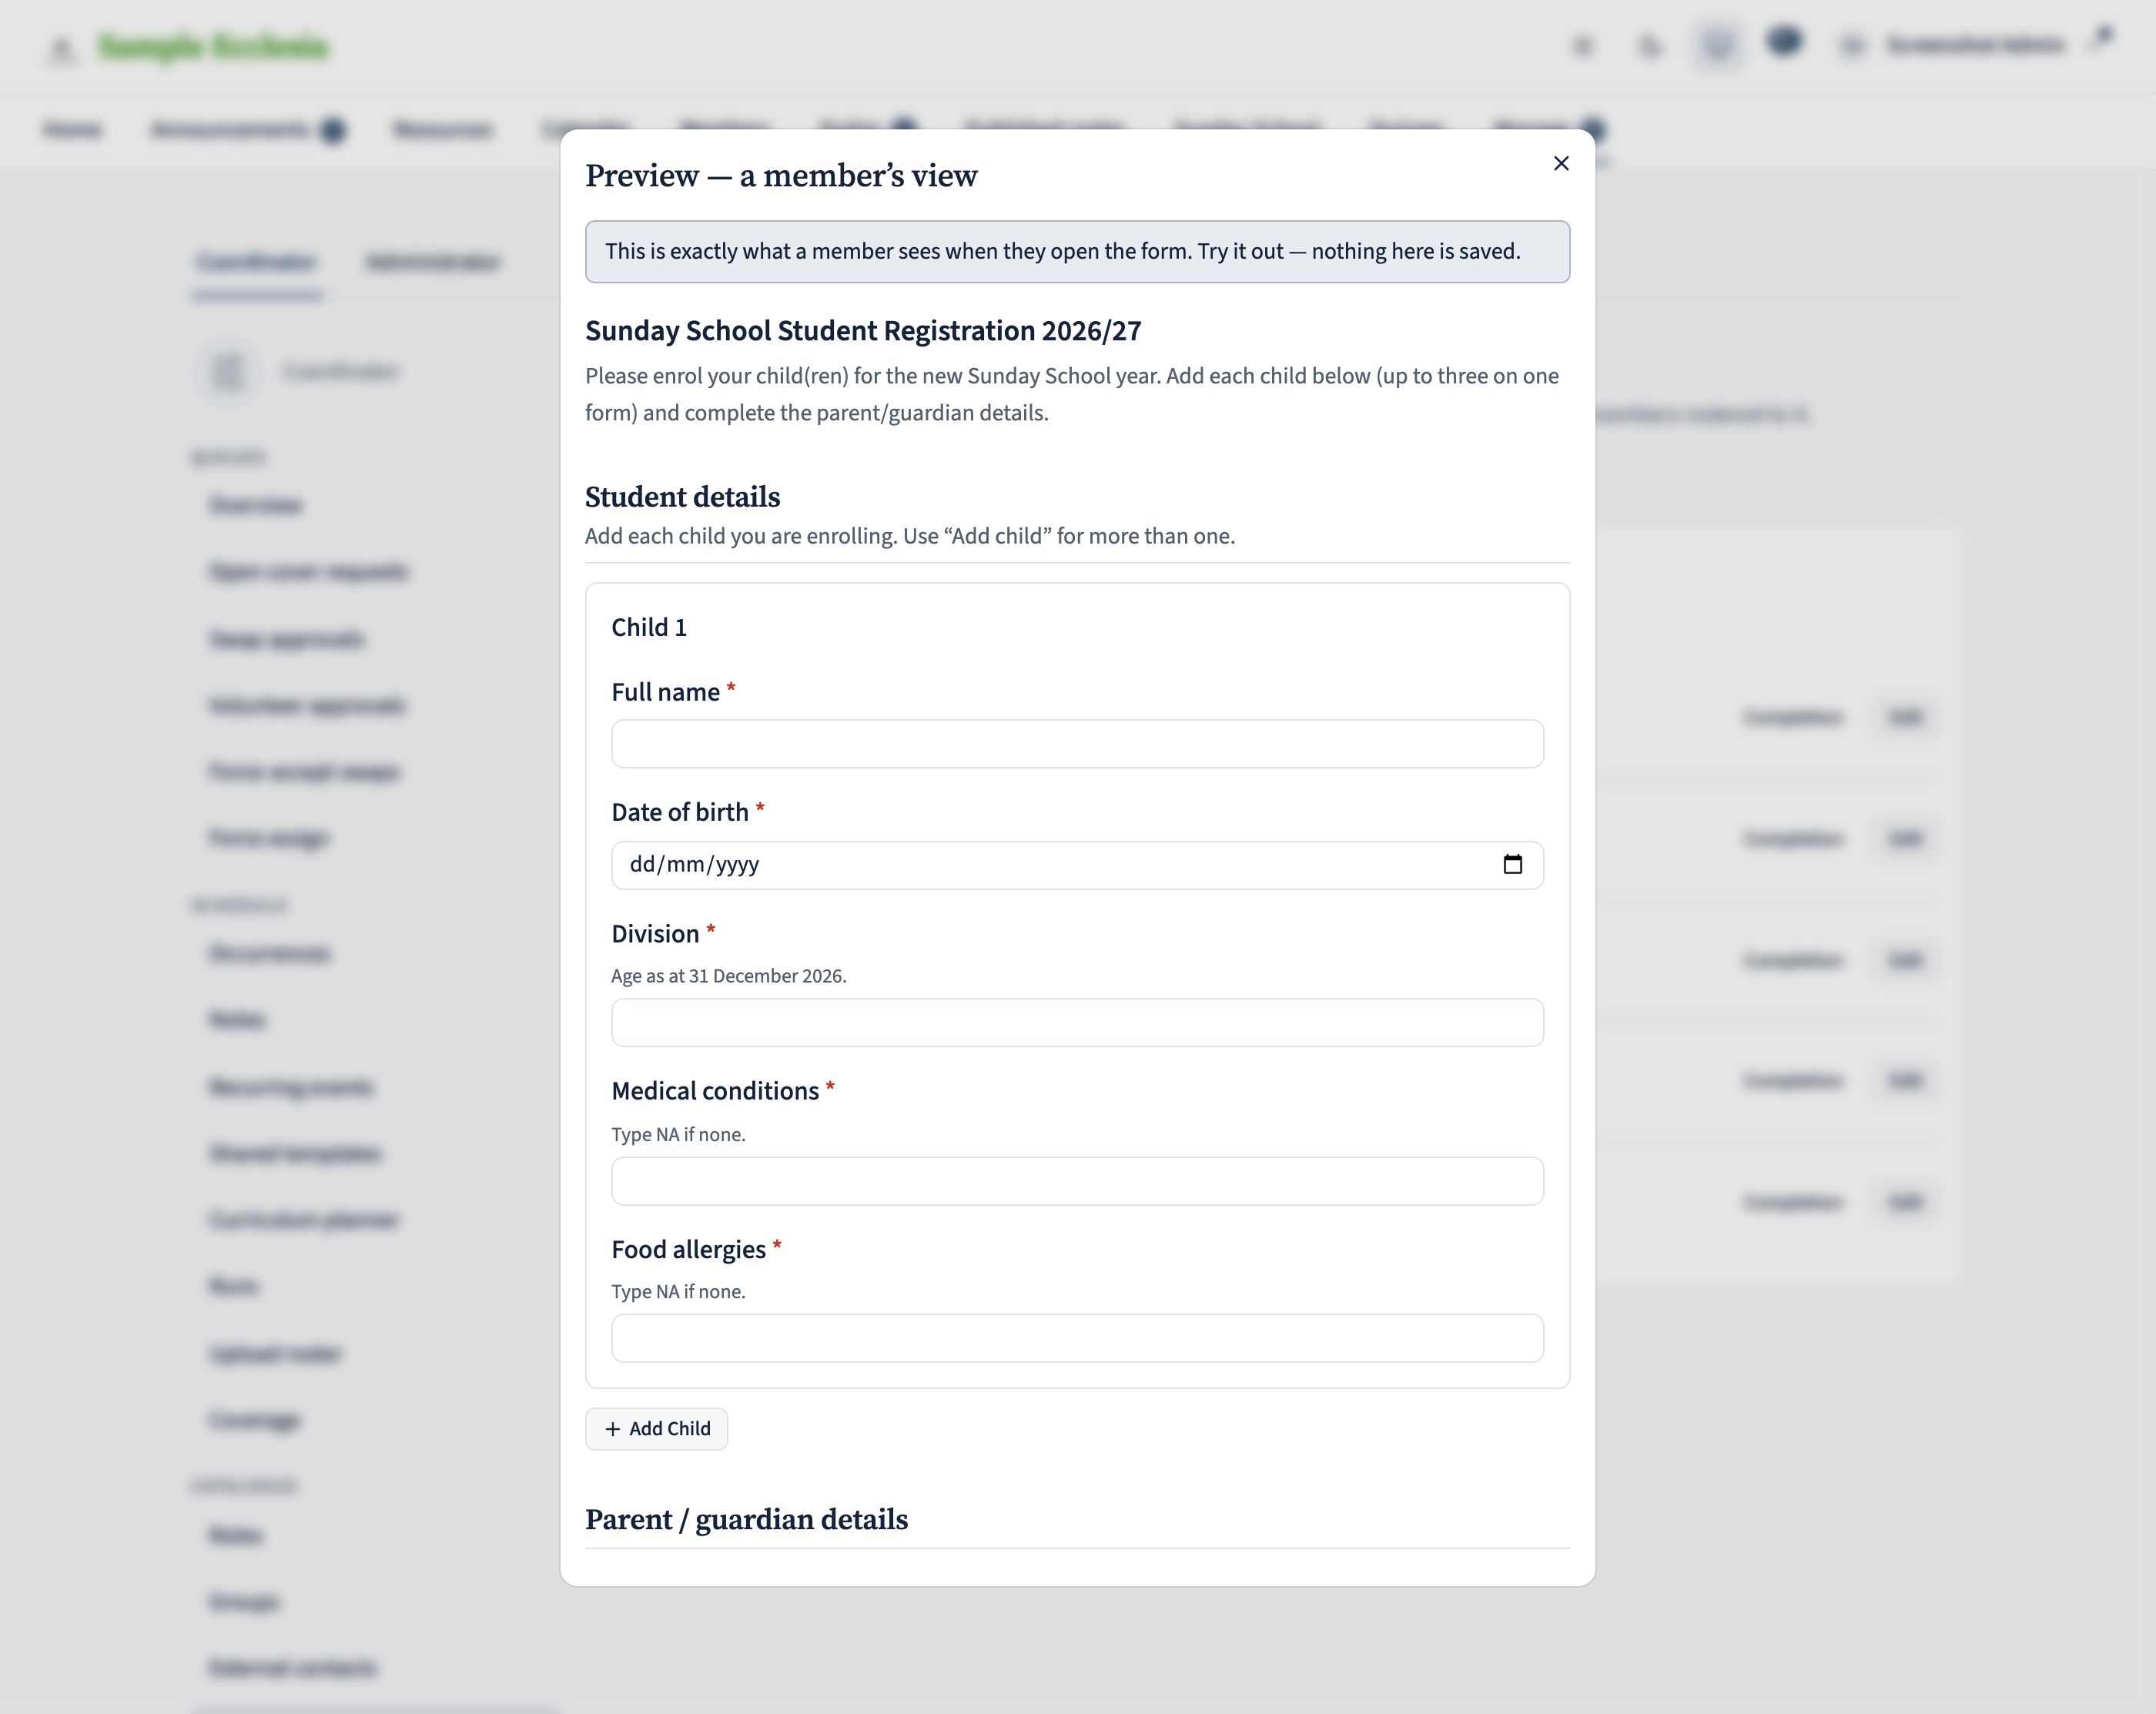
Open the form and go to Items. A registration form usually collects the same details for each child, so add a repeatable group — a set of fields the parent can add more than once with an “Add another child” button.
- Add a group, name each instance “Child”, and set how many are allowed (for example, at least one, no upper limit).
- Inside it, add the per-child fields: full name (short text), date of birth (date), division (short text — put “age as at your cut-off date” in its help text), medical conditions and food allergies (short text, with “type NA if none” as help). Mark the ones you need as required — that applies to every child the parent adds.
When a parent fills the form, they complete the first child, then tap Add another child for each additional one — all on a single submission.
Add the parent details and consents
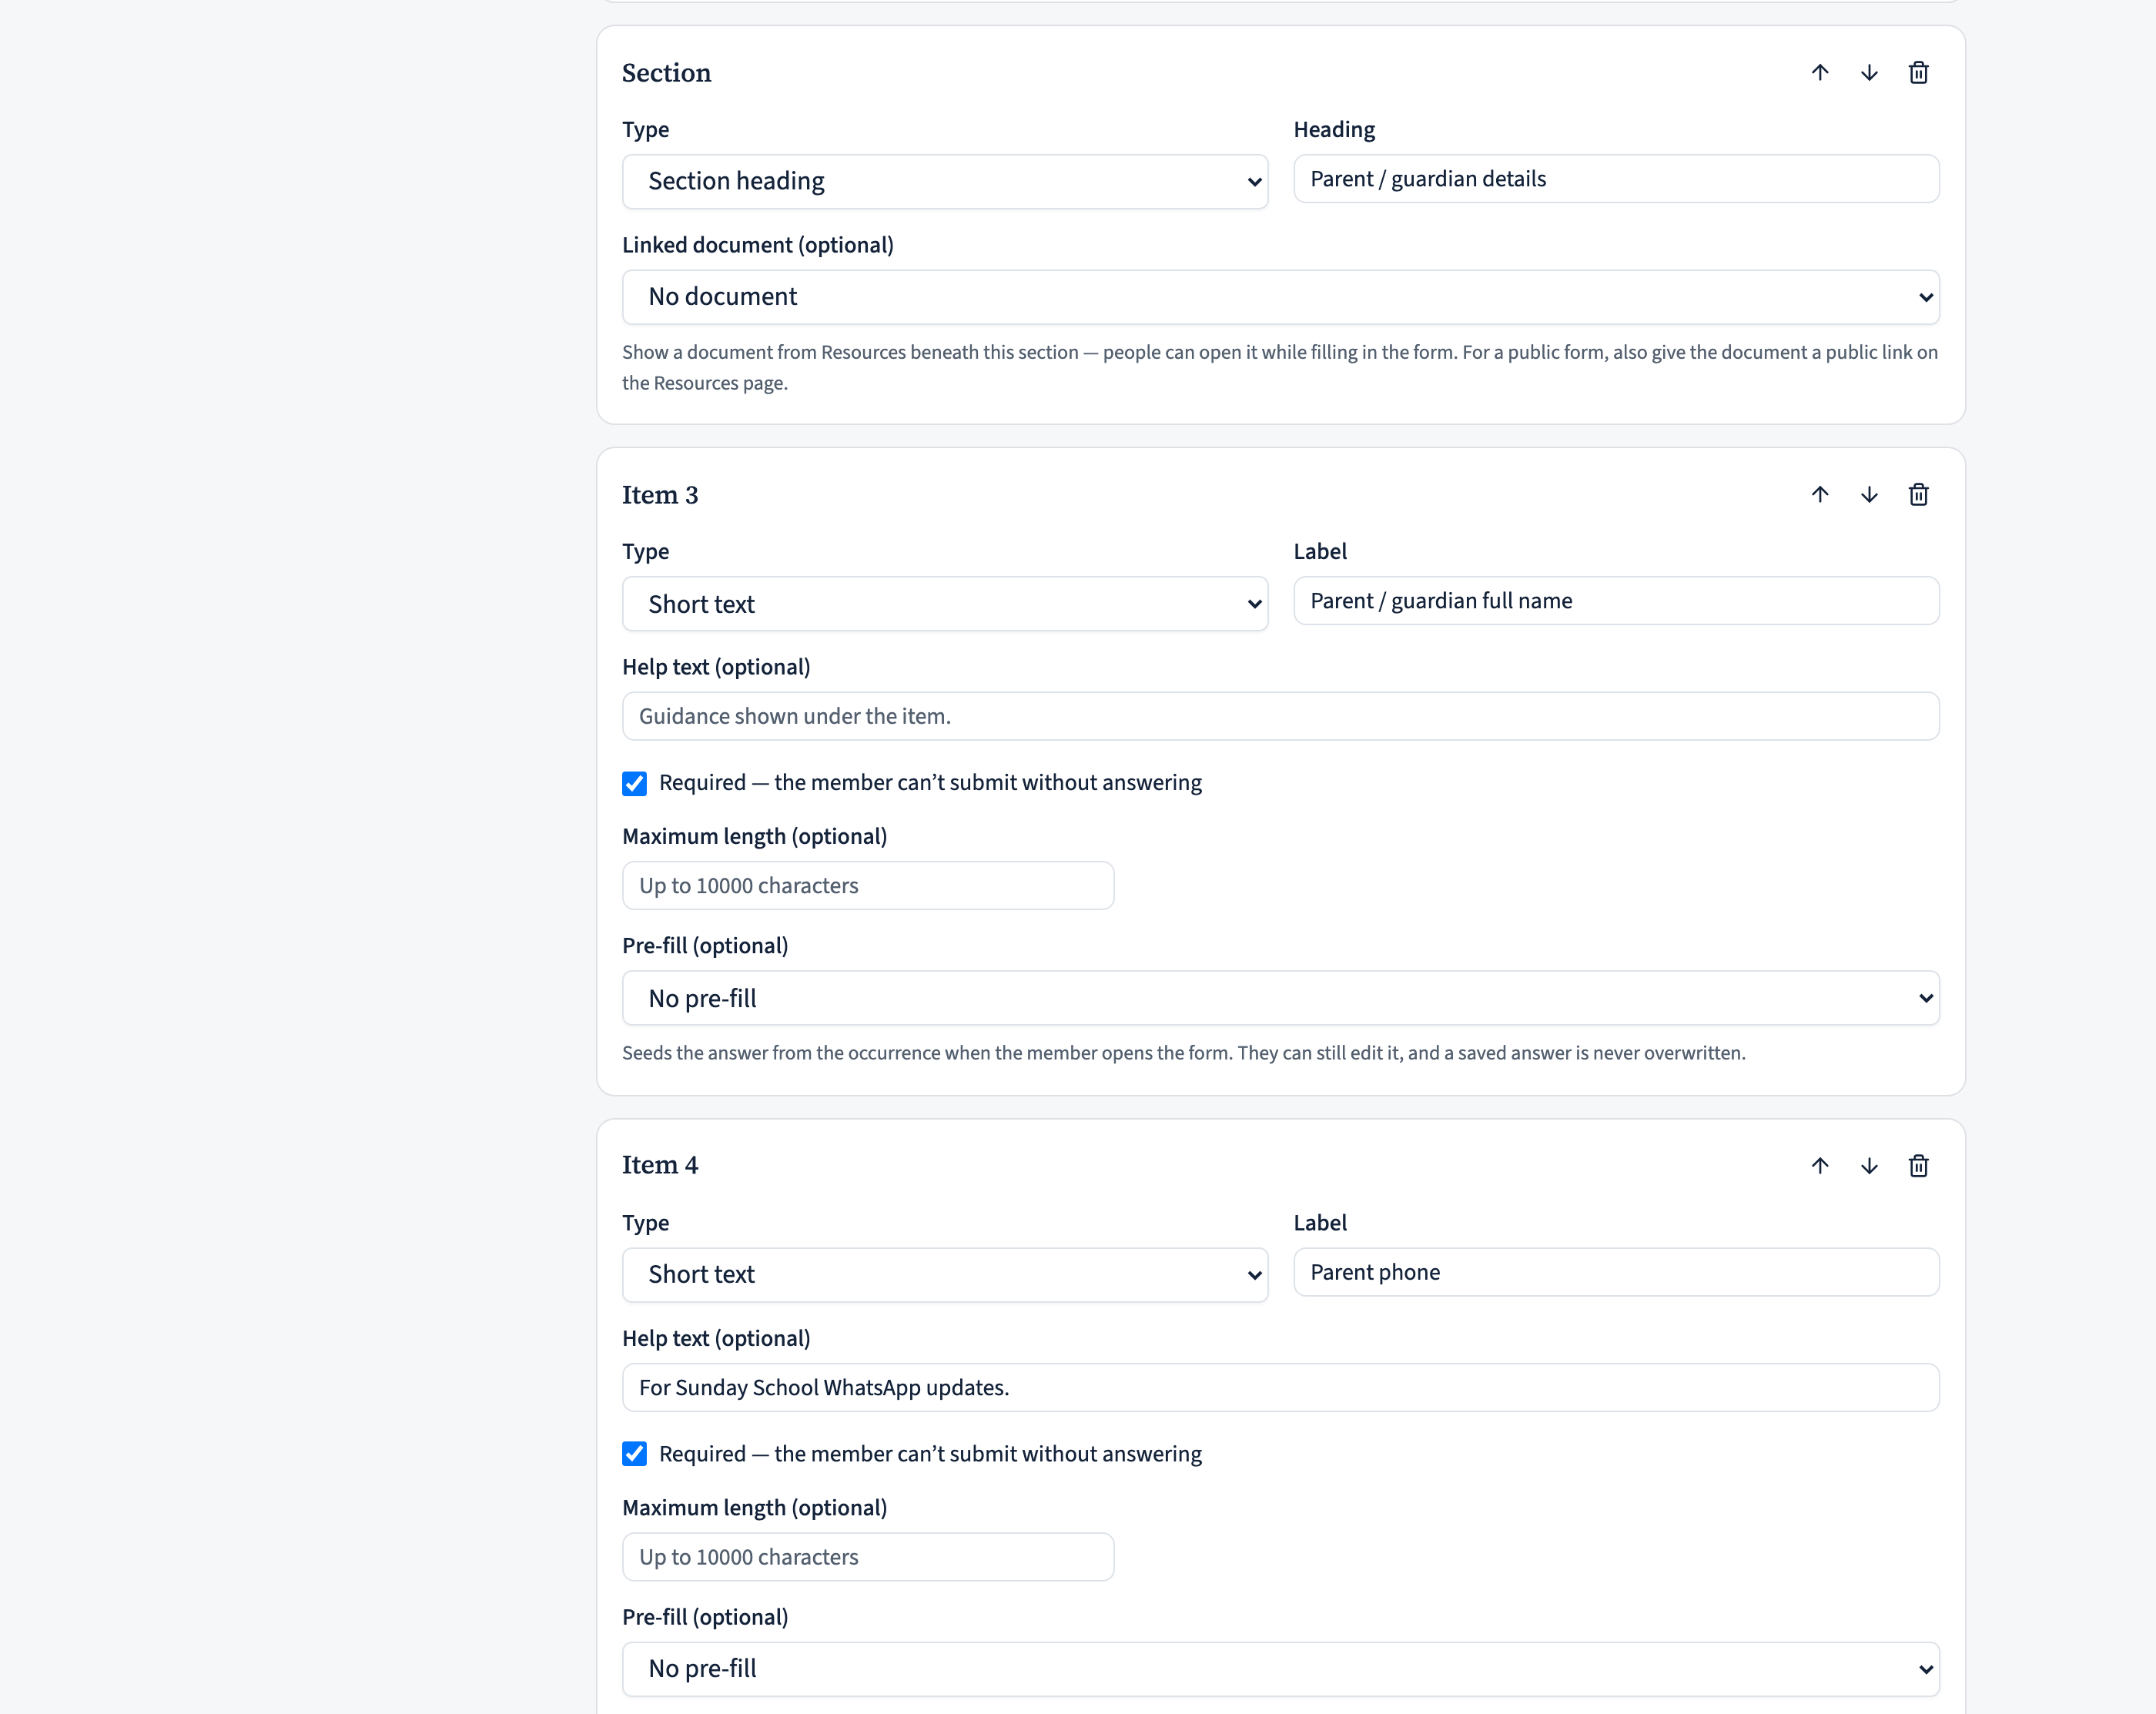
Below the child group, add a section heading (“Parent / guardian details”) and the contact fields: full name, phone, and email (all short text, required). Use their help text to say what each is for.
For the yes/no questions — teaching or relief teaching this year, happy to join the updates group, agree to photos in internal newsletters — use single choice with Yes and No options. For a policy agreement, use a required checkbox (“I have read and agree to the Sunday School guidelines”) and paste the guidelines link into its help text — the fill page shows it as a tappable link under the question.
Preview it as a parent would
Use Preview to see the form exactly as a parent will — the child group with its Add another child button, the parent fields, and the consents. Type and tick to try it; nothing is saved. Fix any wording before anyone fills it in.
Activate it, then send it to parents
Set the form’s status to Active — nothing reaches parents until it is. Then choose either route (or both):
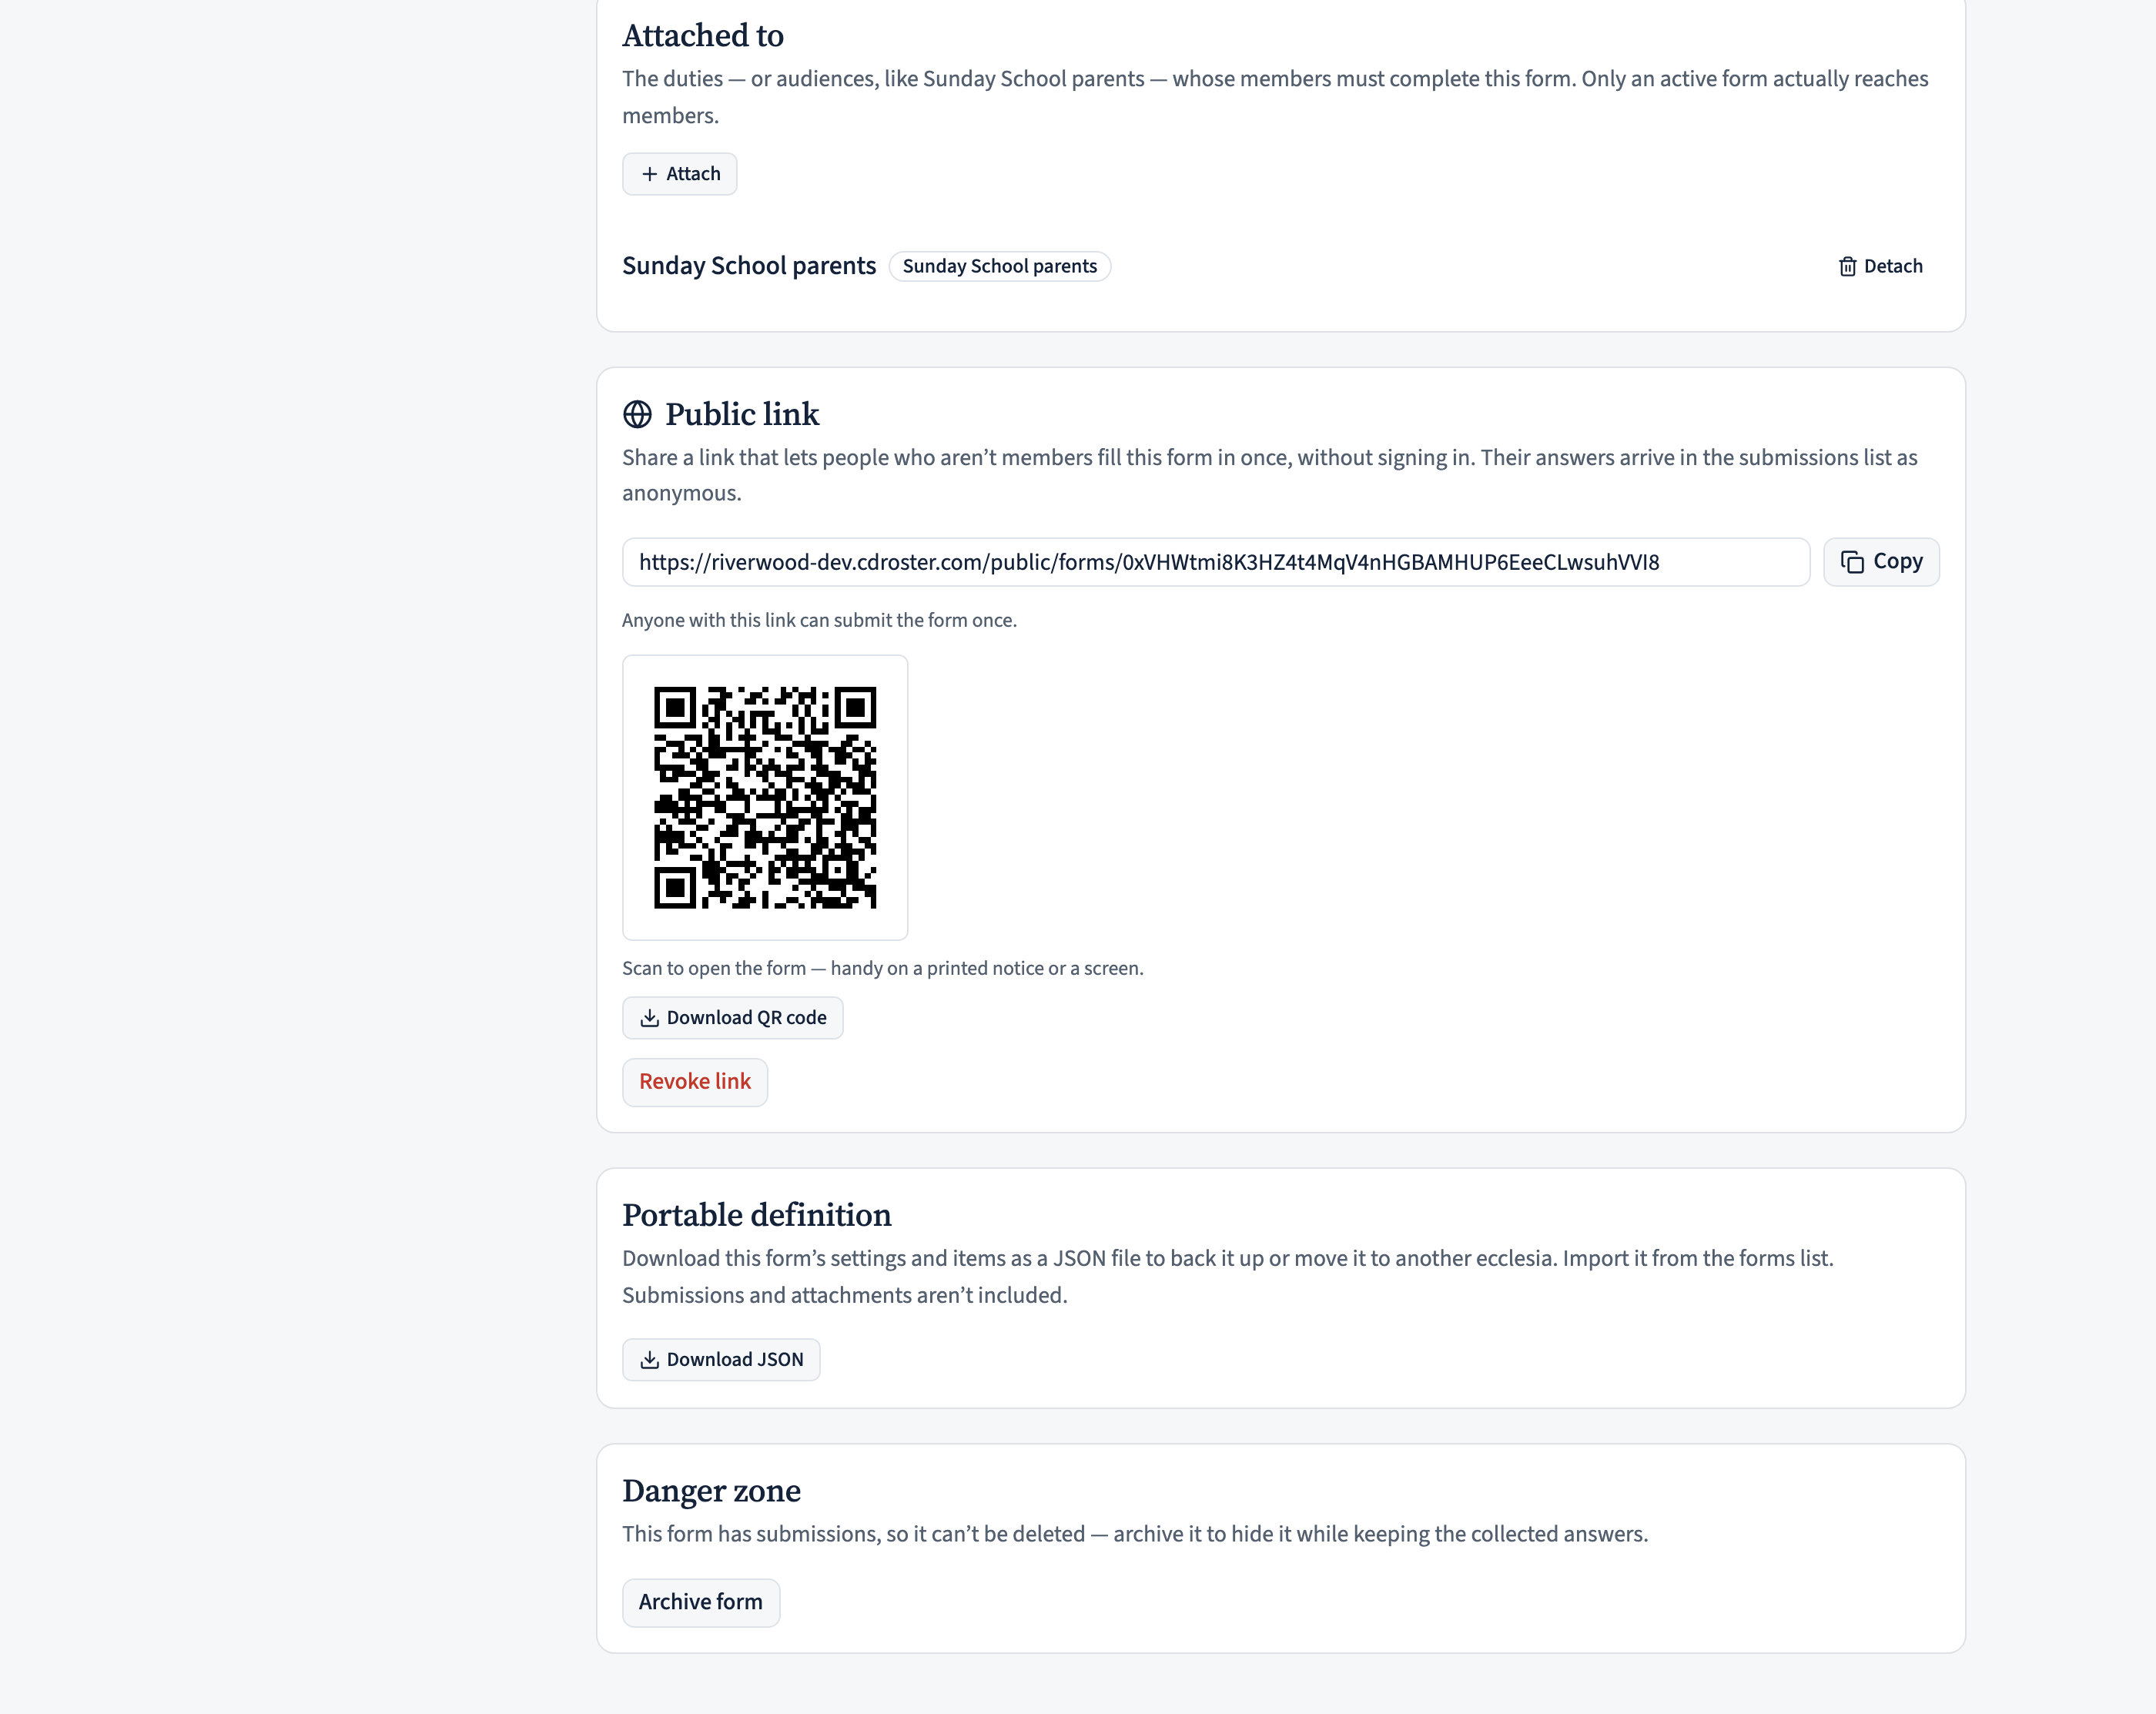
- Send it to the audience. In the Attached to card, Attach → Sunday School parents. Every parent who’s a member then finds it under My forms → Other forms and gets a notification — no link to pass around.
- Share a public link for parents who aren’t members. Open the Public link card, Turn on public link, then Copy the link for an email or messaging group — or Download the QR code beneath it to put on a printed notice or a slide. Anyone with the link can submit once, with no sign-in; name fields become plain text since there’s no directory for a public visitor. Revoke the link any time to stop it working.
Collect and export the responses
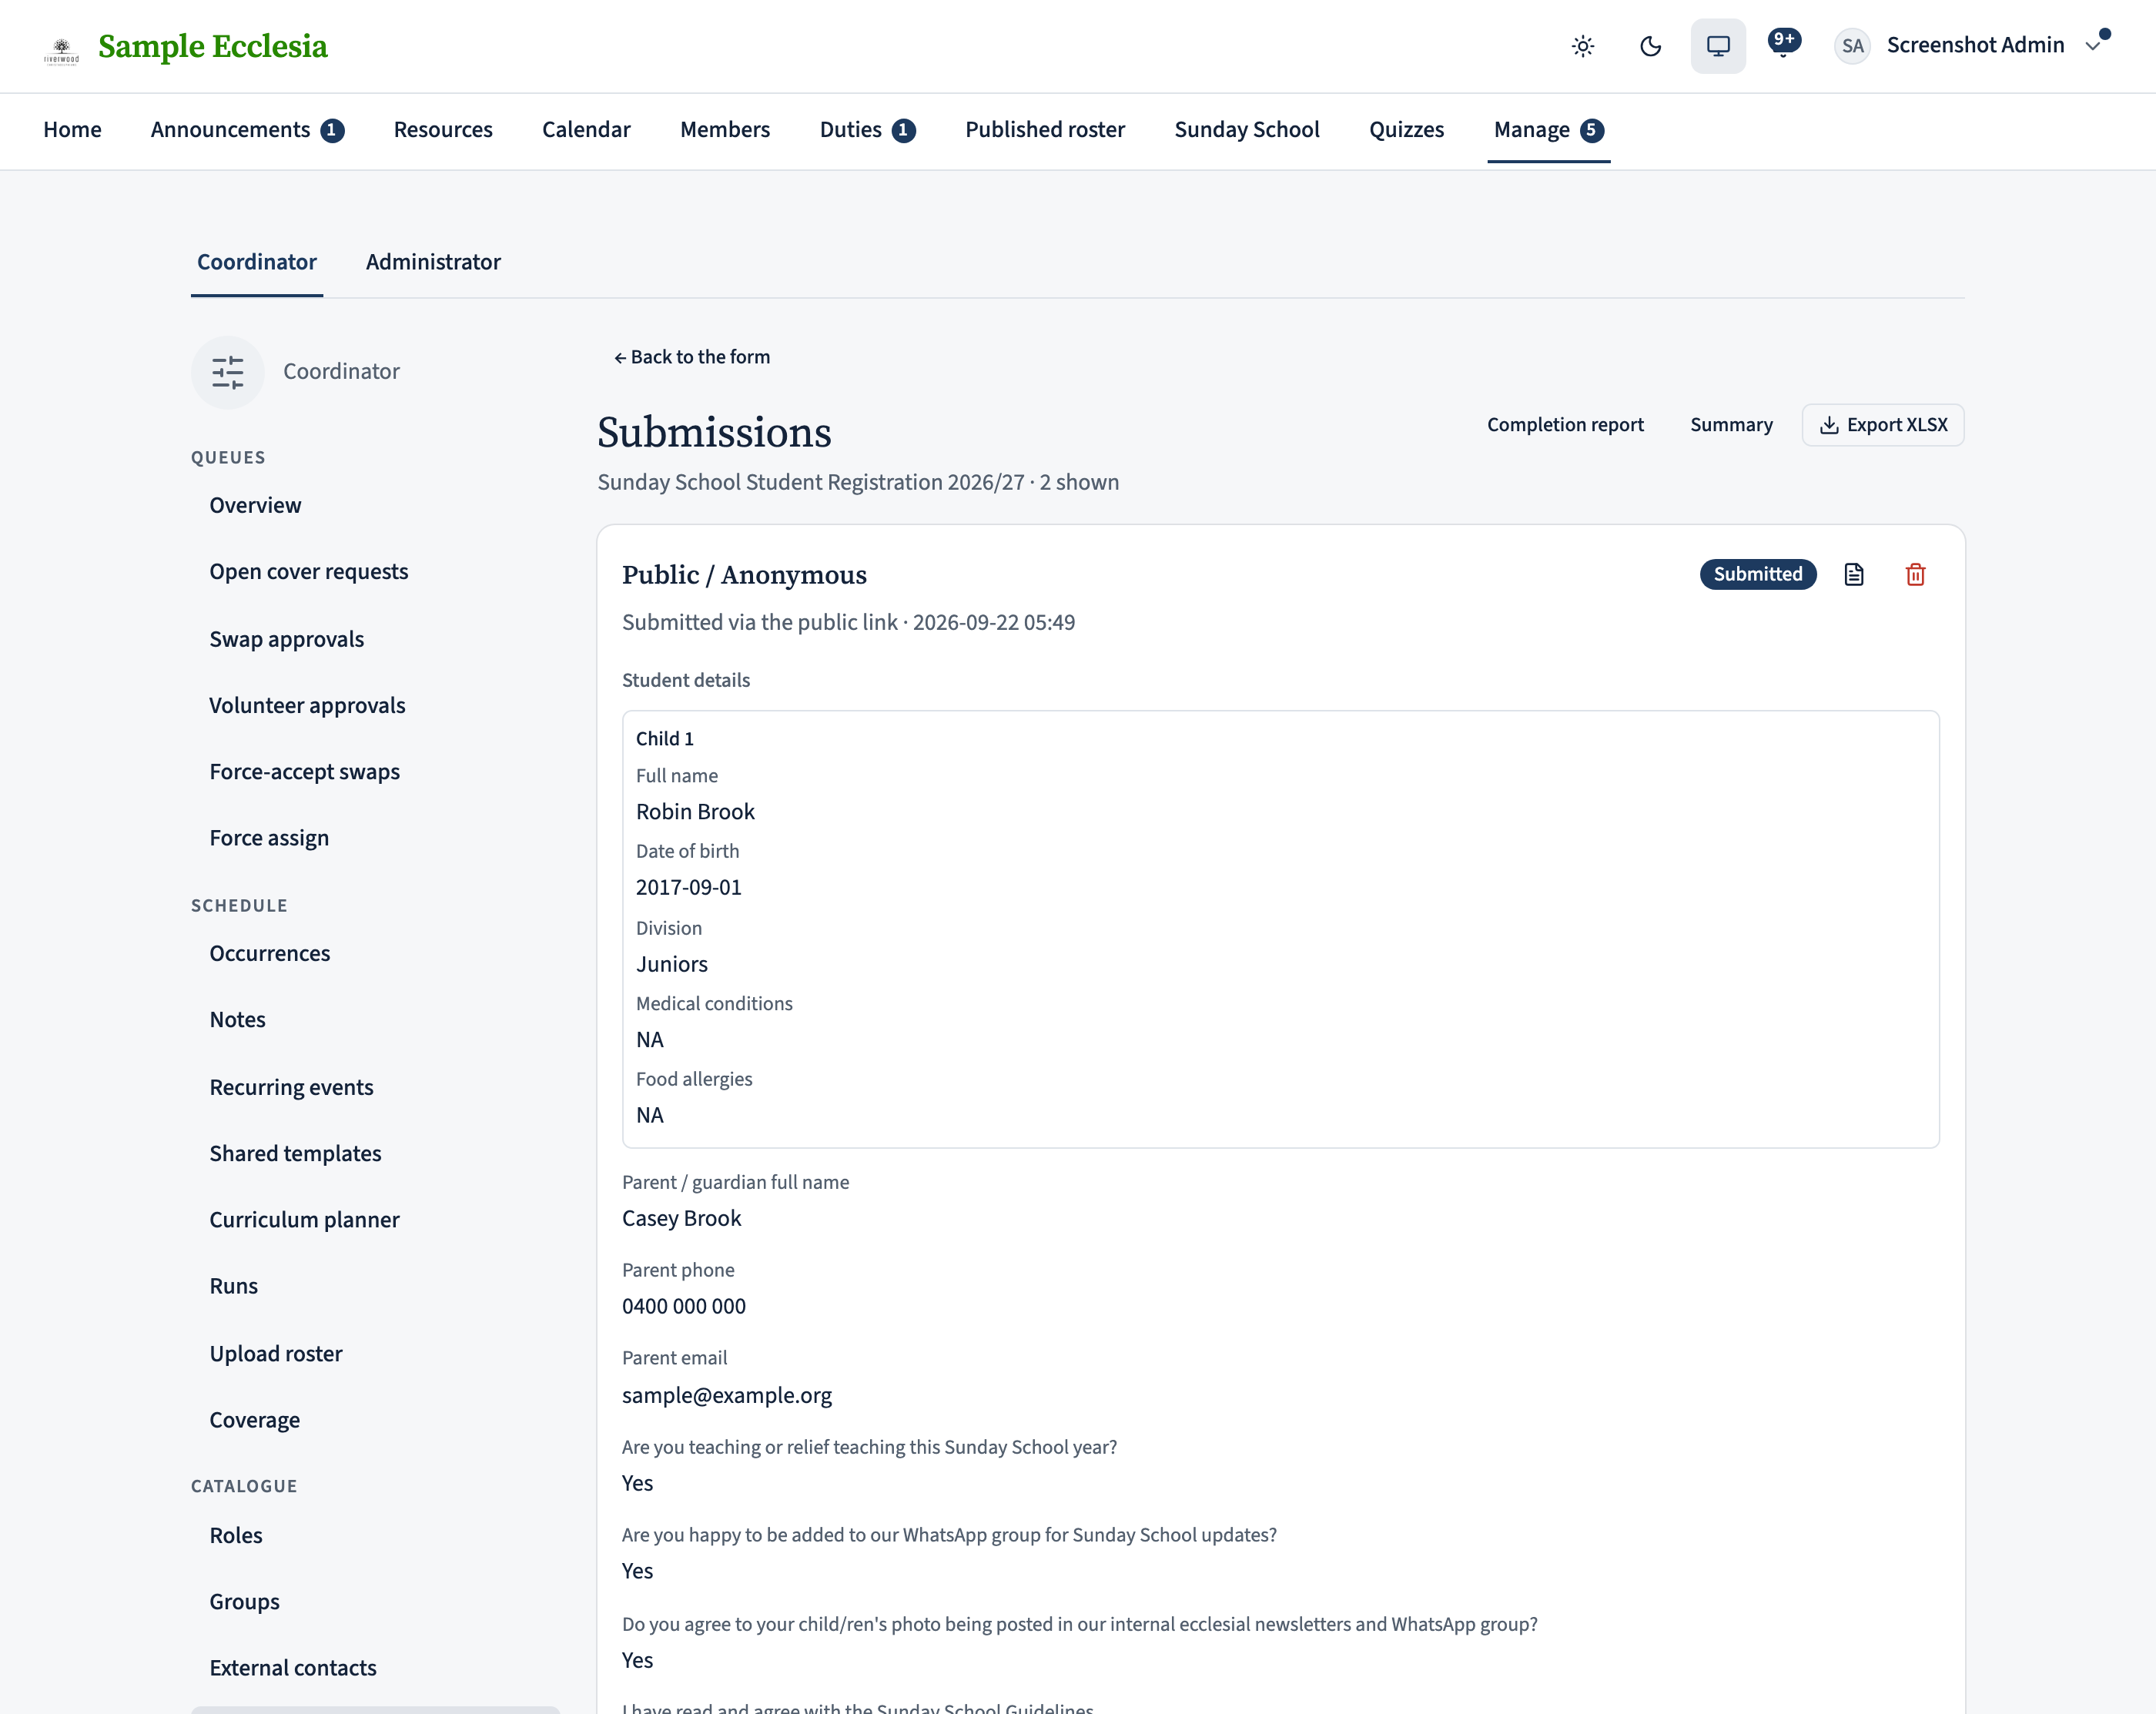
As registrations arrive, open View submissions from the form. Each response lists every child the parent added, along with the parent details and consents. Ones from the audience show the parent’s name (a household copy is badged Household); ones via the public link show as Public / Anonymous. Export XLSX downloads them all as a spreadsheet — your class lists and medical/allergy record for the year — and Download PDF on a card gives a single tidy copy. Remove a test entry or duplicate with Delete. For a quick tally — how many chose each division, how many teachers volunteered — open Summary.