Getting started
Your ecclesia administrator has invited you to CDRoster. This guide walks you through the first sign-in, what you’ll see, and how to find your next assignments. Reading time: three minutes.
Follow the invitation link
Check your inbox for an email from CDRoster with a subject like “You’ve been invited to Riverwood Ecclesia”. Click Set up your account. The link is single-use and expires after a week — if yours has, ask your administrator to resend and check junk folders first.
You’ll land on a page that asks you to set a password and confirm your email address. Pick something you can remember (or have a password manager to hand); the second-factor prompt is only for administrators — ordinary members sign in with just email + password.
Sign in to your ecclesia
There are two ways to sign in to CDRoster:
- Open cdroster.com and click Sign in in the top-right of the navigation bar. CDRoster matches your email to your ecclesia and takes you home from there.
- Or go straight to your ecclesia’s address (something like riverwood.cdroster.com) if you know it and have it bookmarked. Either route lands you on the same home page.
Either way you enter the same email + password — there’s no separate account per ecclesia to remember.
Read your home page
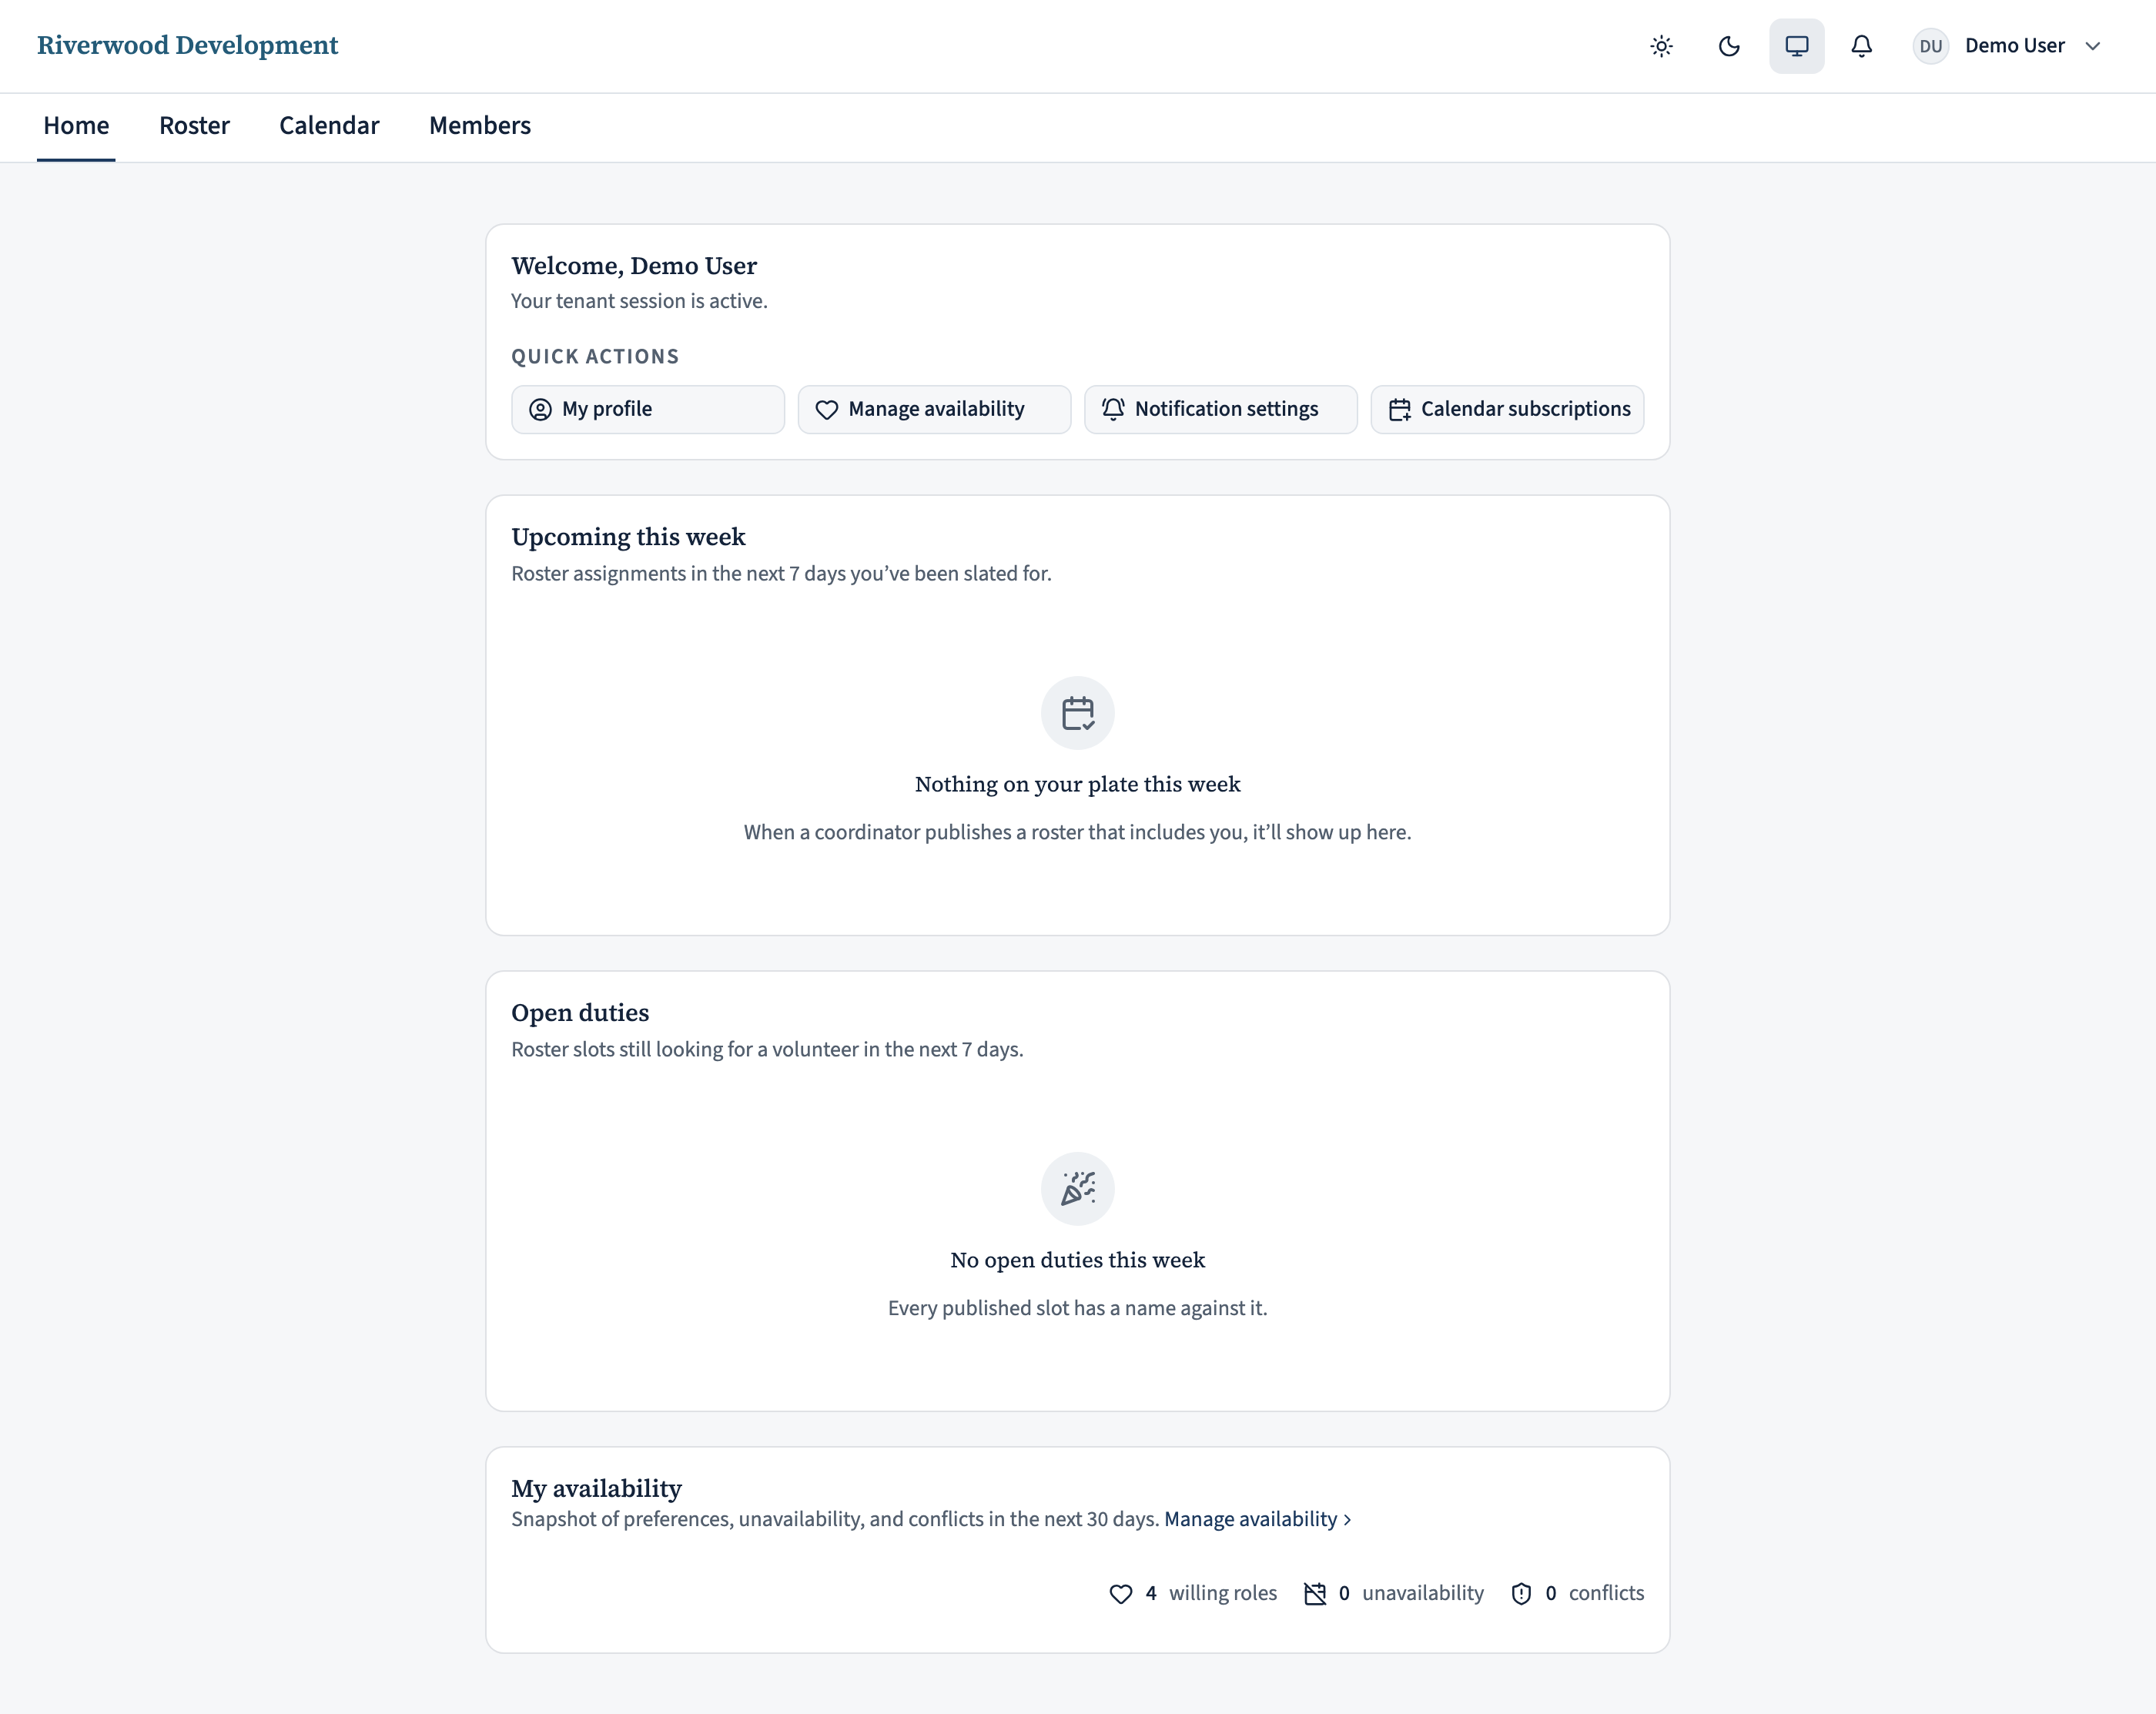
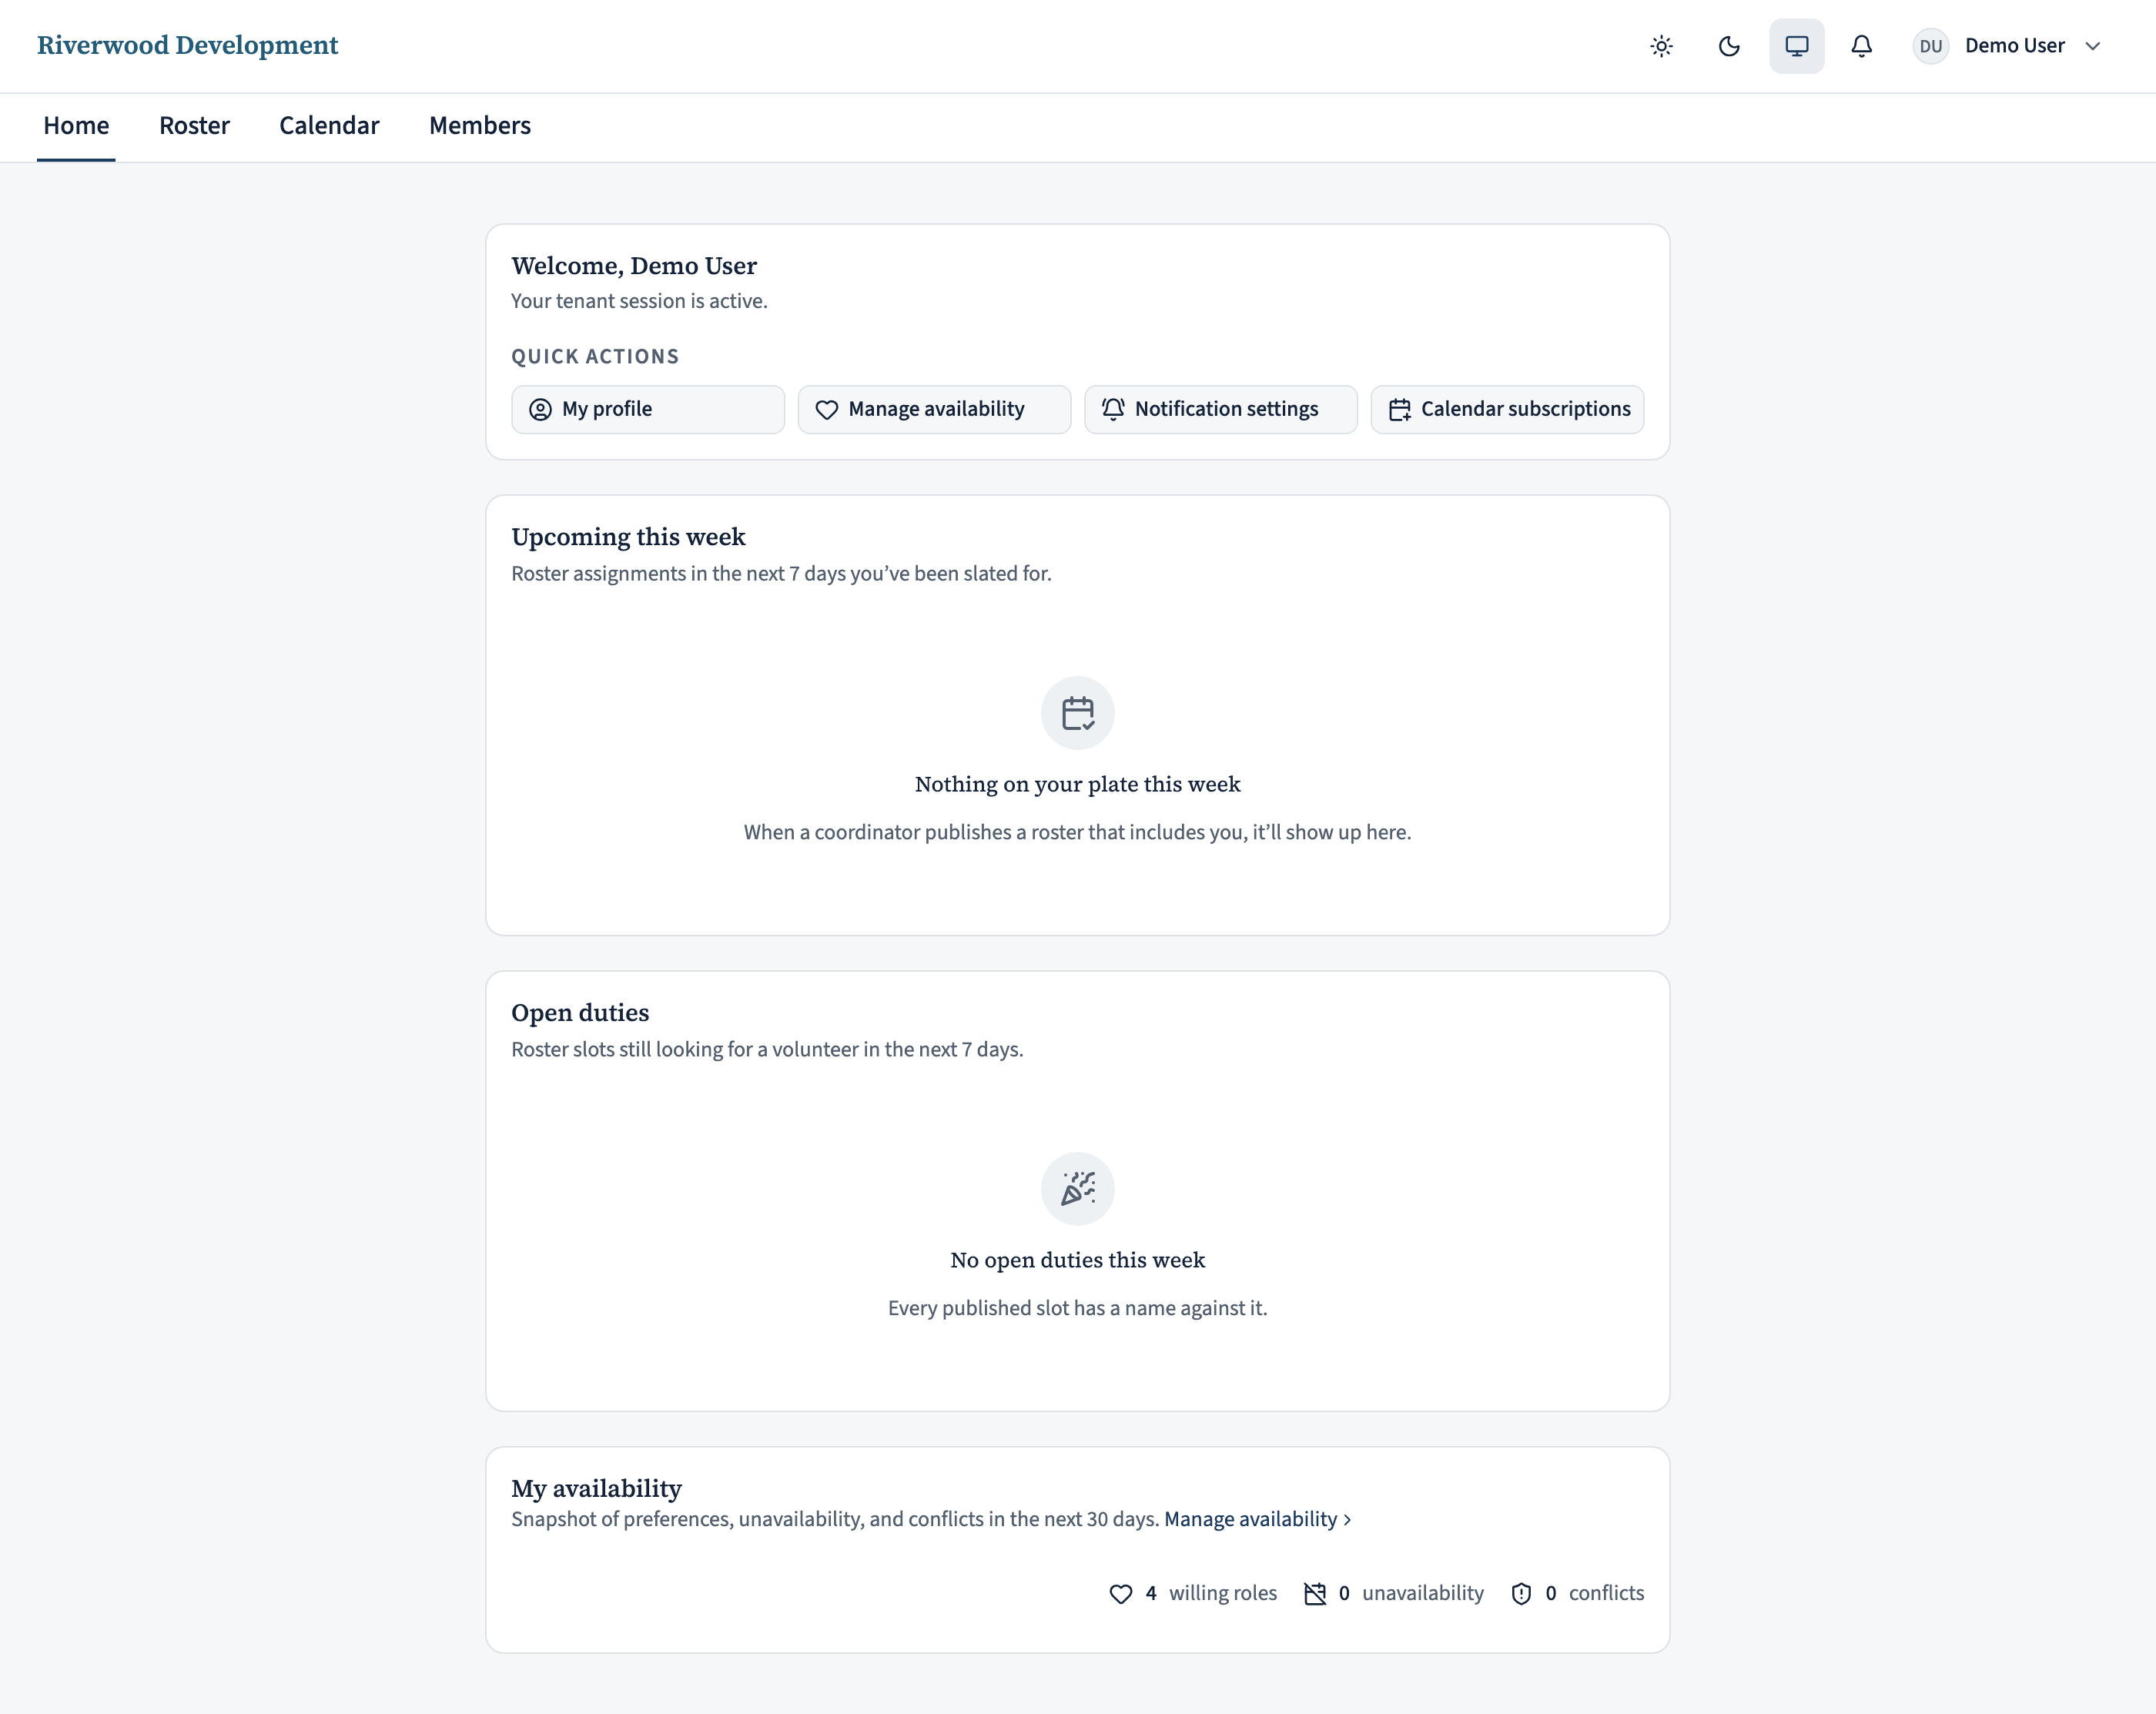
Your home page leads with a Welcome card + Quick actions (My profile, Manage availability, Notification settings, Calendar subscriptions). Below it, Upcoming this week shows the next few things you’re rostered for; each row links to the occurrence detail page where you can see who else’s serving that day.
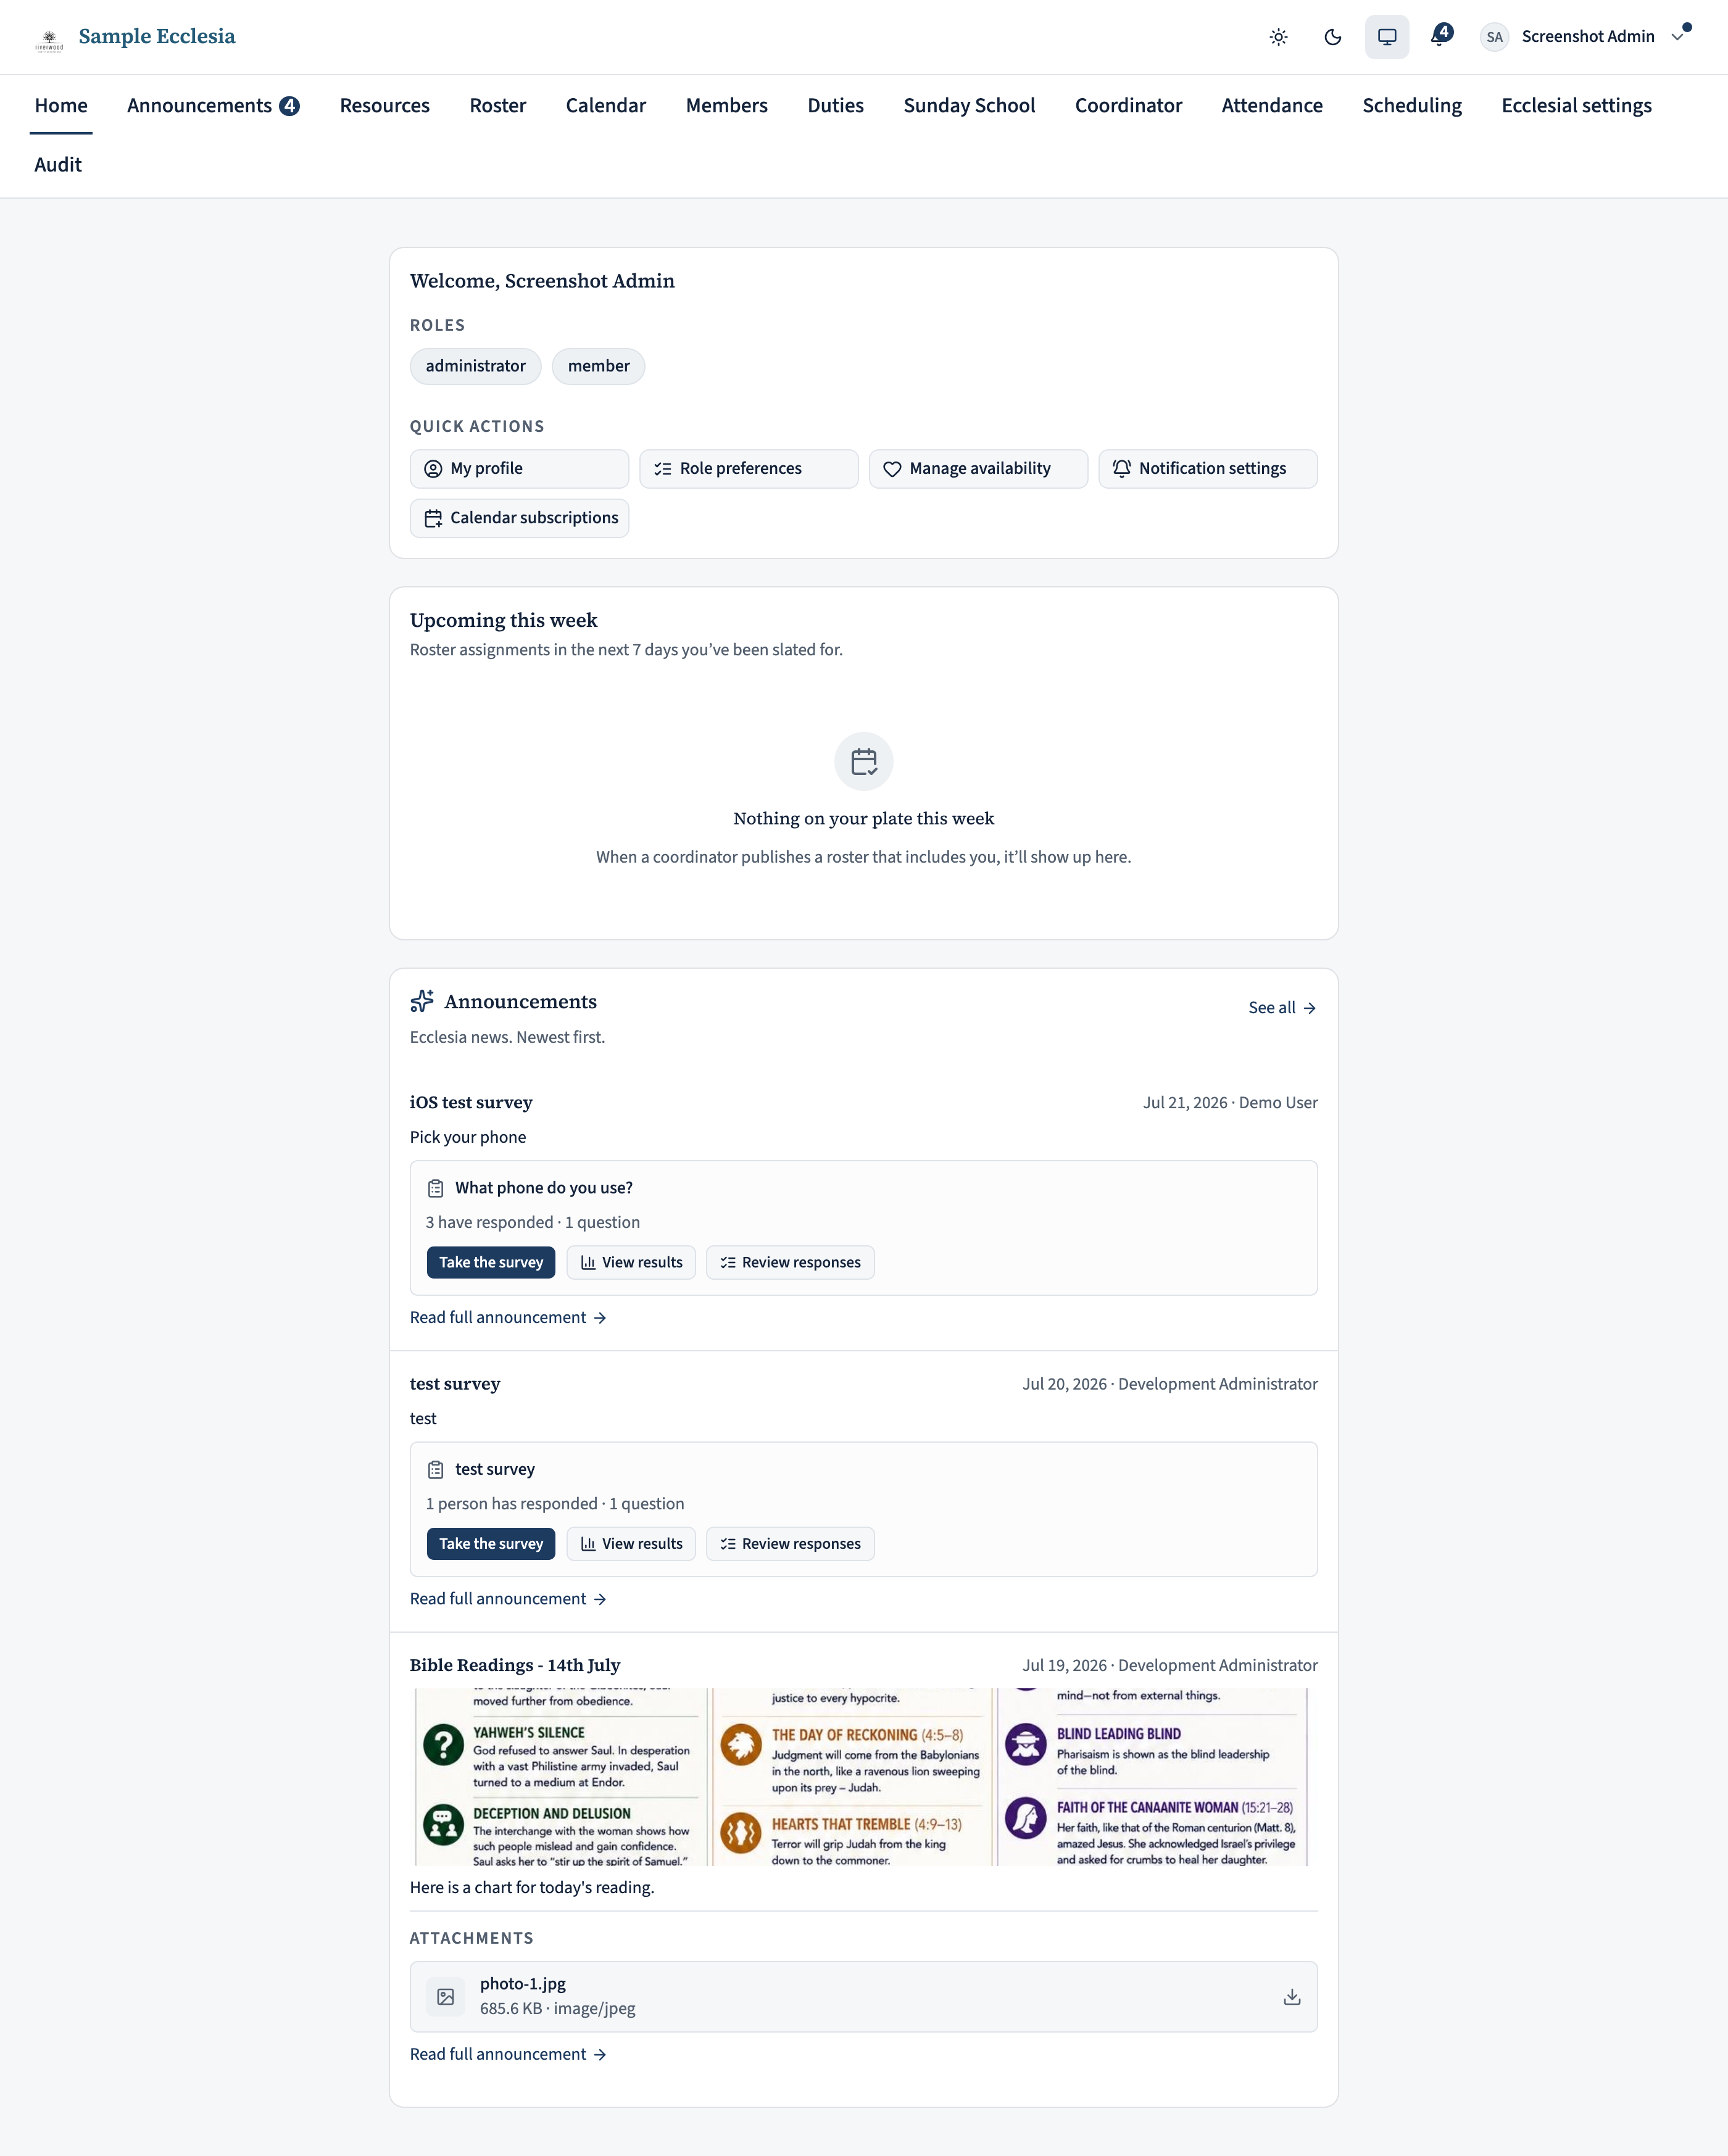
Further cards surface when they’re relevant — latest announcements, a pending household invitation or swap. Roles that still need a volunteer live on their own Open duties page (in the top navigation); if you can cover one, volunteer there. The top navigation also gets you to the calendar, the members directory, and (for coordinators) the rostering surfaces; your profile lives in the avatar menu at the top-right of every page.
Set your availability
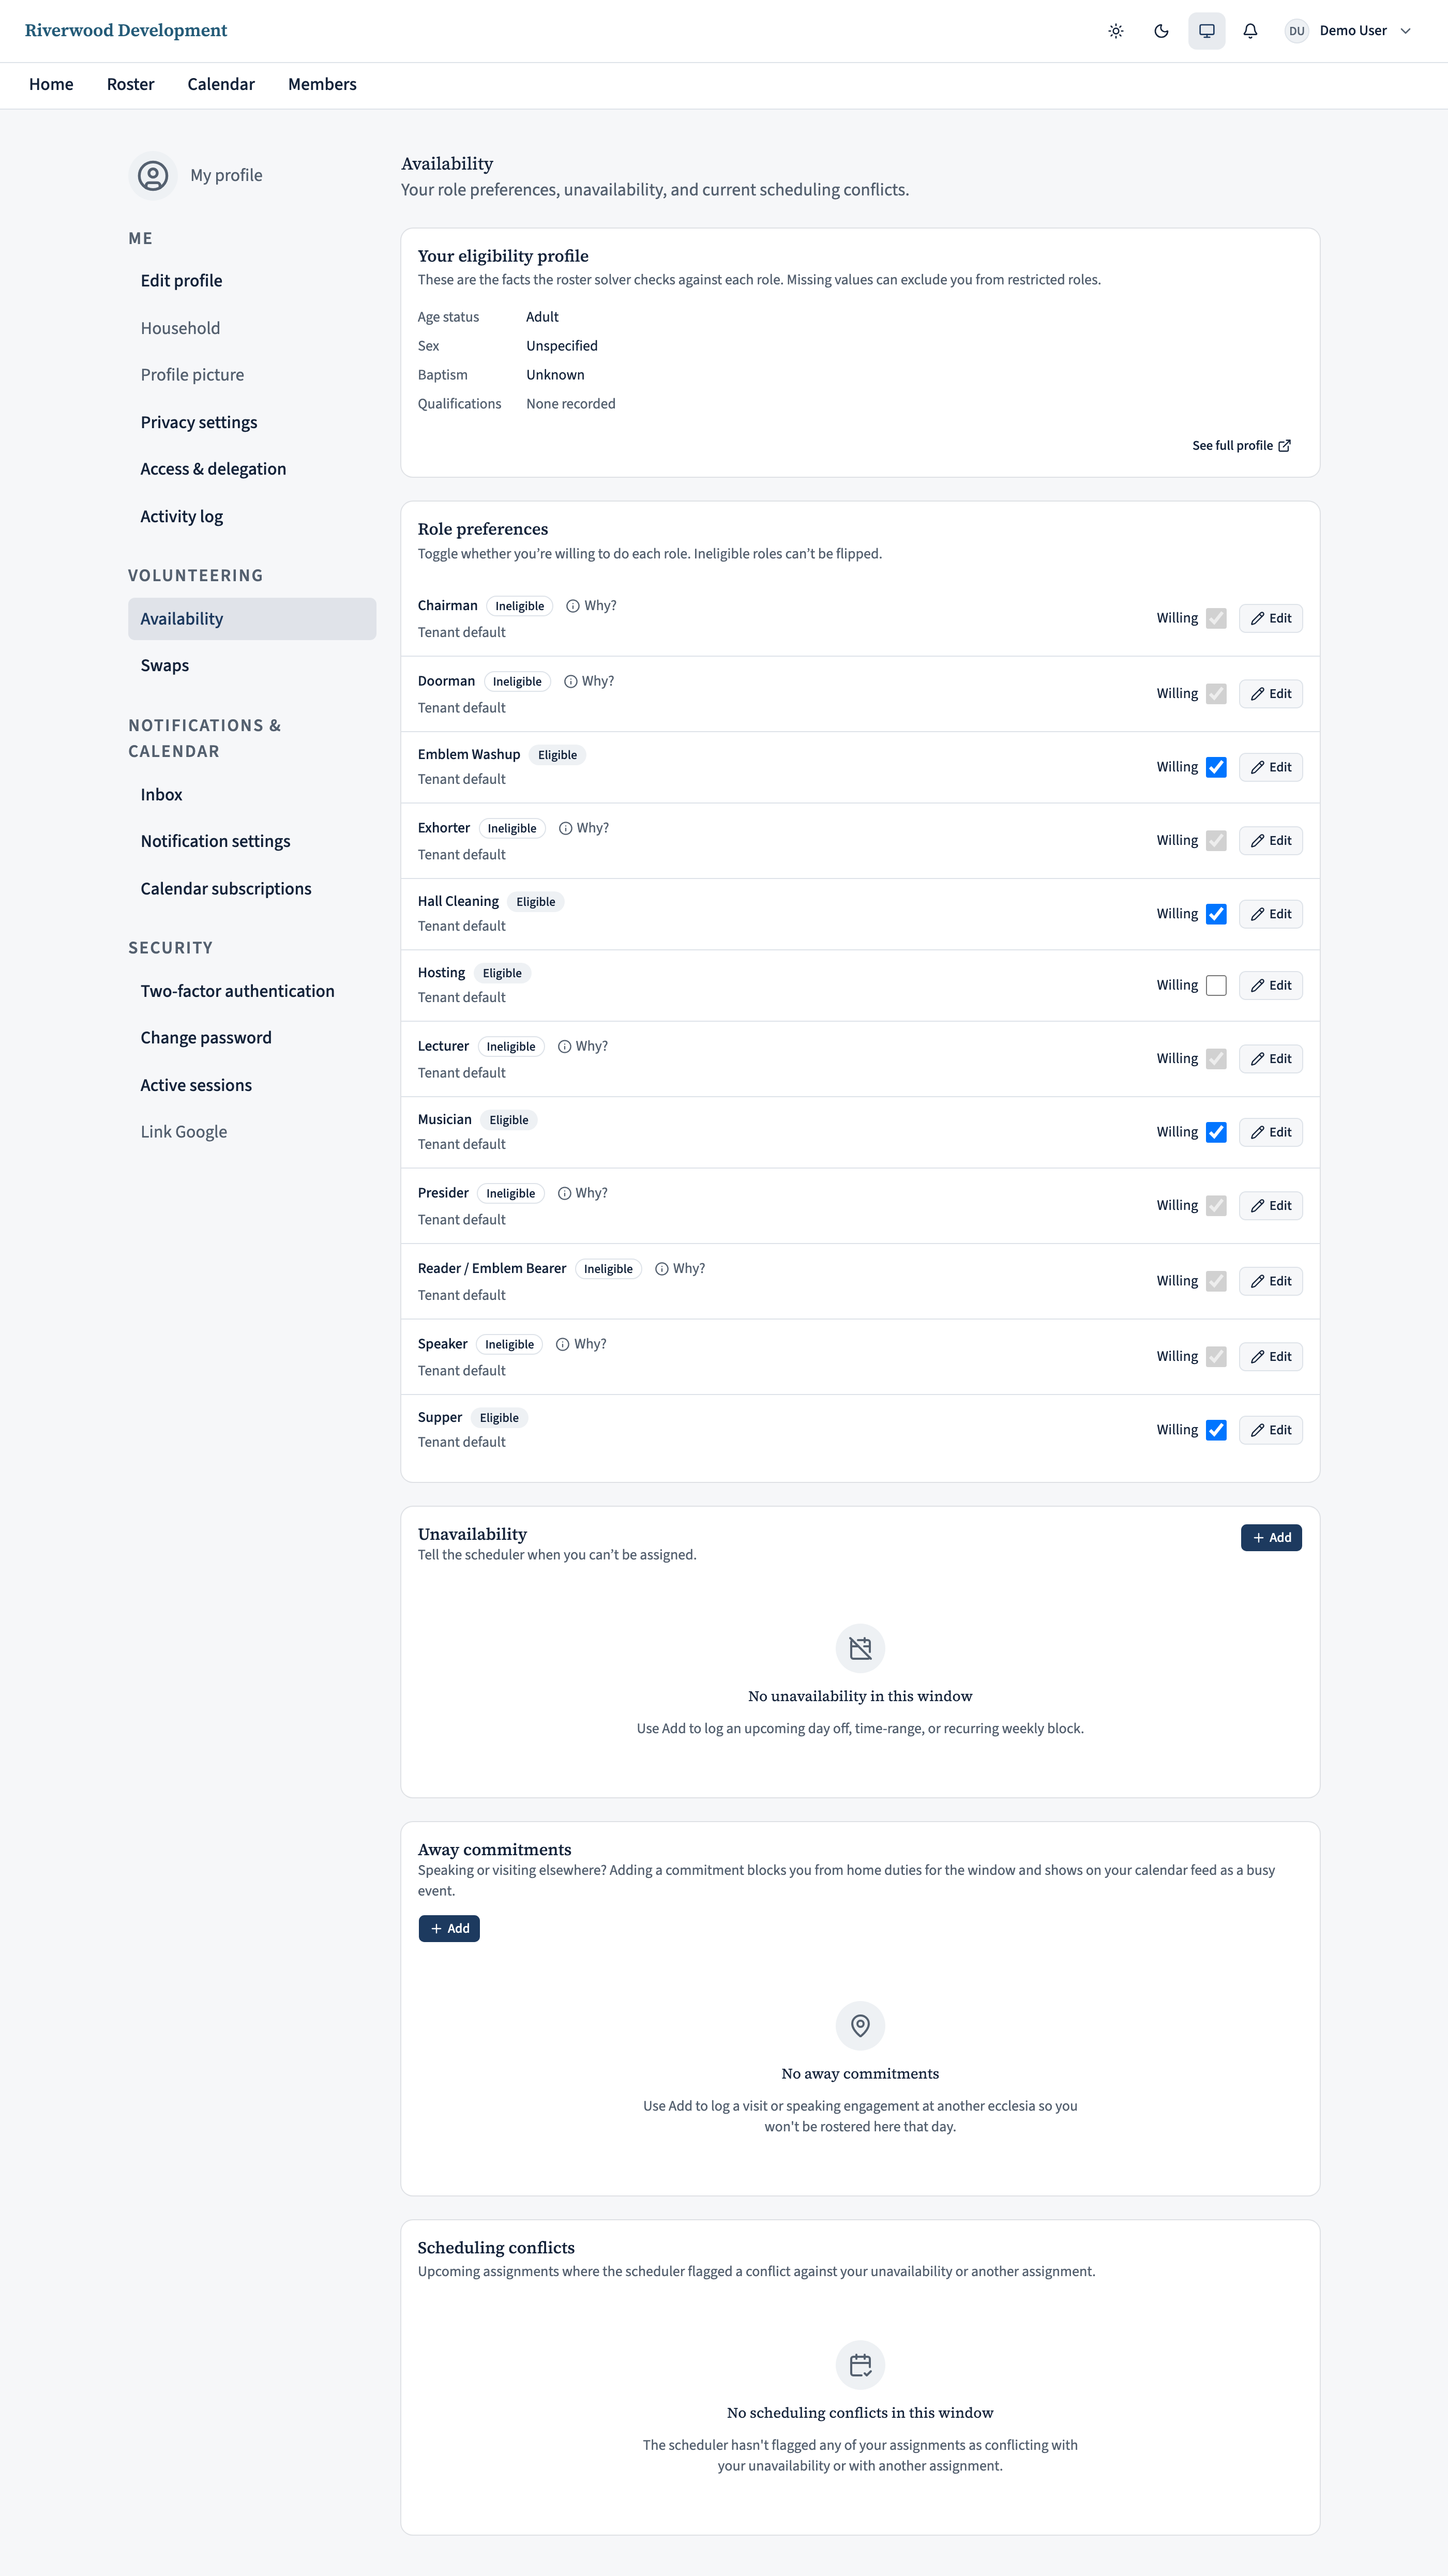
Before your coordinator runs the next roster, take five minutes to open your Availability page — either from the Manage availability tile in the Quick actions row on your home page, or from the top-right avatar menu → My profile → Availability. Tell the scheduler which roles you’re happy to serve. Two follow-up guides walk through the detail:
- Managing your availability — pick the roles you’re willing to serve and how often.
- Submitting unavailability — block out holidays, a temporary break, or an away commitment.
Turn on calendar sync (optional)
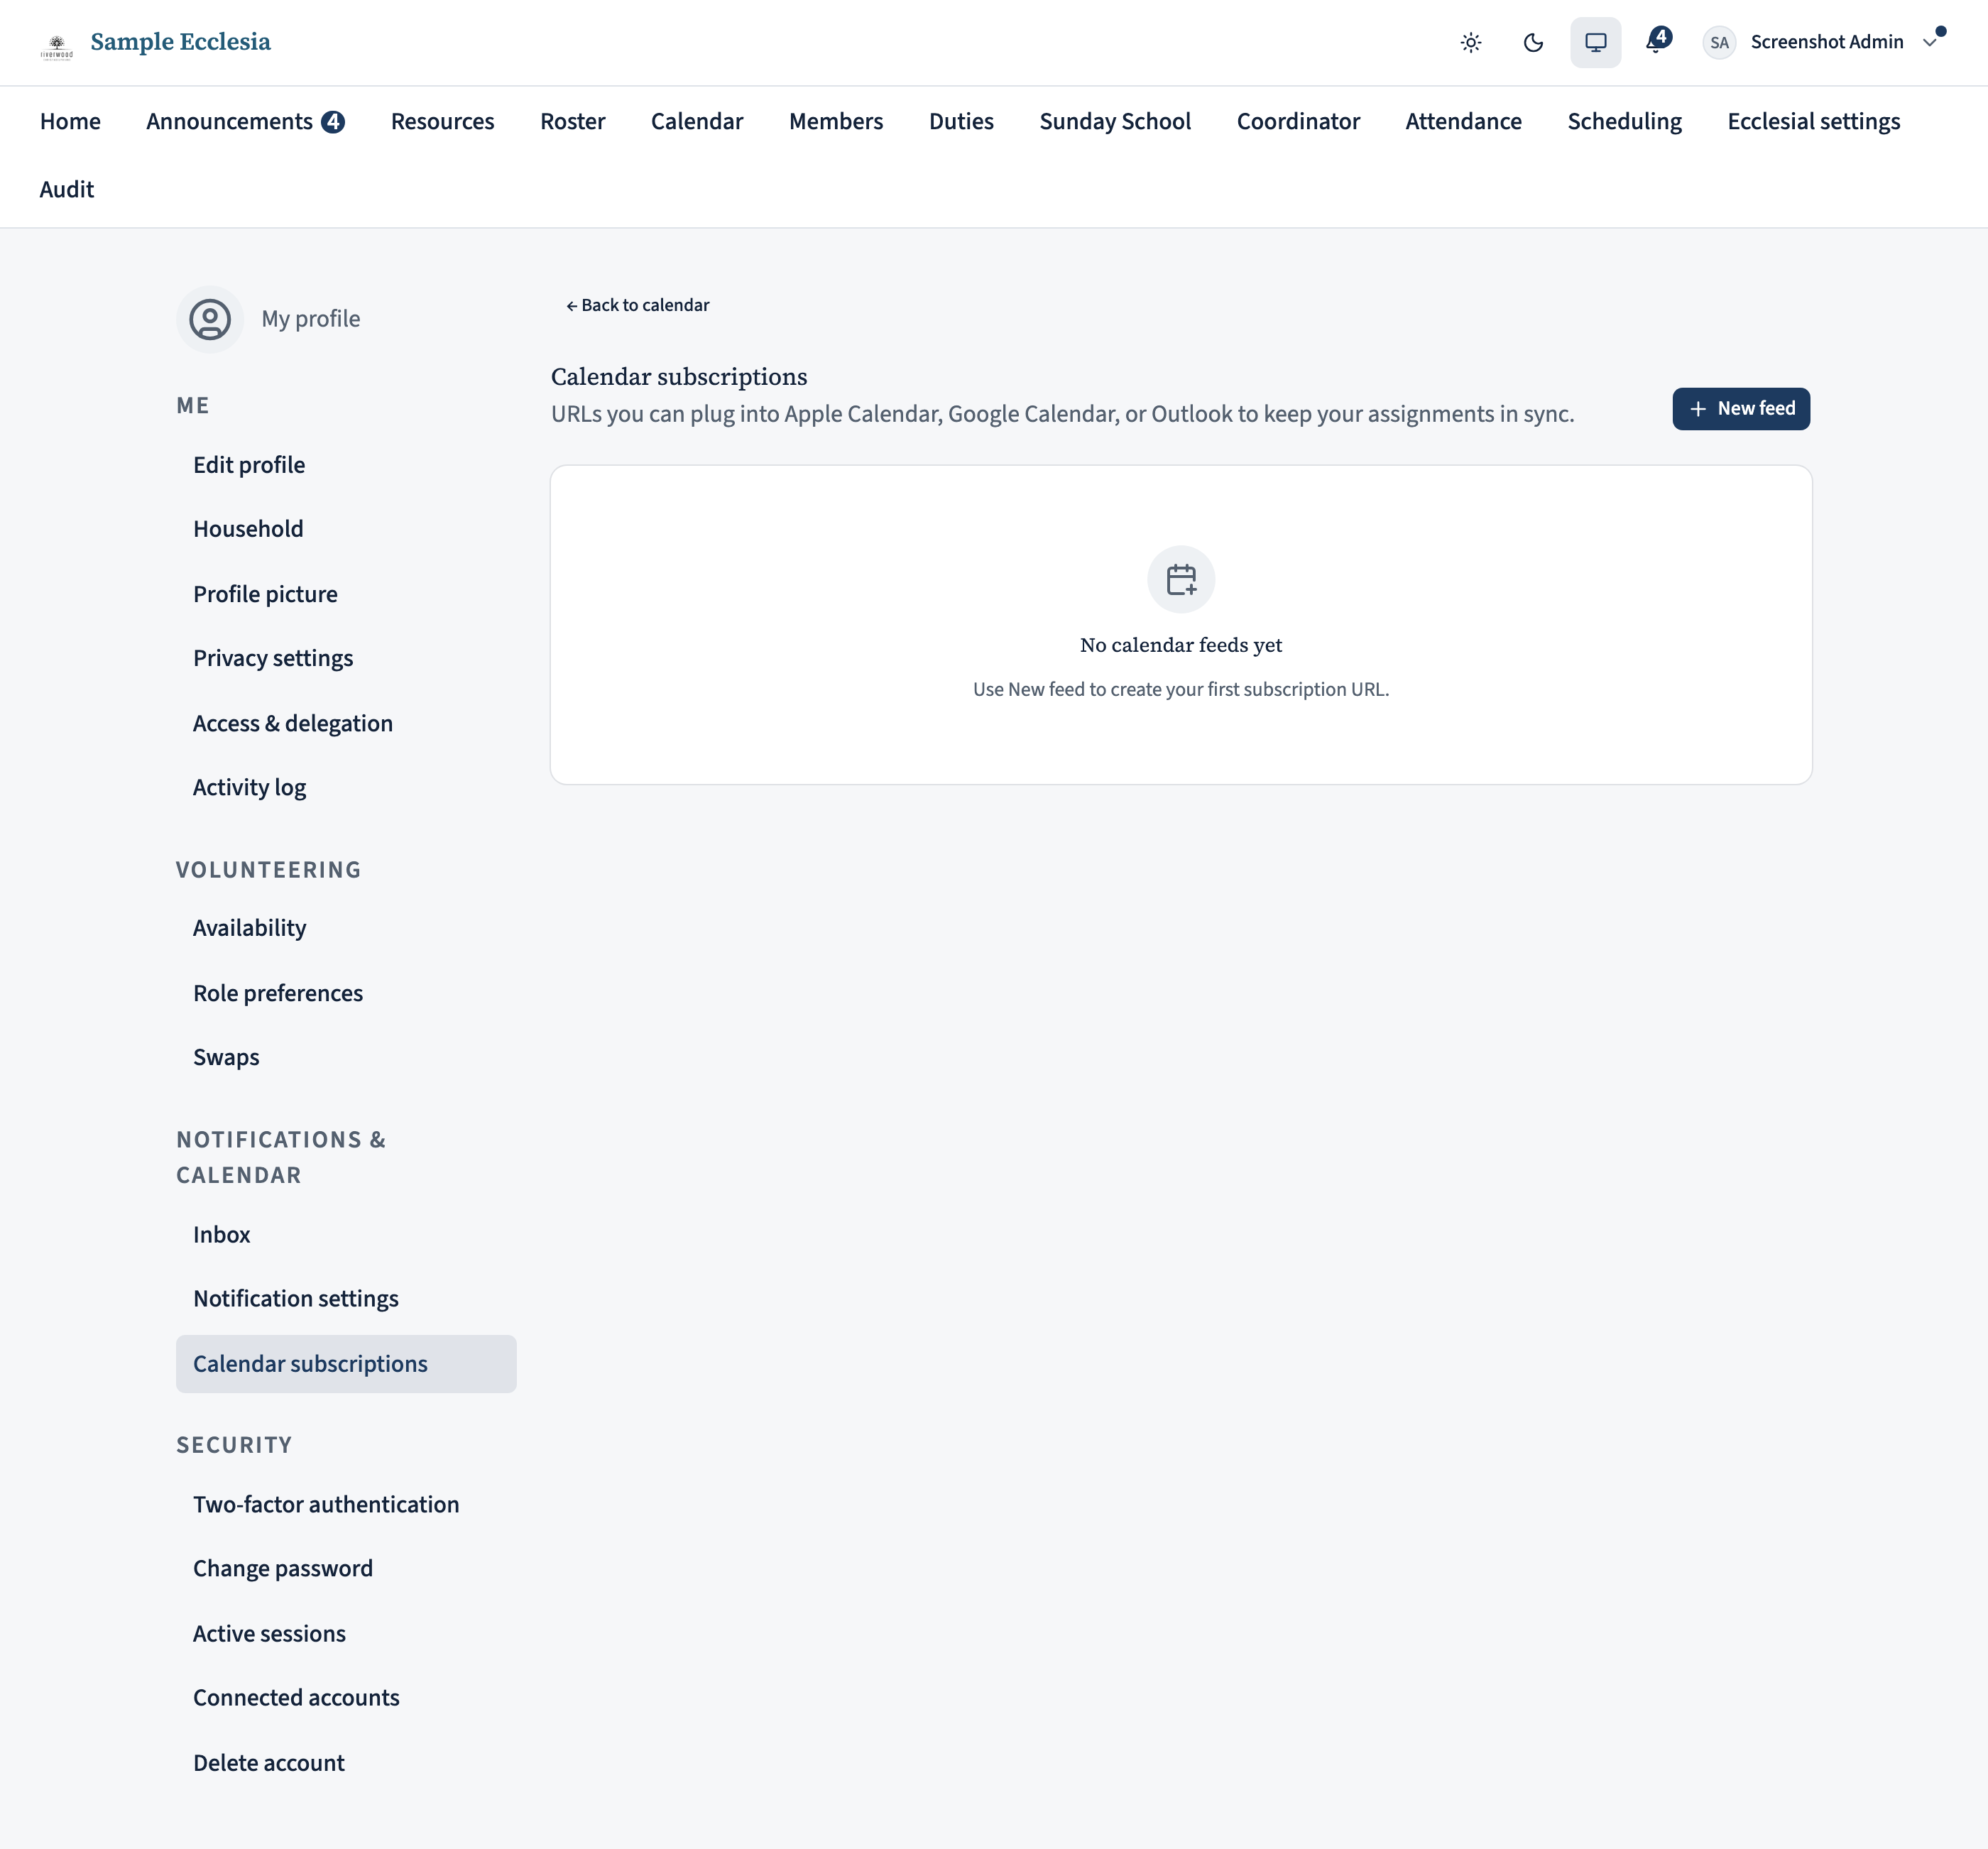
If you’d rather see your assignments in your regular calendar app, open My profile → Calendar subscriptions. Copy the personal feed URL and paste it into your phone or laptop’s calendar as a subscribed calendar. New assignments and cancellations flow through automatically — typically within a few minutes.
On the iPhone app
The iPhone app covers the same first run — signing in, getting your bearings on Home, and finding your duties.
Open the app. On the sign-in screen choose Face ID (if you’ve set it up), Sign in with Apple, Sign in with Google, or type your email + password and tap Sign in.
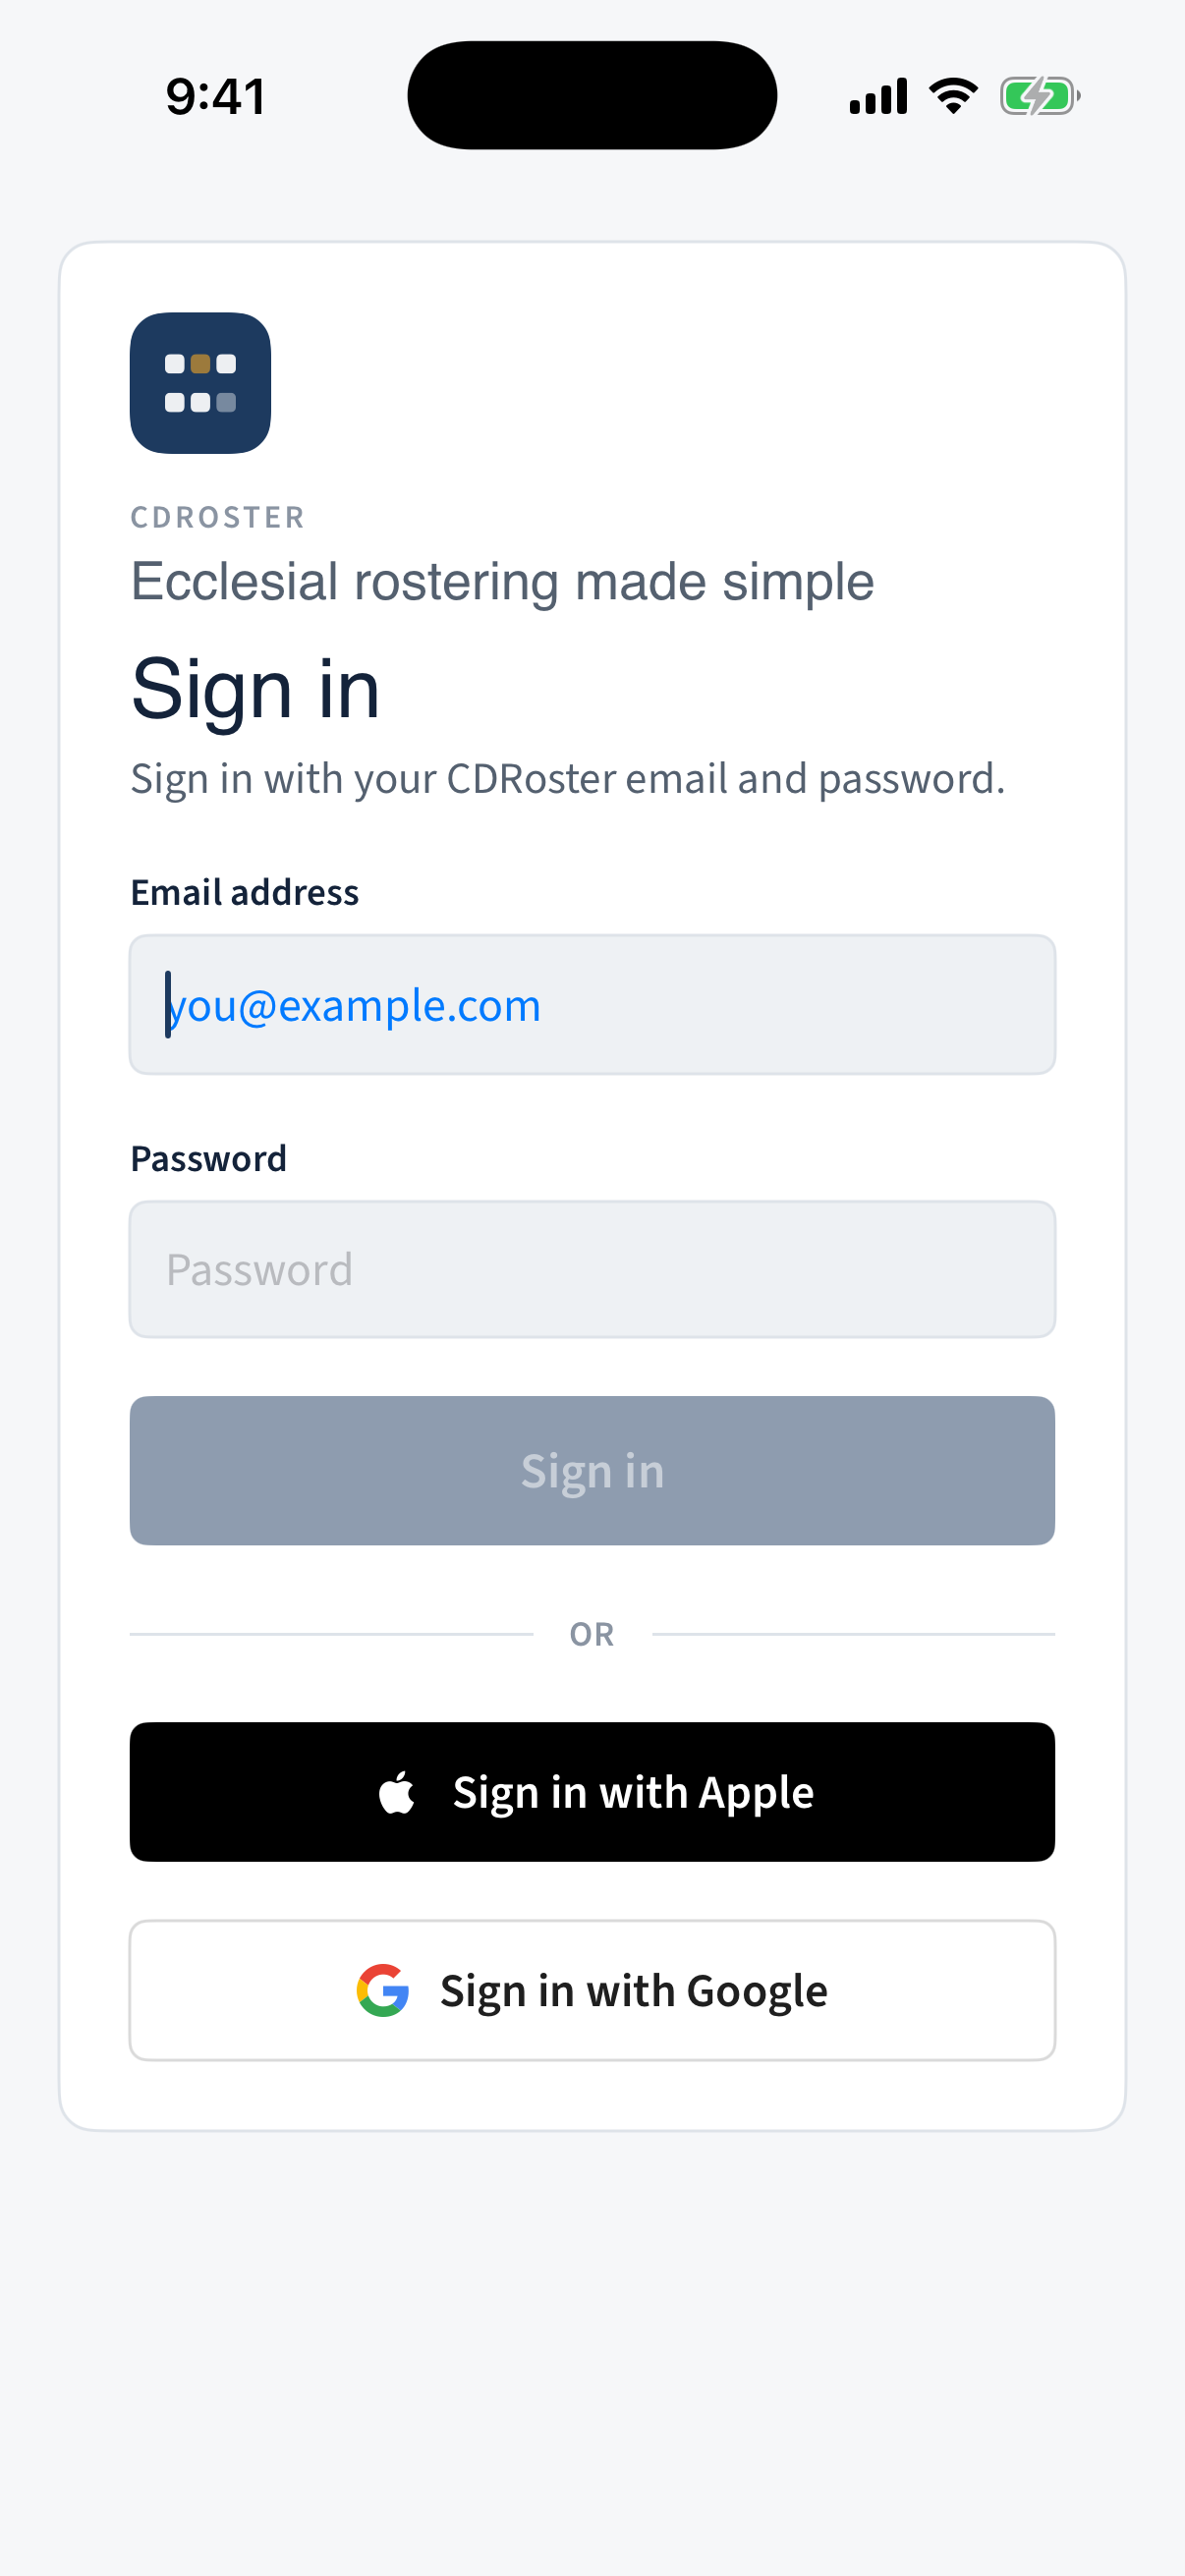
The app sign-in screen offering Face ID, Sign in with Apple, Sign in with Google, and email + password. You land on Home — a single news feed. Anything needing you (a live quiz, swaps, upcoming duties, forms to complete) sits at the top; announcements follow below.
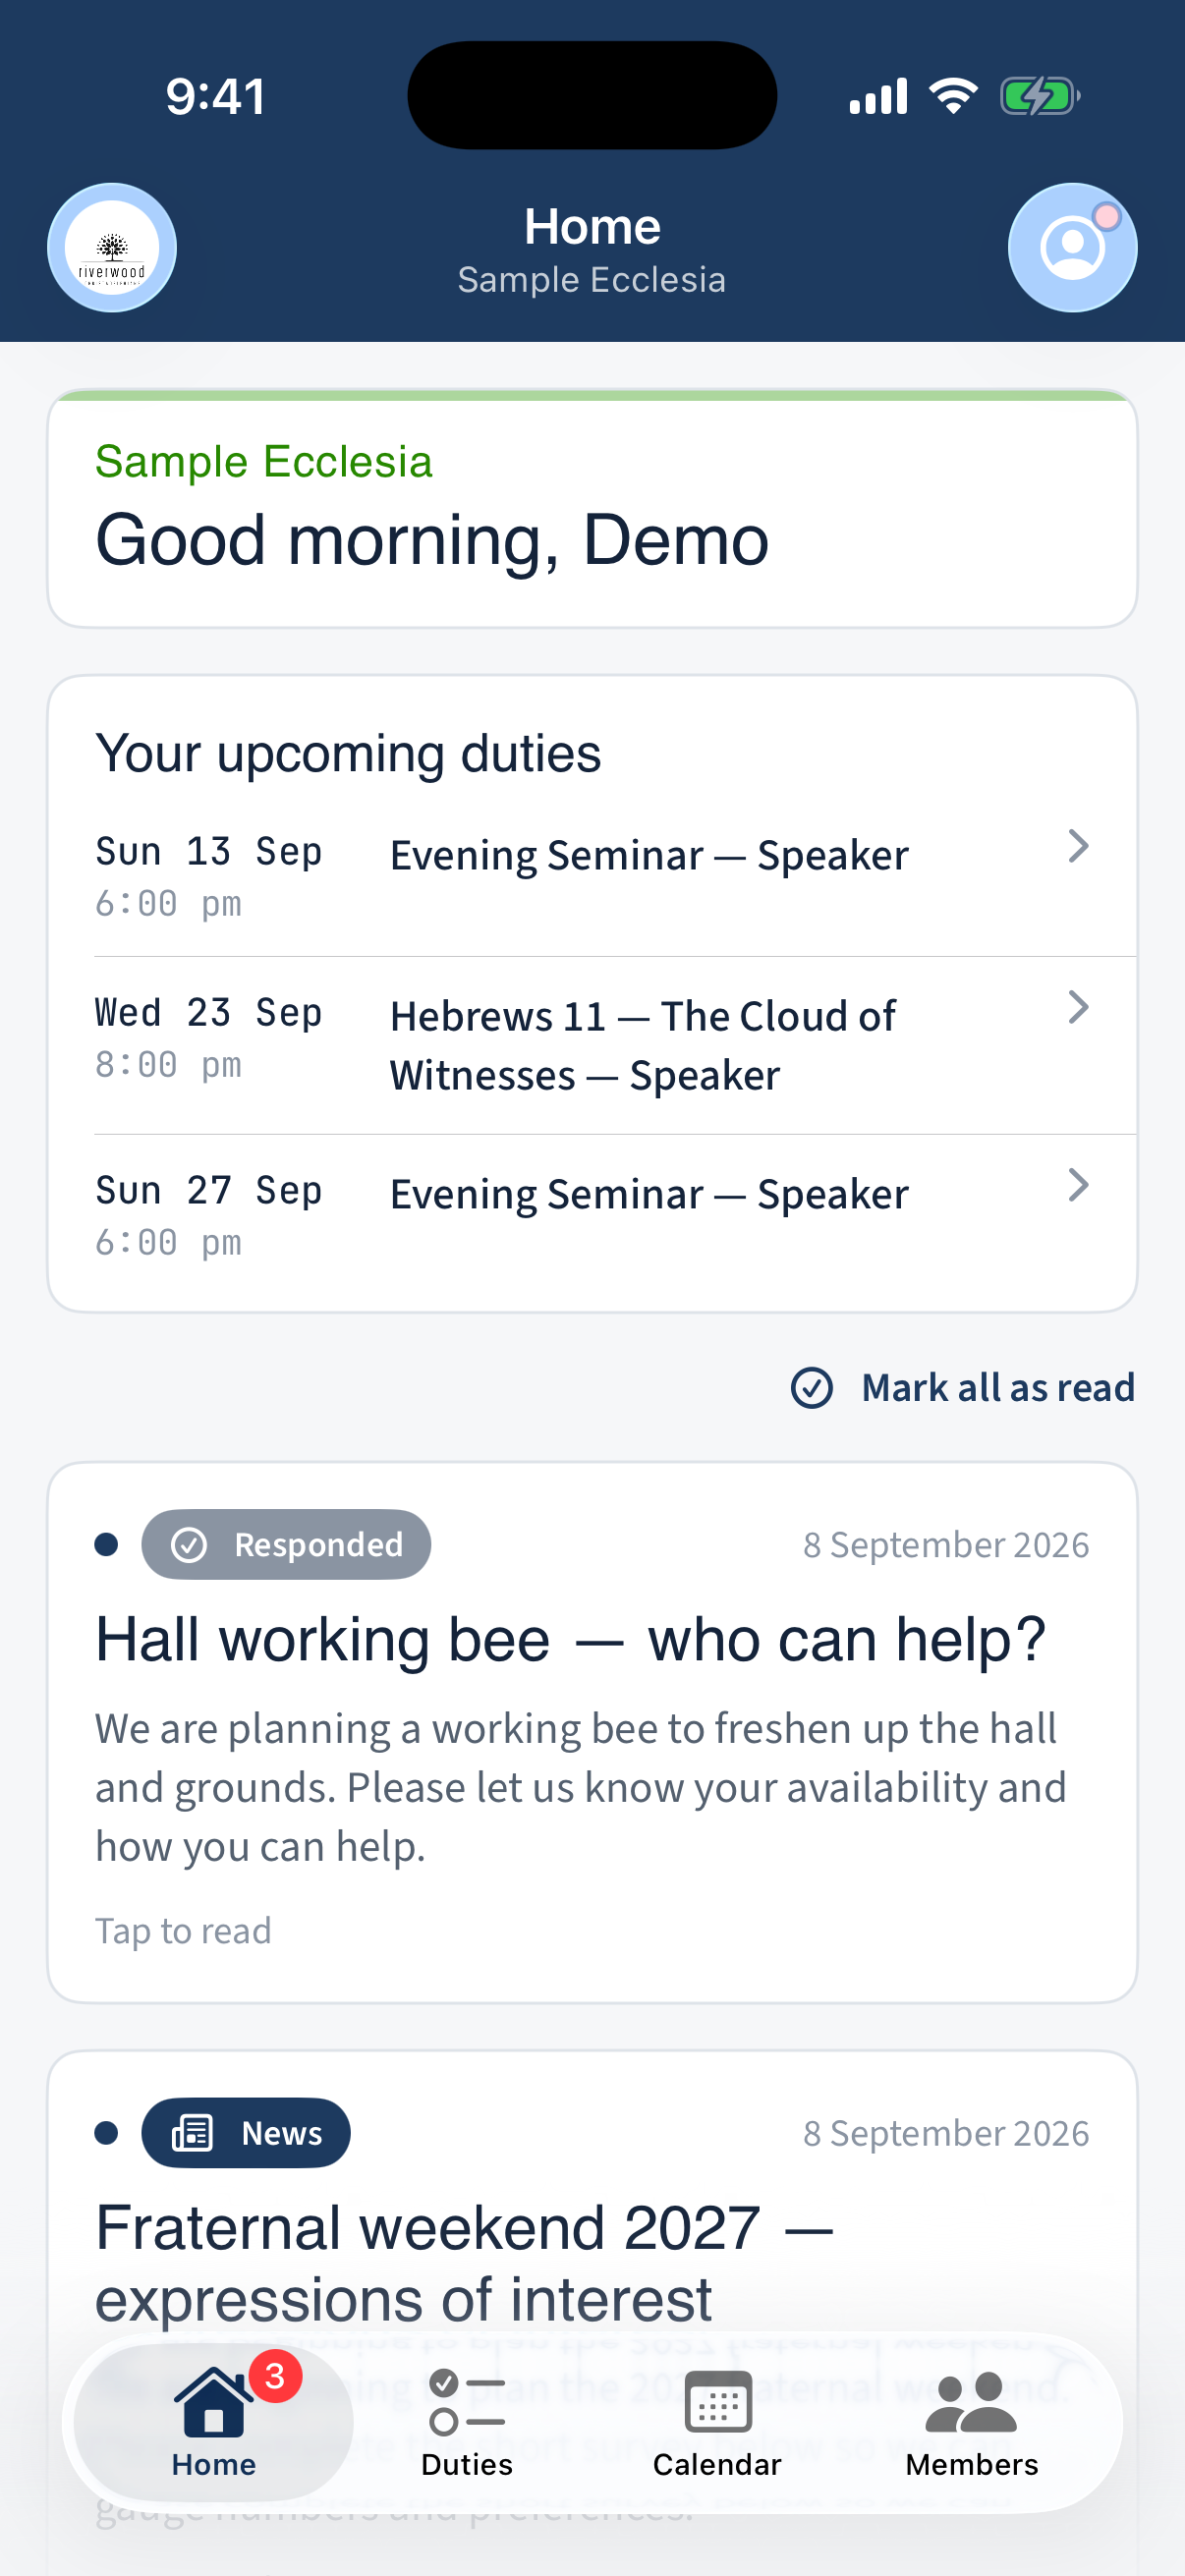
The app's Home feed with anything needing the member at the top, then announcements. Tap the Duties tab along the bottom to see your upcoming assignments; tap one to open the occurrence.
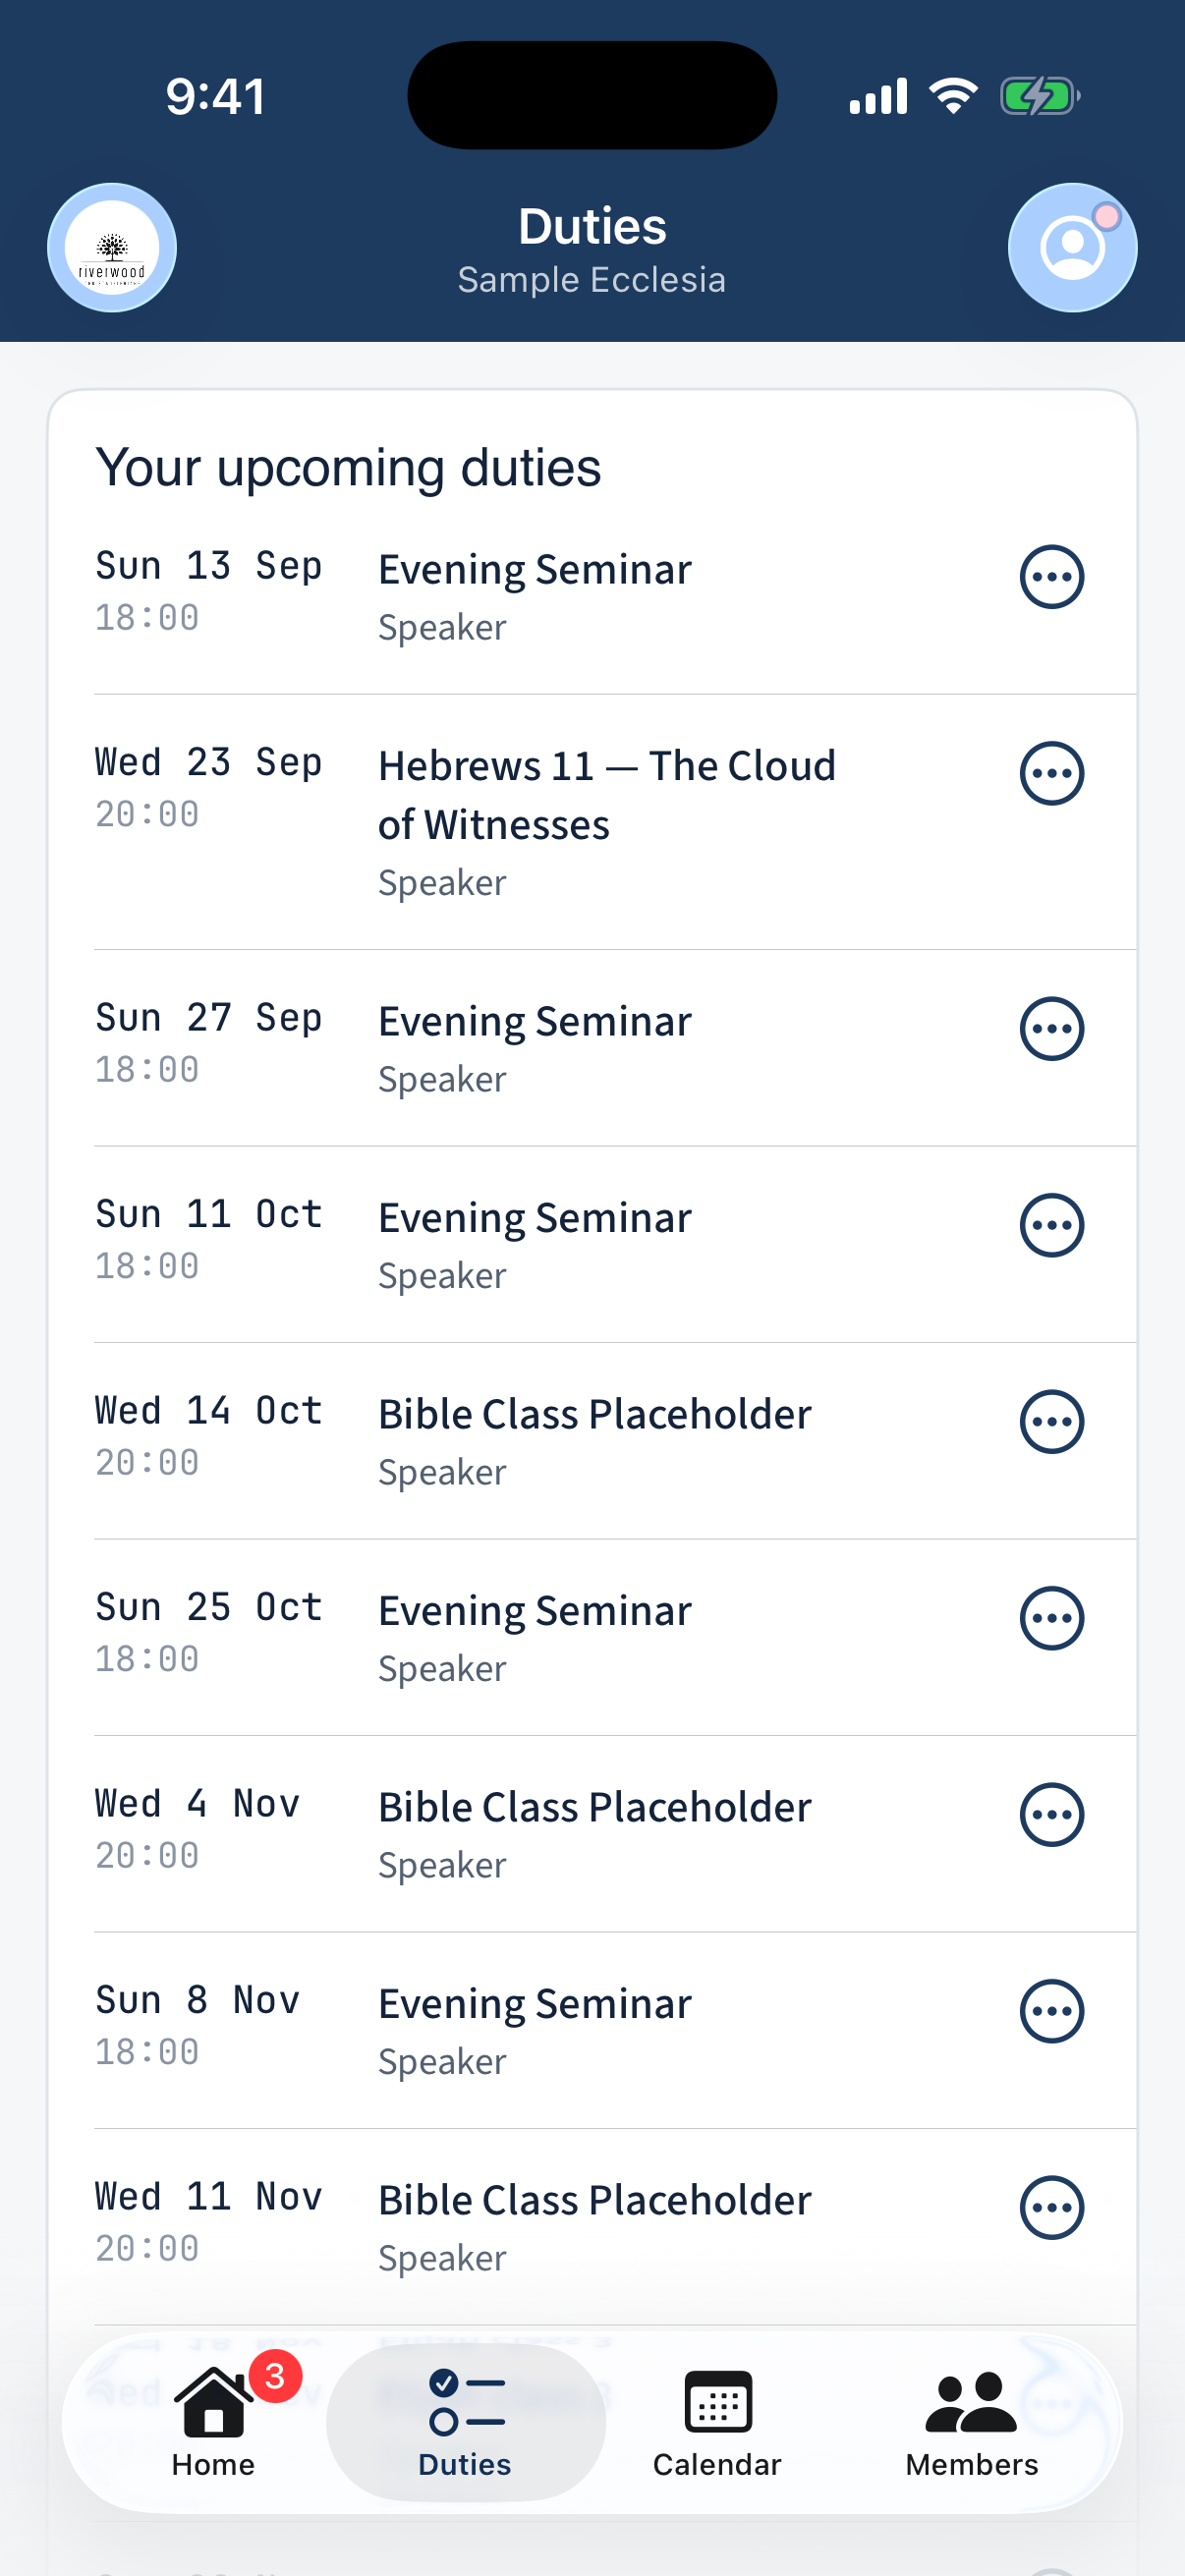
The Duties tab listing the member's upcoming assignments.
Different on the app: Signing in offers Face ID, Apple, or Google; Home is a single scrolling feed rather than a grid of cards.
What next?
- Managing your availability
- Submitting unavailability
- Got stuck? Your ecclesia administrator is the first line of support — they can see your account, resend the invitation, and reset your password if needed.