Sunday School: years, classes, teachers, and attendance
Sunday School is where you run your ecclesia’s classes: the academic year, the classes and who teaches them, who ’s enrolled, and the weekly attendance register — plus the working-with-children (child-safety) checks that gate who’s allowed to teach.
Everything here is available to anyone with the Sunday School superintendent role (which grants the same access as a coordinator), and to coordinators and administrators. A member who is only assigned to teach a class sees a slimmer version — just their own classes and registers. A couple of tasks (defining the set of credentialtypes, and turning on the parent-attendance setting) are administrator-only; those are called out where they come up.
Every Sunday School page shares a left-hand menu (on a phone it folds into a “Sunday School sections” drop-down at the top) with three groups: Sunday School (classes, years, attendance, statistics), Child safety (the compliance report and credential tools), and Setup. The steps below name the menu entry to open.
Reading time: about ten minutes.
Open Sunday School and set up the year
Click Sunday School in the top navigation. Before anything else works — enrolments, sessions, attendance — you need a year: the academic period everything hangs off, usually September through to the following exam.
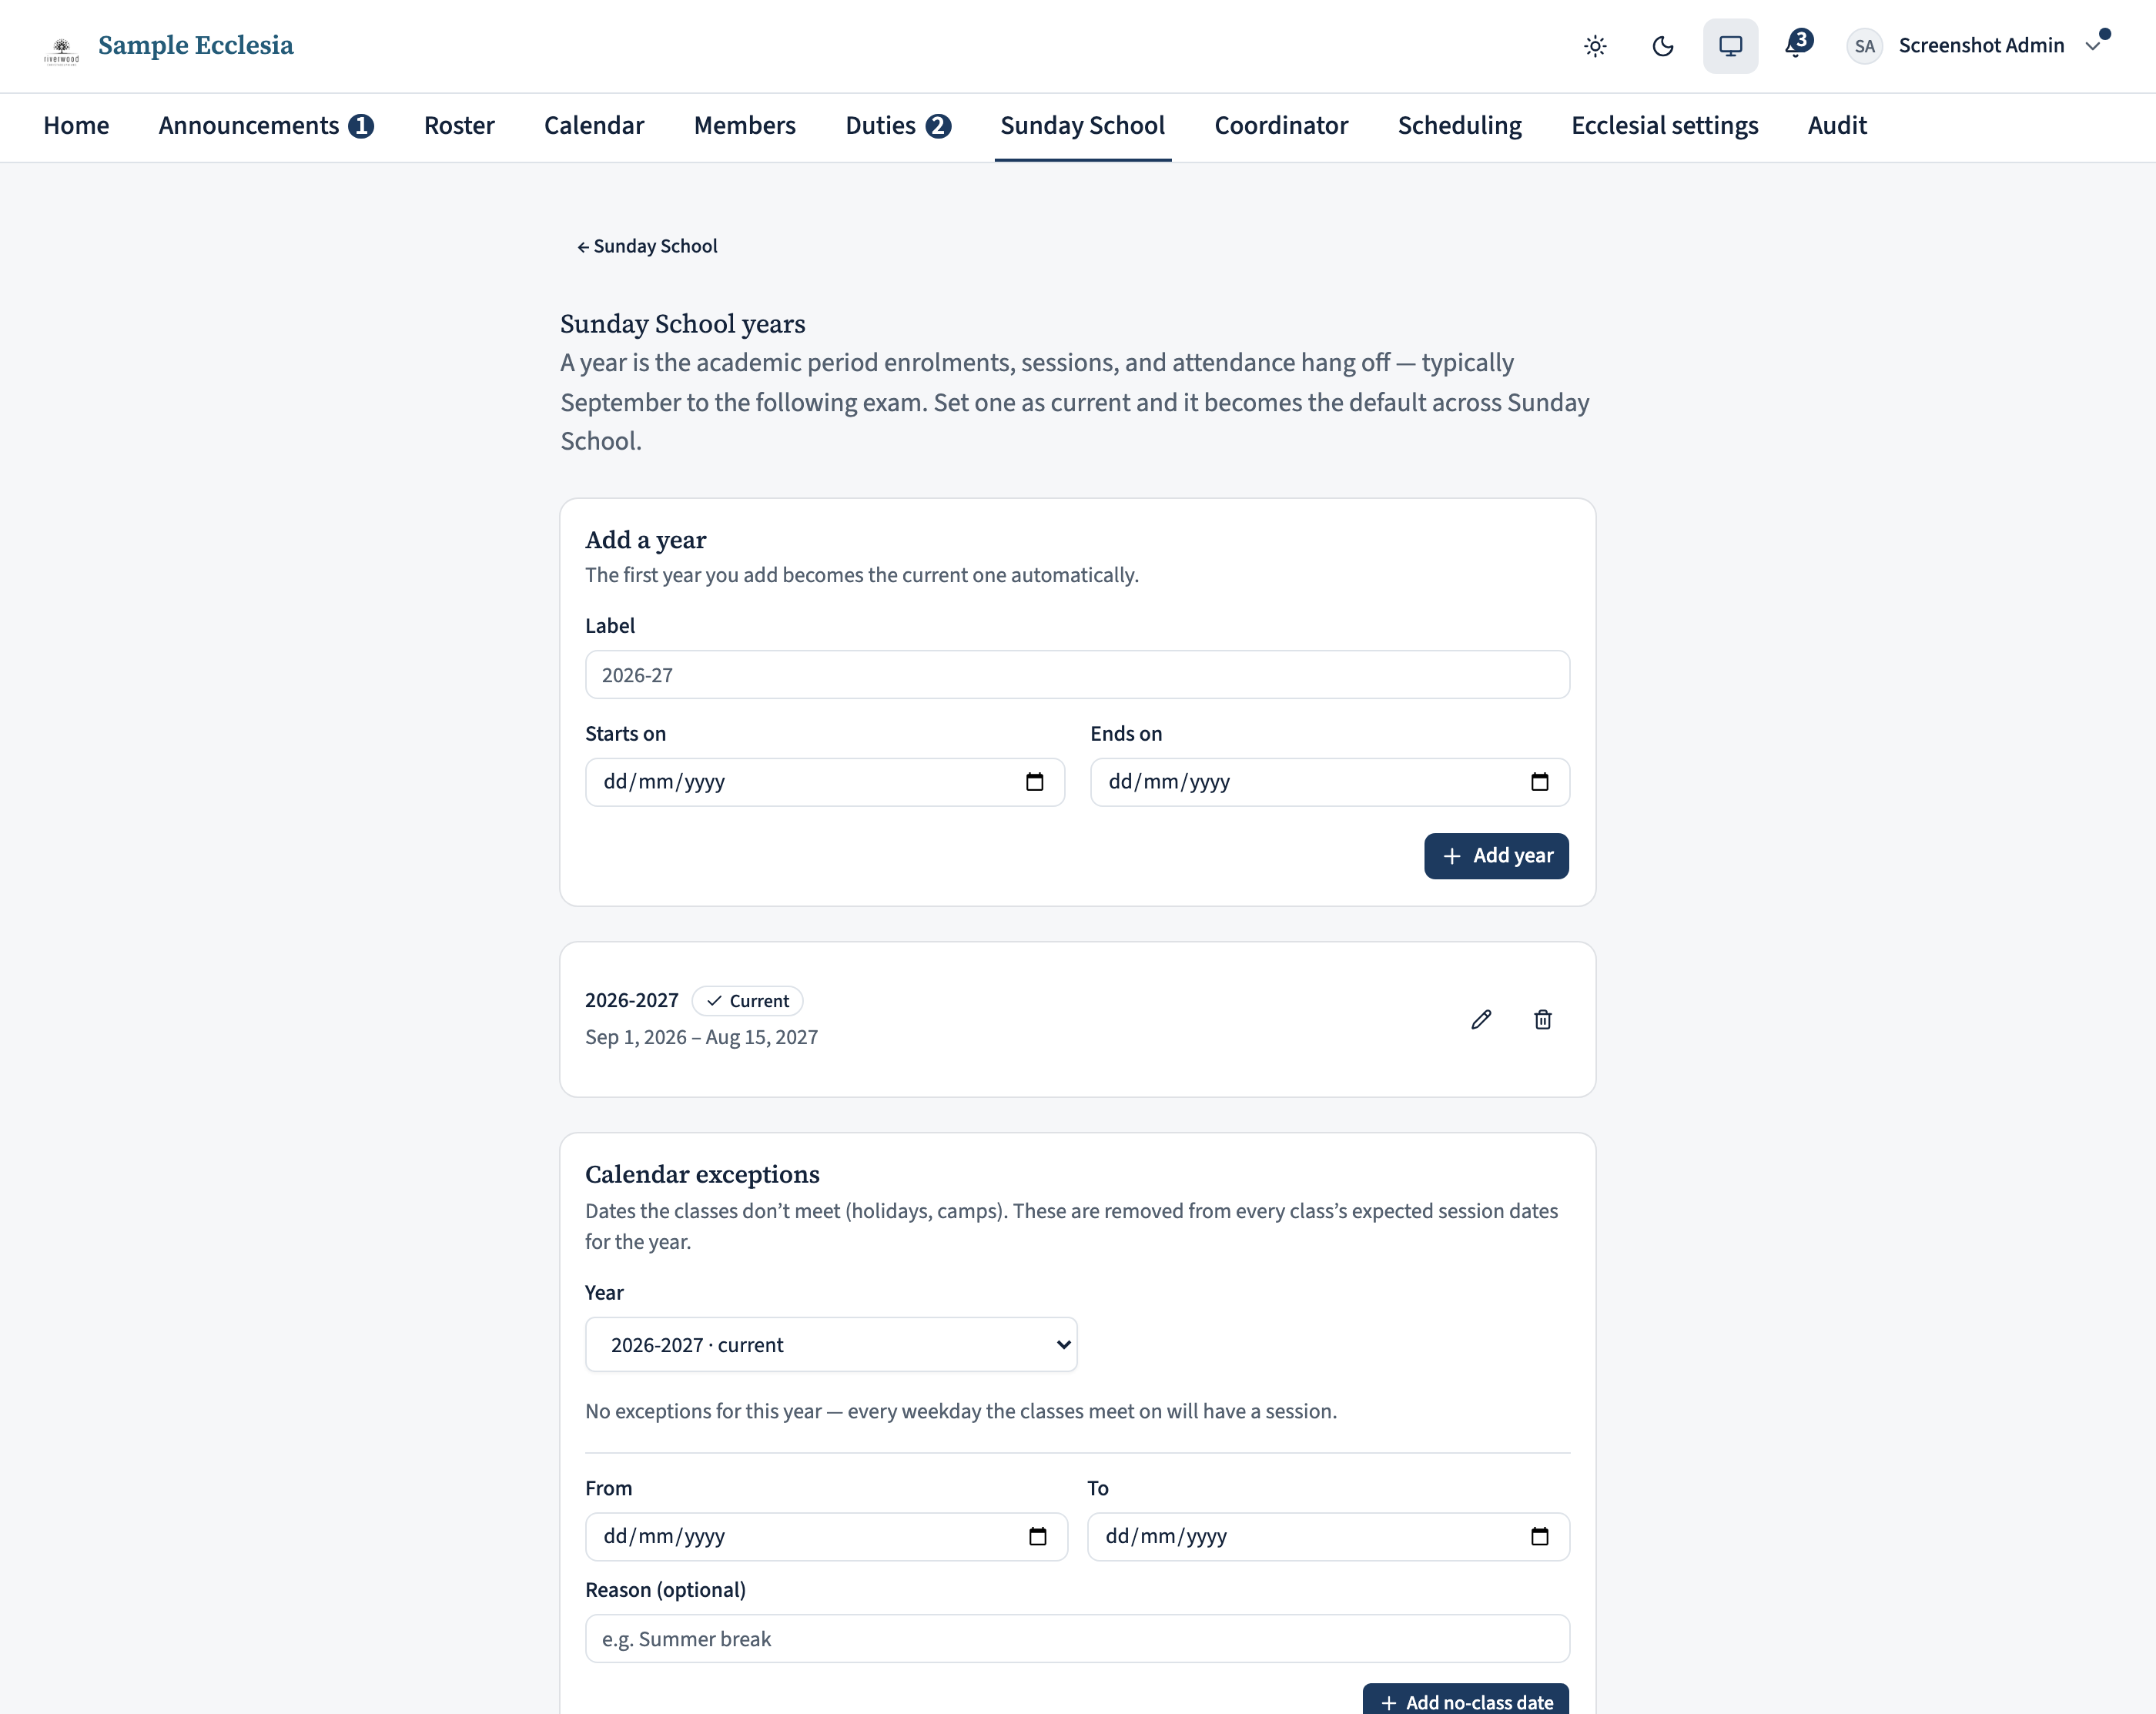
Open Years in the left-hand menu. Give the year a label (for example 2026-27), a start date, and an end date, then Add year. The first year you add automatically becomes the current one; after that, use Set current on any year to switch. The current year is the default everywhere in Sunday School.
When you create a year you can tick Seed enrolments from minors’ years of birth. That does the tedious first pass for you: it looks at every minor in your membership and enrols them into the class whose age range fits their year of birth, across all classes at once. Children with no year of birth on file are skipped and reported so you can fill the gaps by hand. You can still add and remove people afterwards — seeding is just a starting point.
Mark the weeks classes don't meet
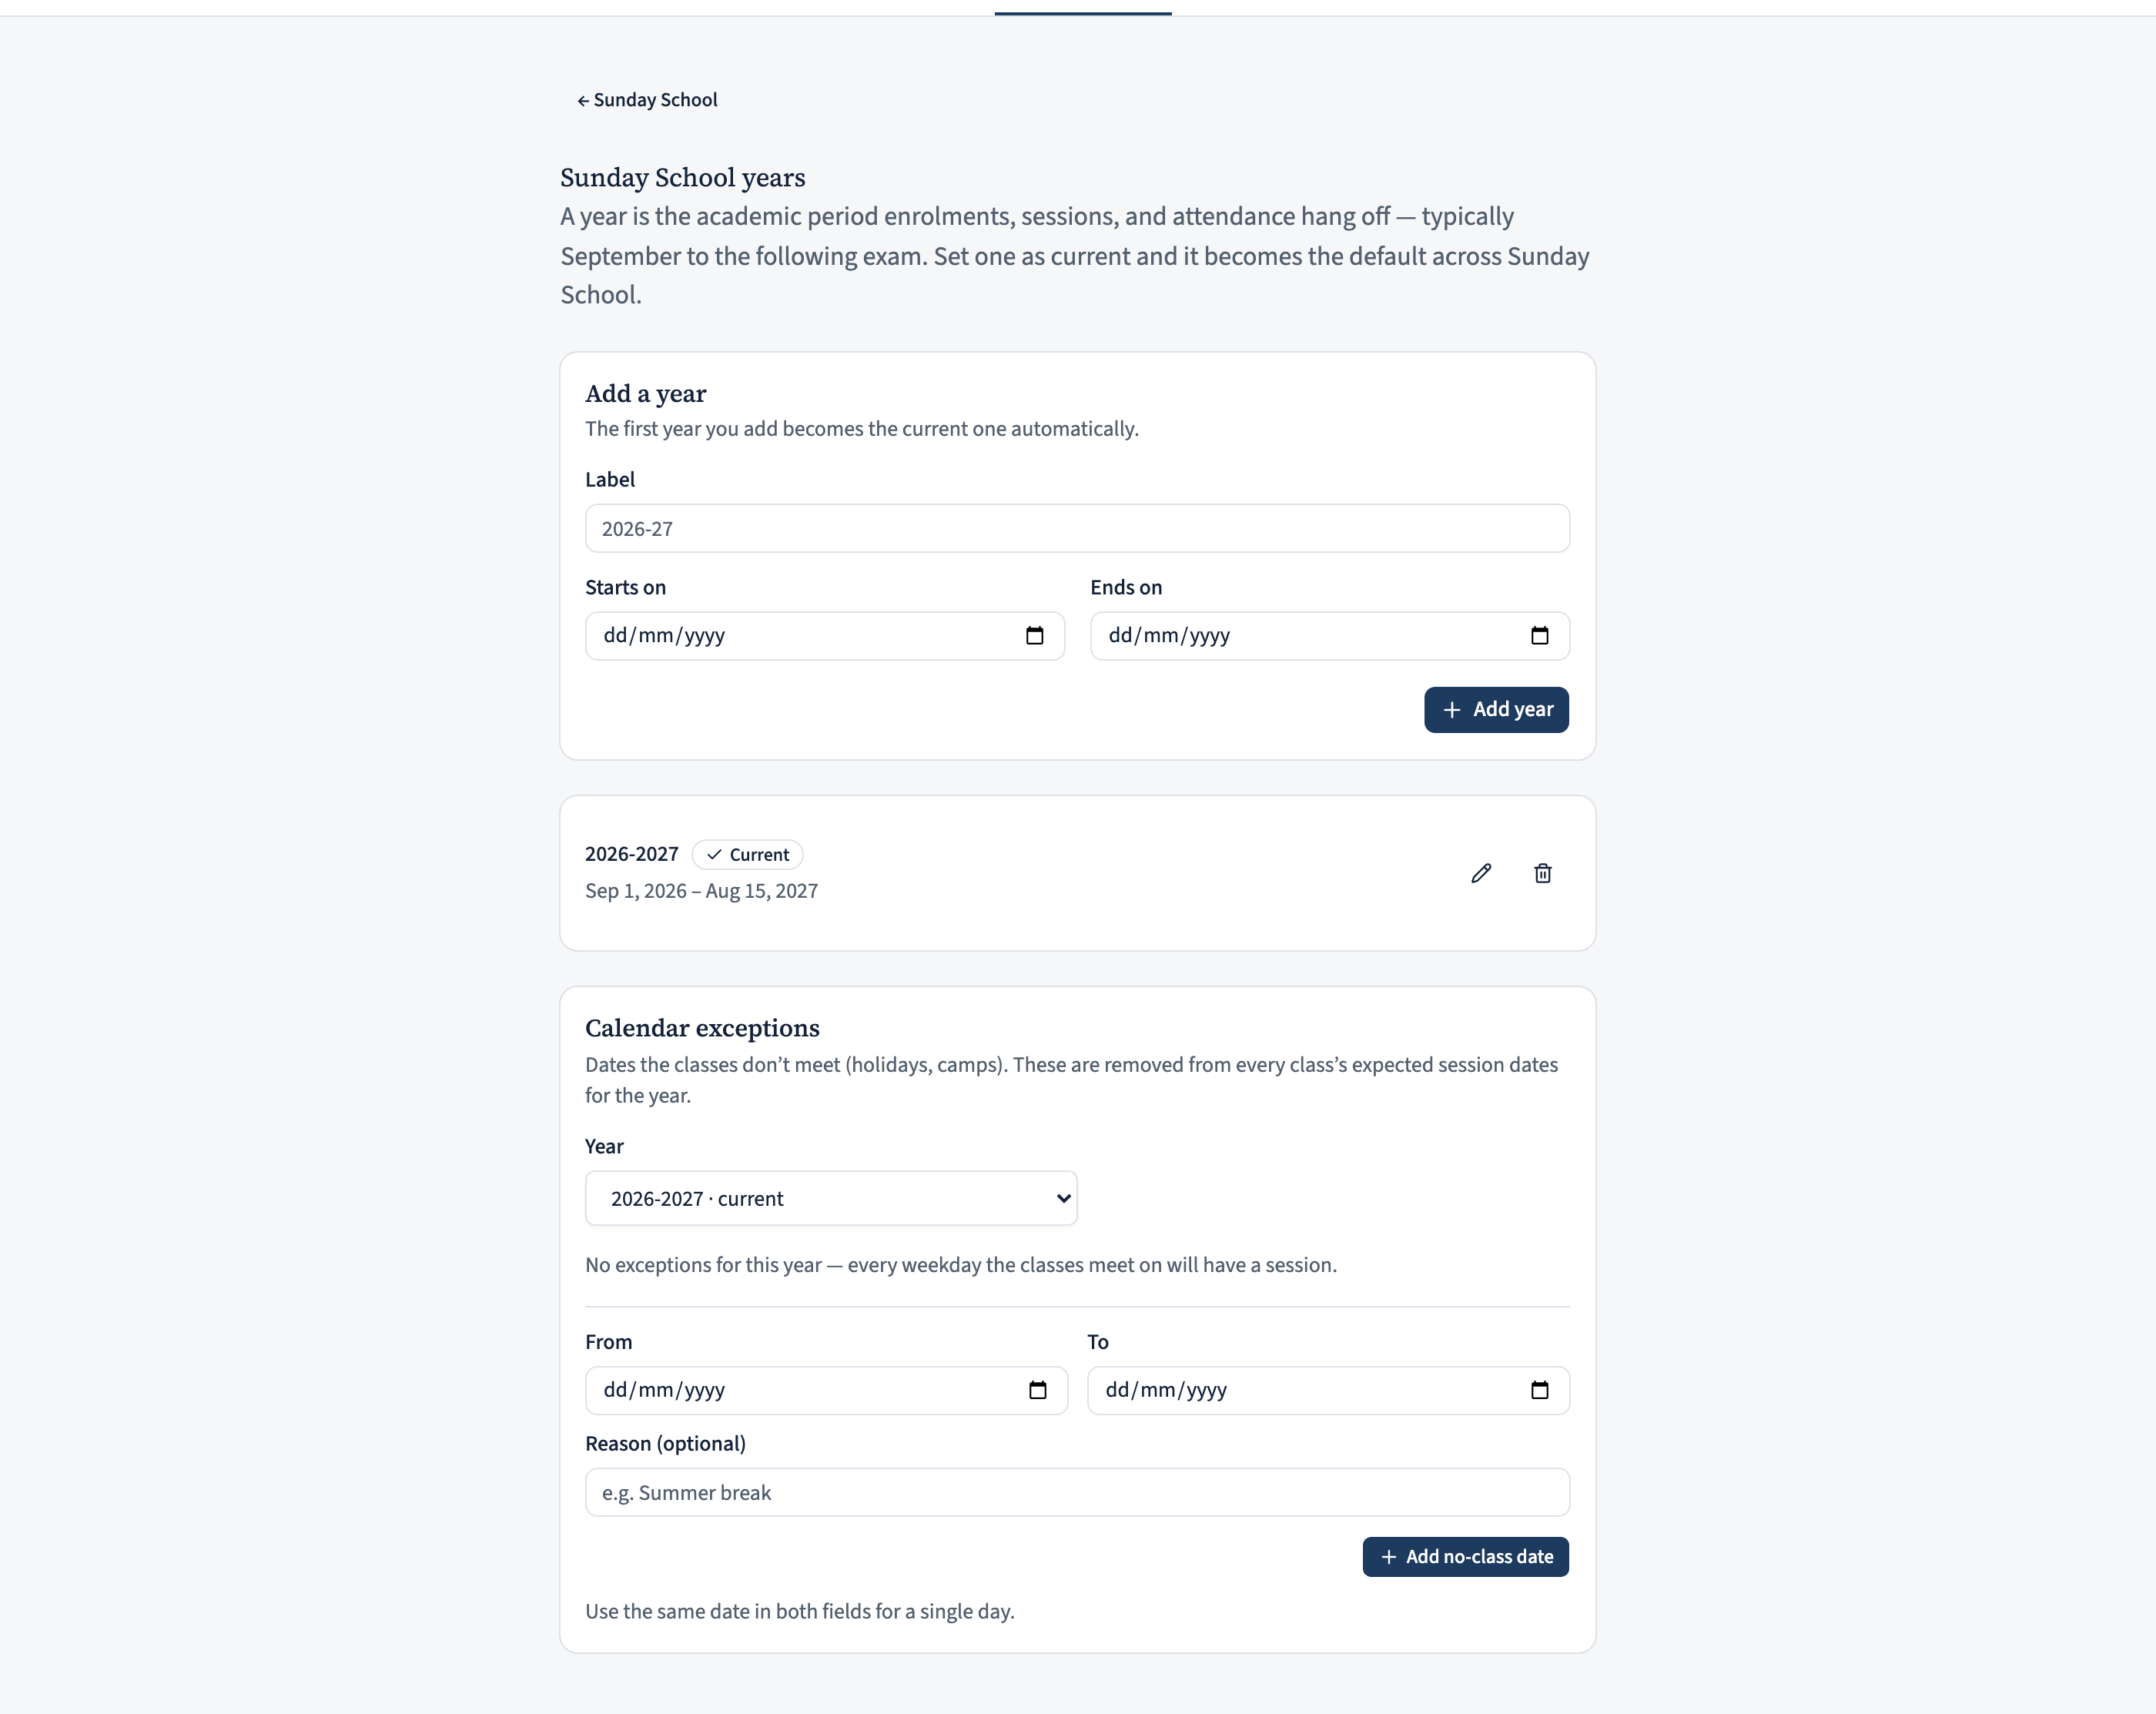
Still on the Years page, the Calendar exceptions card is where you record the dates classes don’t meet — holidays, camps, the summer break. Pick the year, then add a From and To date (use the same date in both for a single day) and an optional reason.
This matters because a class’s expected session dates are worked out automatically — every week it meets, across the year, minus these exceptions. Get the exceptions right and the attendance registers line up with your actual calendar.
Create your classes
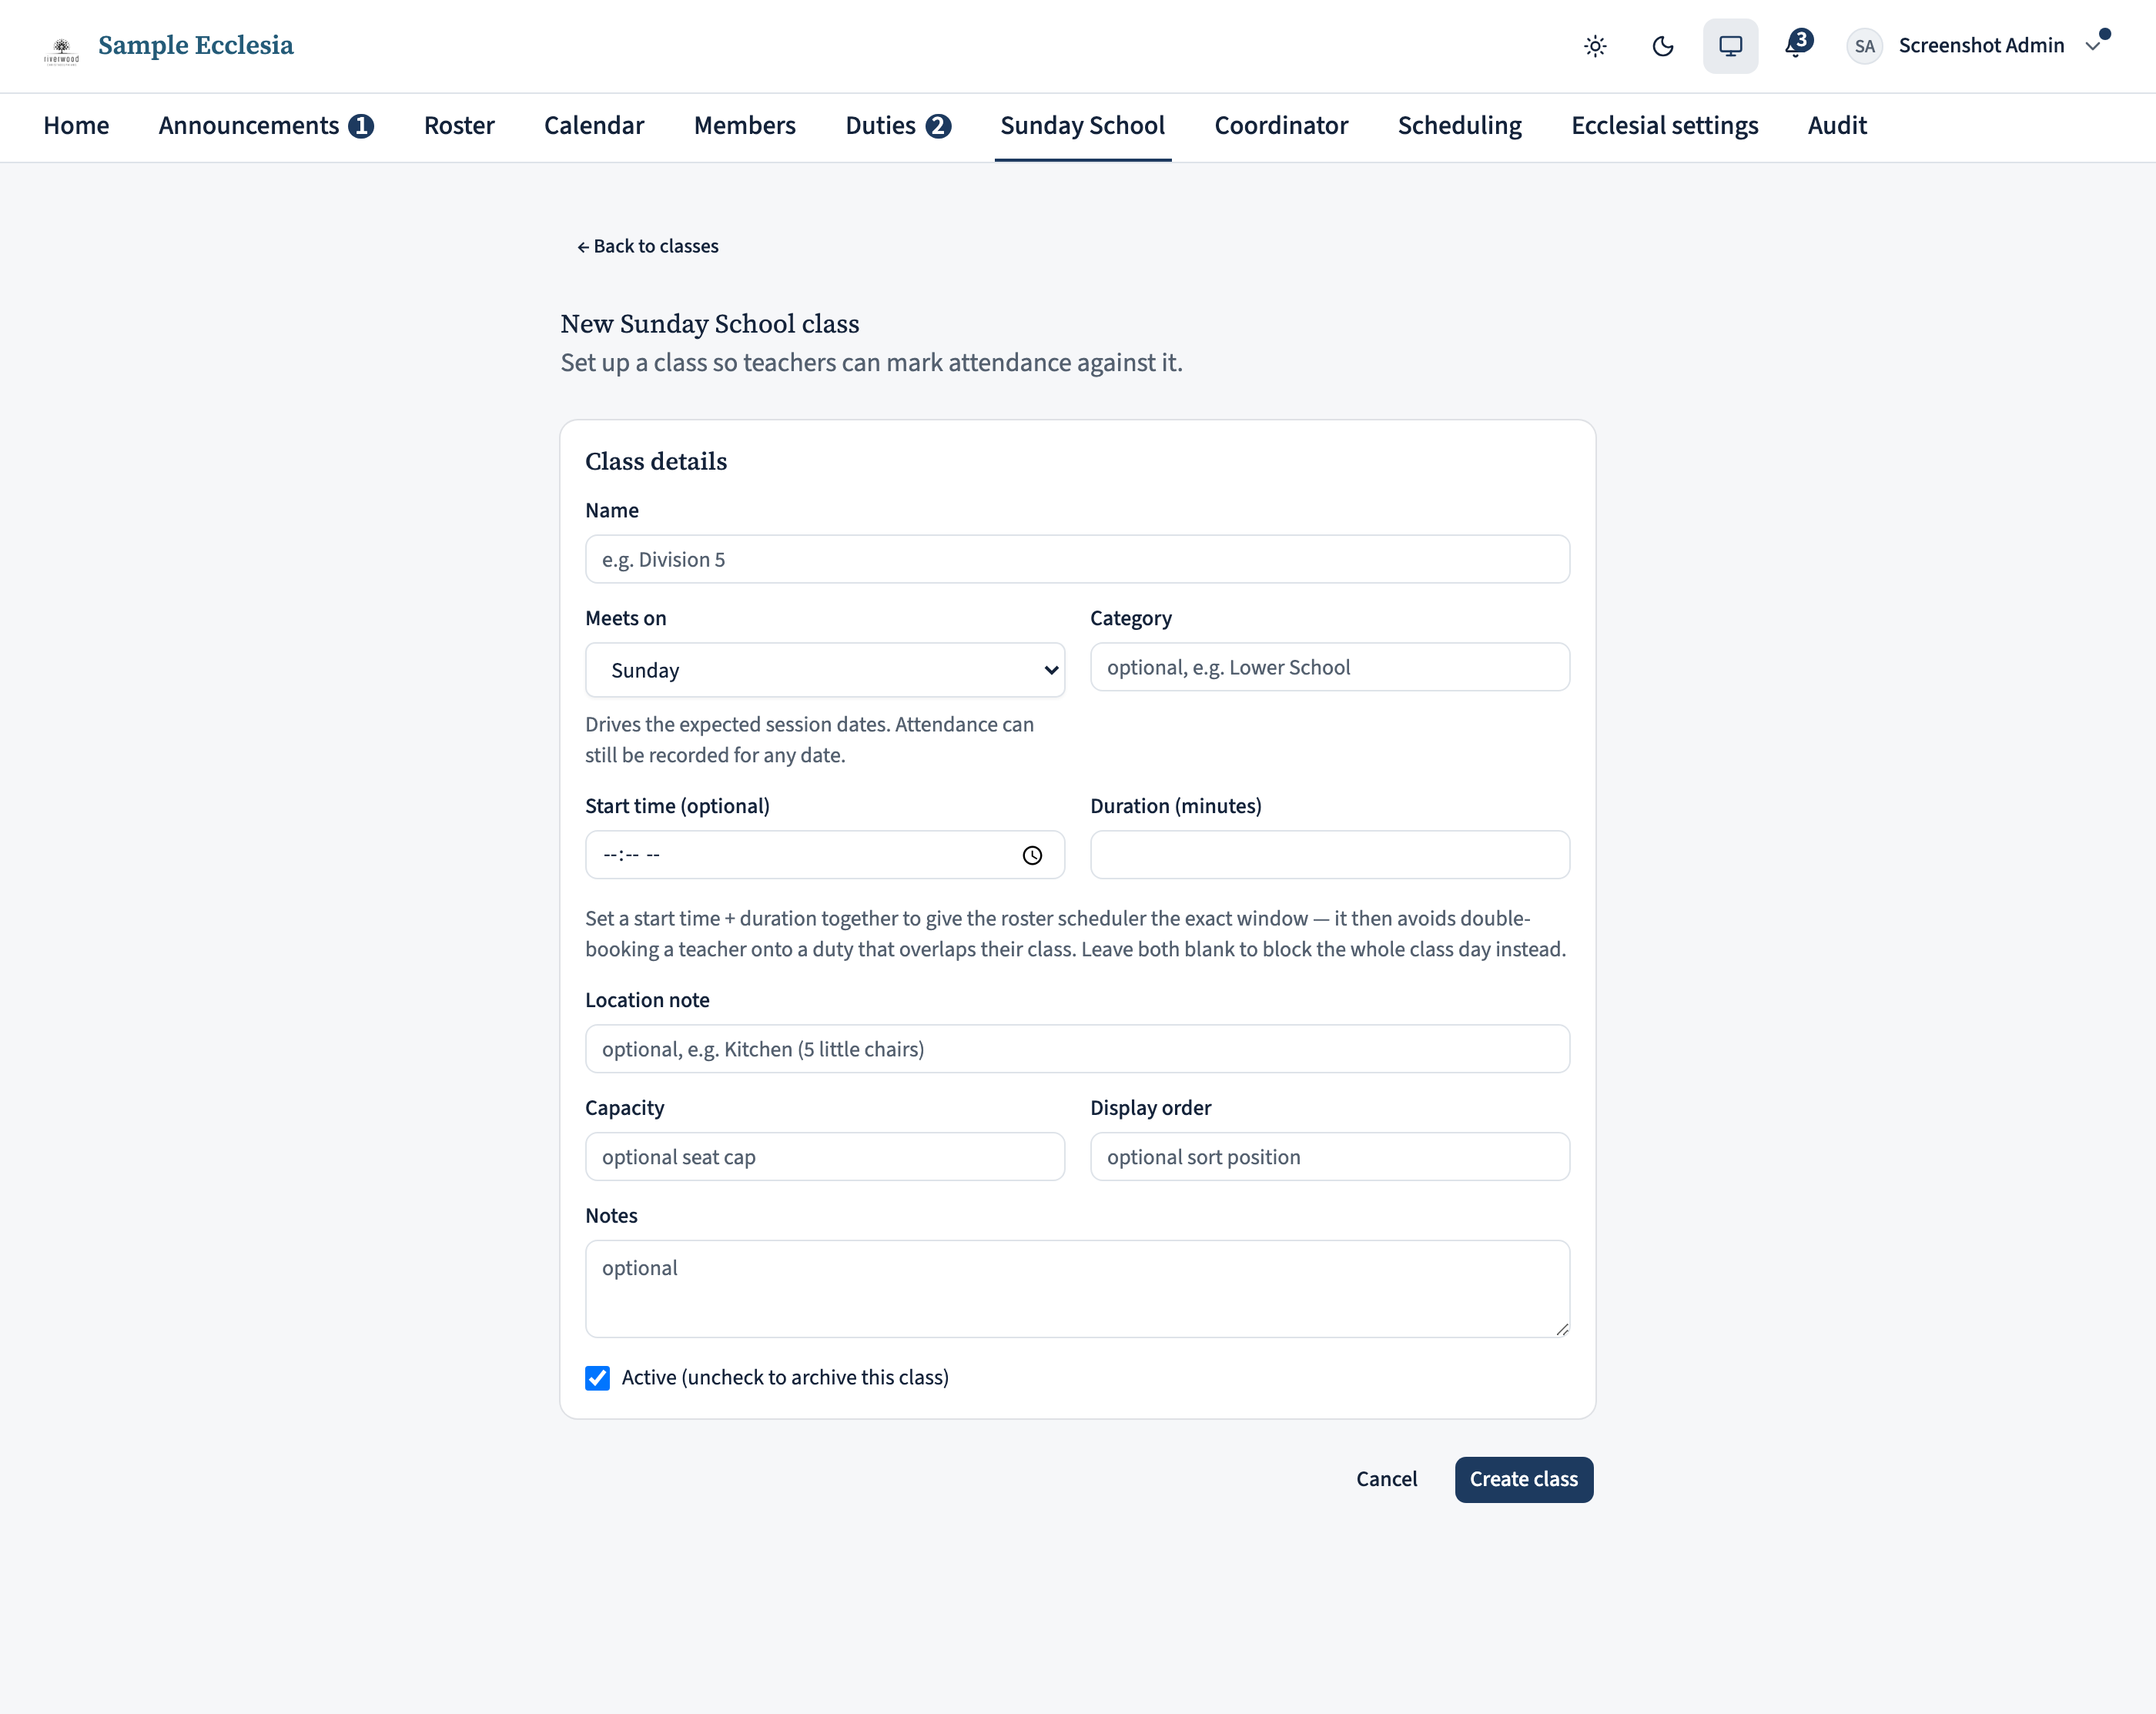
Back on the Sunday School page, click New class. Give it a name (e.g. Division 5) and the weekday it meets — that weekday, together with the year and its calendar exceptions, is what generates each class’s list of session dates.
Set an age range if you want the year-seeding in step 1 to place children into this class automatically. Category, location note, and capacity are optional labels. Save the class and it appears in the list, where each row links to its sessions and (for staff) its Enrolments and Edit controls.
A class can still carry its own start time and duration, but that field is being retired. The tidier way to set when Sunday School meets is a single recurring event for the whole hour — that’s the next step.
Set the weekly meeting time
Rather than give each class its own time, set one meeting time for the whole of Sunday School as a recurring event. It puts Sunday School on the calendar and, because it is flagged as the Sunday School session, the roster keeps your teachers free from other duties during that hour.
Two small parts:
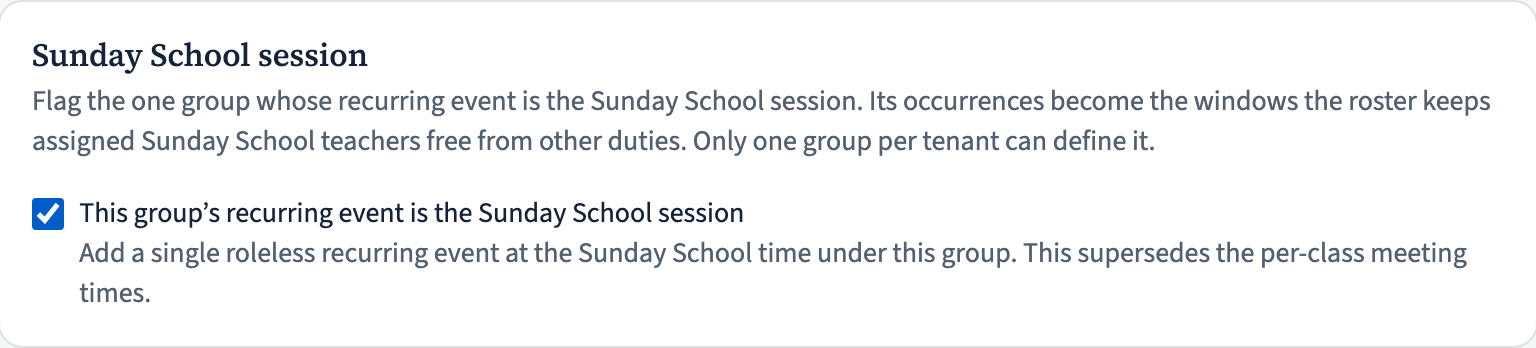
- Go to Manage → Groups, open (or create) the group your Sunday School belongs to, click Edit, and tick This group’s recurring event is the Sunday School session. Only one group per ecclesia can hold this flag.
- Under that same group, add a single recurring event at the Sunday School time — say Sundays at 9:30 AM. Leave its role slots empty: it’s a plain calendar entry marking when class runs, not something the scheduler needs to fill with volunteers.
That one event now represents Sunday School on the calendar and supersedes setting a start time on each individual class.
Add teachers — and the child-safety check
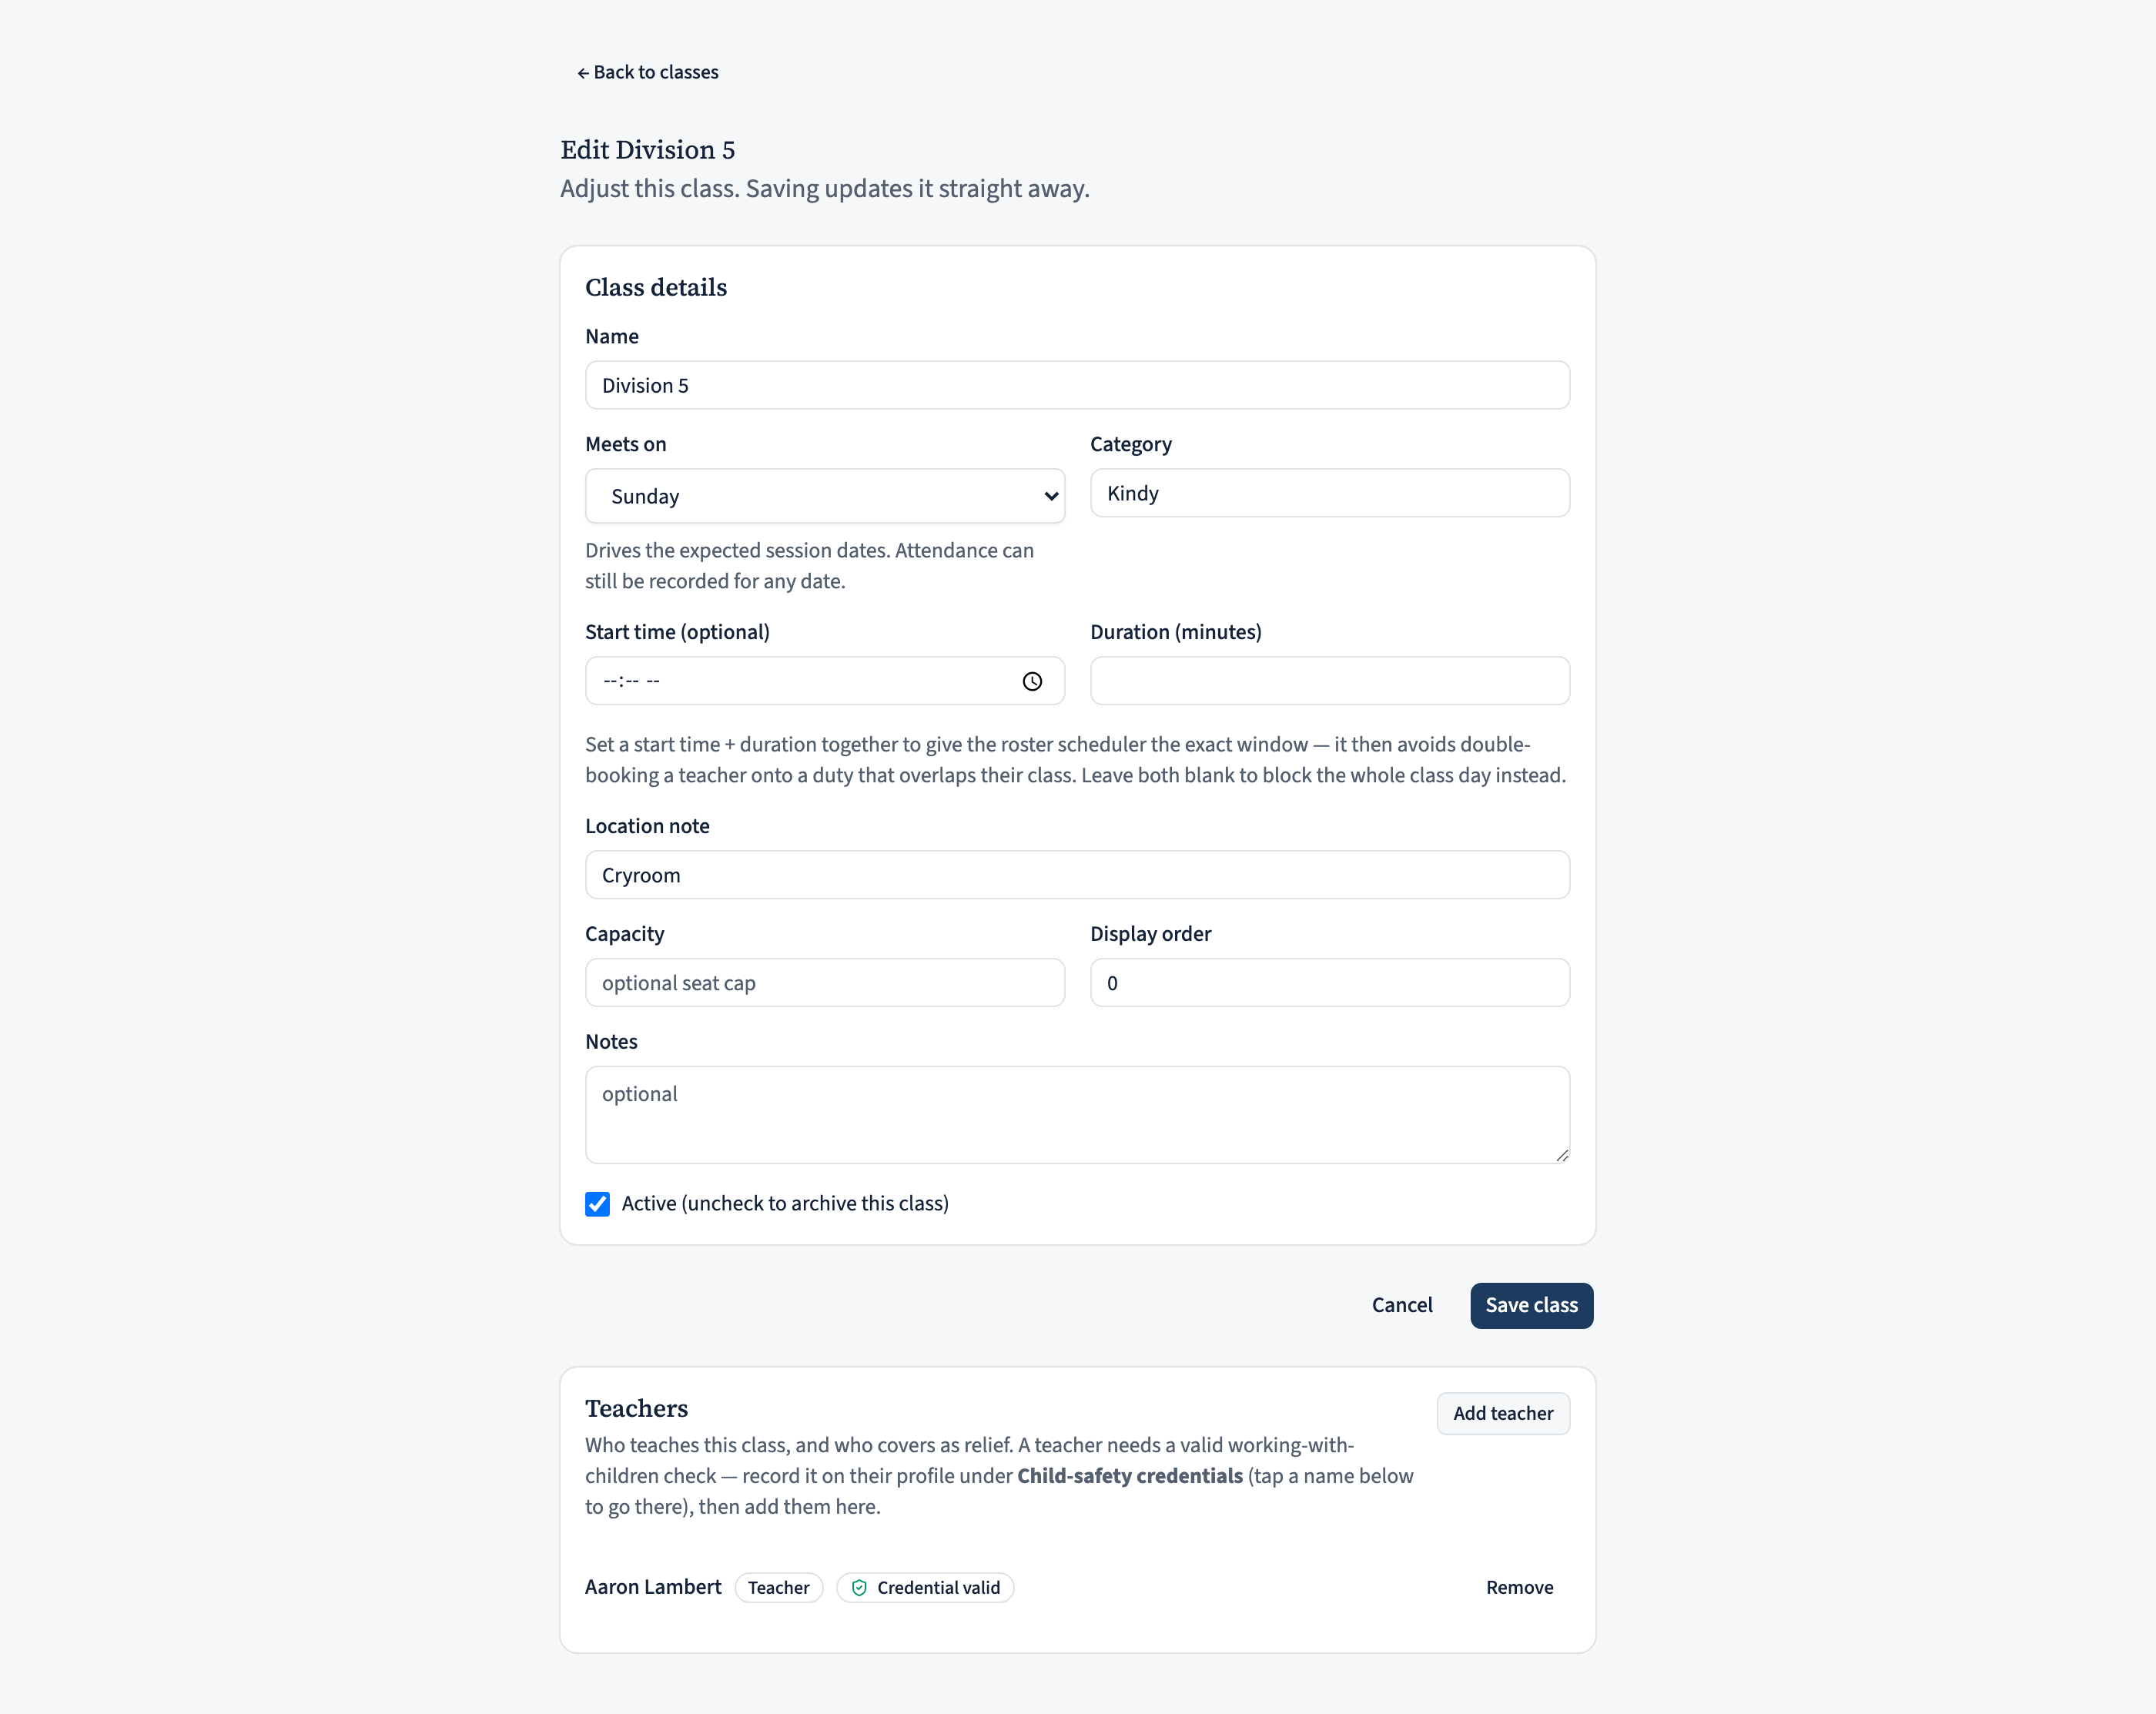
Open a class and click Edit to reach its Teachers card. Add each teacher (or a relief who covers as backup). Every teacher shows their child-safety status — Credential valid or No valid credential.
A teacher must have a current working-with-children check before they can be added — if they don’t, you’ll be told to record it first. Tap the person’s name to open their profile, and under Child-safety credentials record their check (type, reference number, expiry). Then come back and add them.
Enrol students
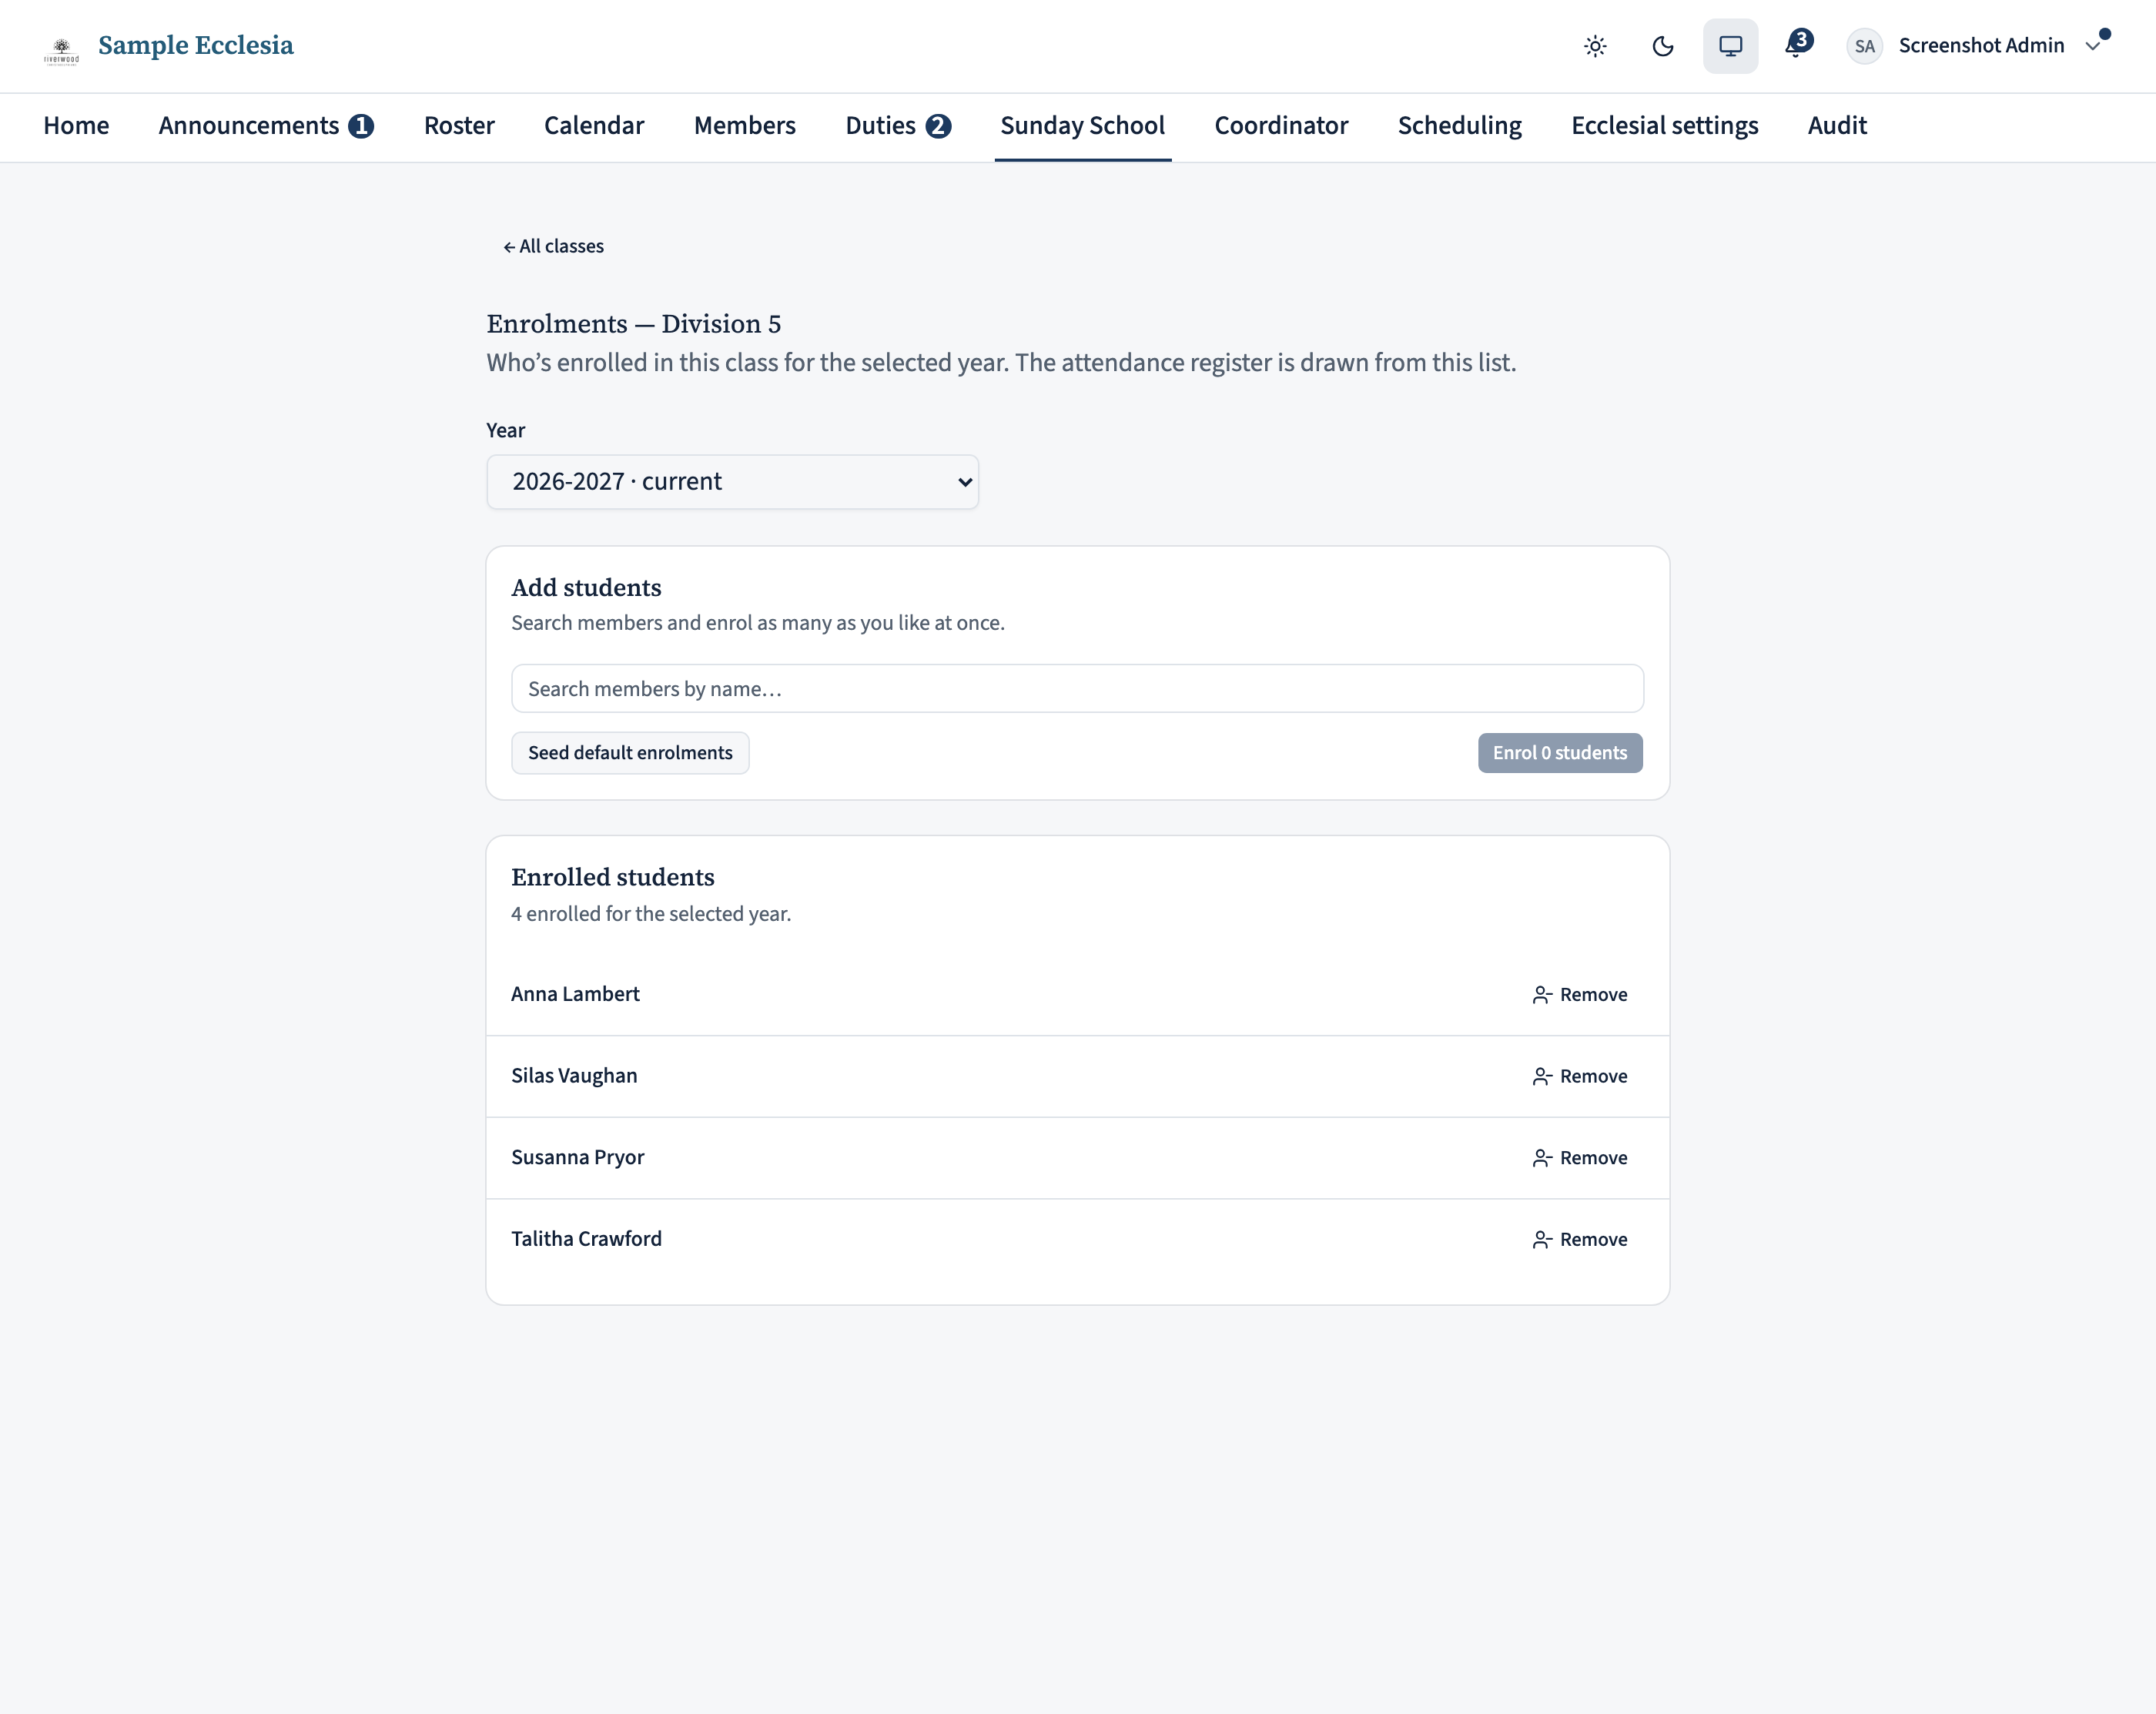
From a class row, click Enrolments. Search members by name and enrol as many as you like at once. Enrolment is per year, and the attendance register is drawn from this list.
If you seeded the year from minors’ years of birth in step 1, much of this is already done — you’re just tidying up. For a single class you can also use Seed default enrolments to bulk-add its standard roster, then adjust from there.
Mark attendance
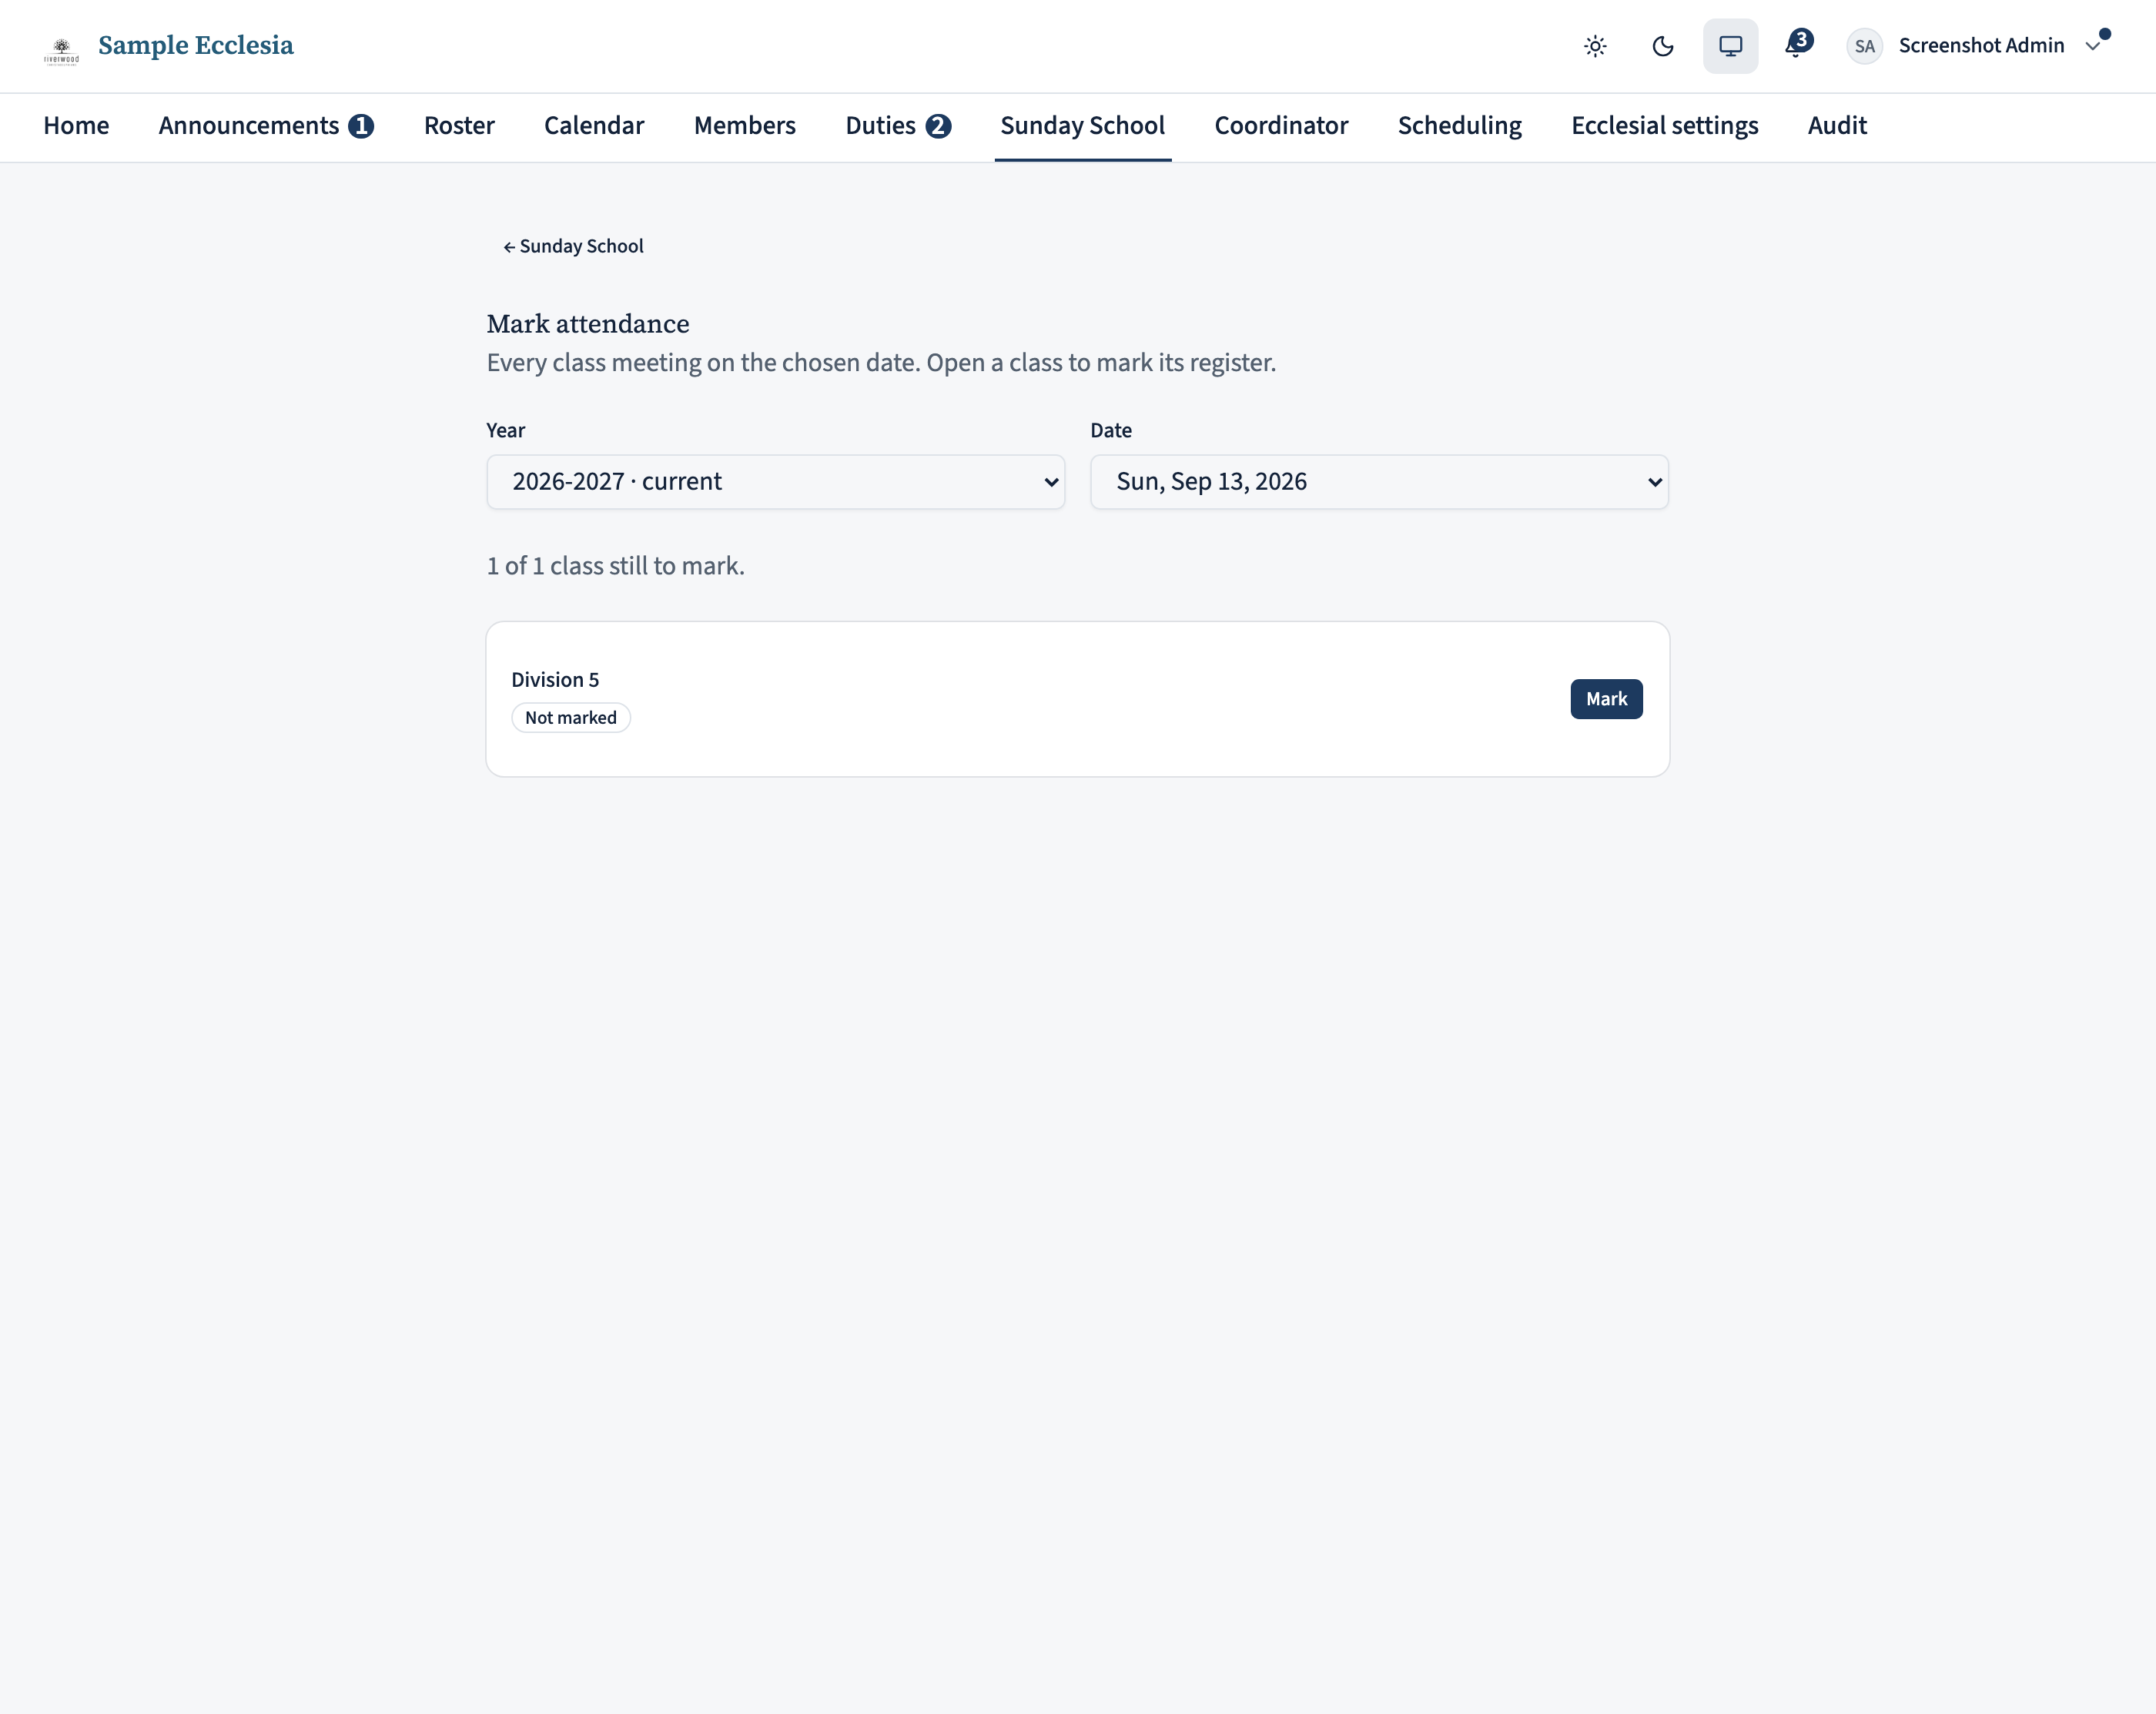
There are two ways in. For a single class, open it, pick a session date, and mark each child. To do the whole ecclesia from one place, use Attendance in the left-hand menu: pick the year and a date — it lands on the first date you haven’t marked yet — and every class meeting that day appears as its own register, in your classes’ usual order.
Each session takes two counts: a First mark and a Second mark, on the tabs at the top (for example an early count and one taken later once latecomers have arrived). They are recorded and saved separately; switch tabs to move between them.
Within each class card you:
- Confirm who taught. The teacher of record defaults to the class’s scheduled teacher; tap another standing teacher, or Someone else… for a substitute. A substitute — anyone who isn’t a standing teacher of the class — must have a current Working With Children Check, or the save is refused for that class.
- Set today’s location if the class met somewhere other than its usual room; leave it blank to use the class default.
- Mark each enrolled child Present or Absent. Leaving someone unmarked is fine — the header keeps a running present / absent / unmarked tally. All present fills the whole list in one tap.
- Add visitors by name for anyone not enrolled — they count toward the day and appear in the reports.
At the bottom, tick the attestation — confirming the record is true and accurate — to enable Save, which writes every class on the day at once. If any class can’t be saved (say a substitute’s check has lapsed) the rest still save and the problem is listed for you to fix. Download PDF report gives you a printable register for the day.
Keep on top of child-safety compliance
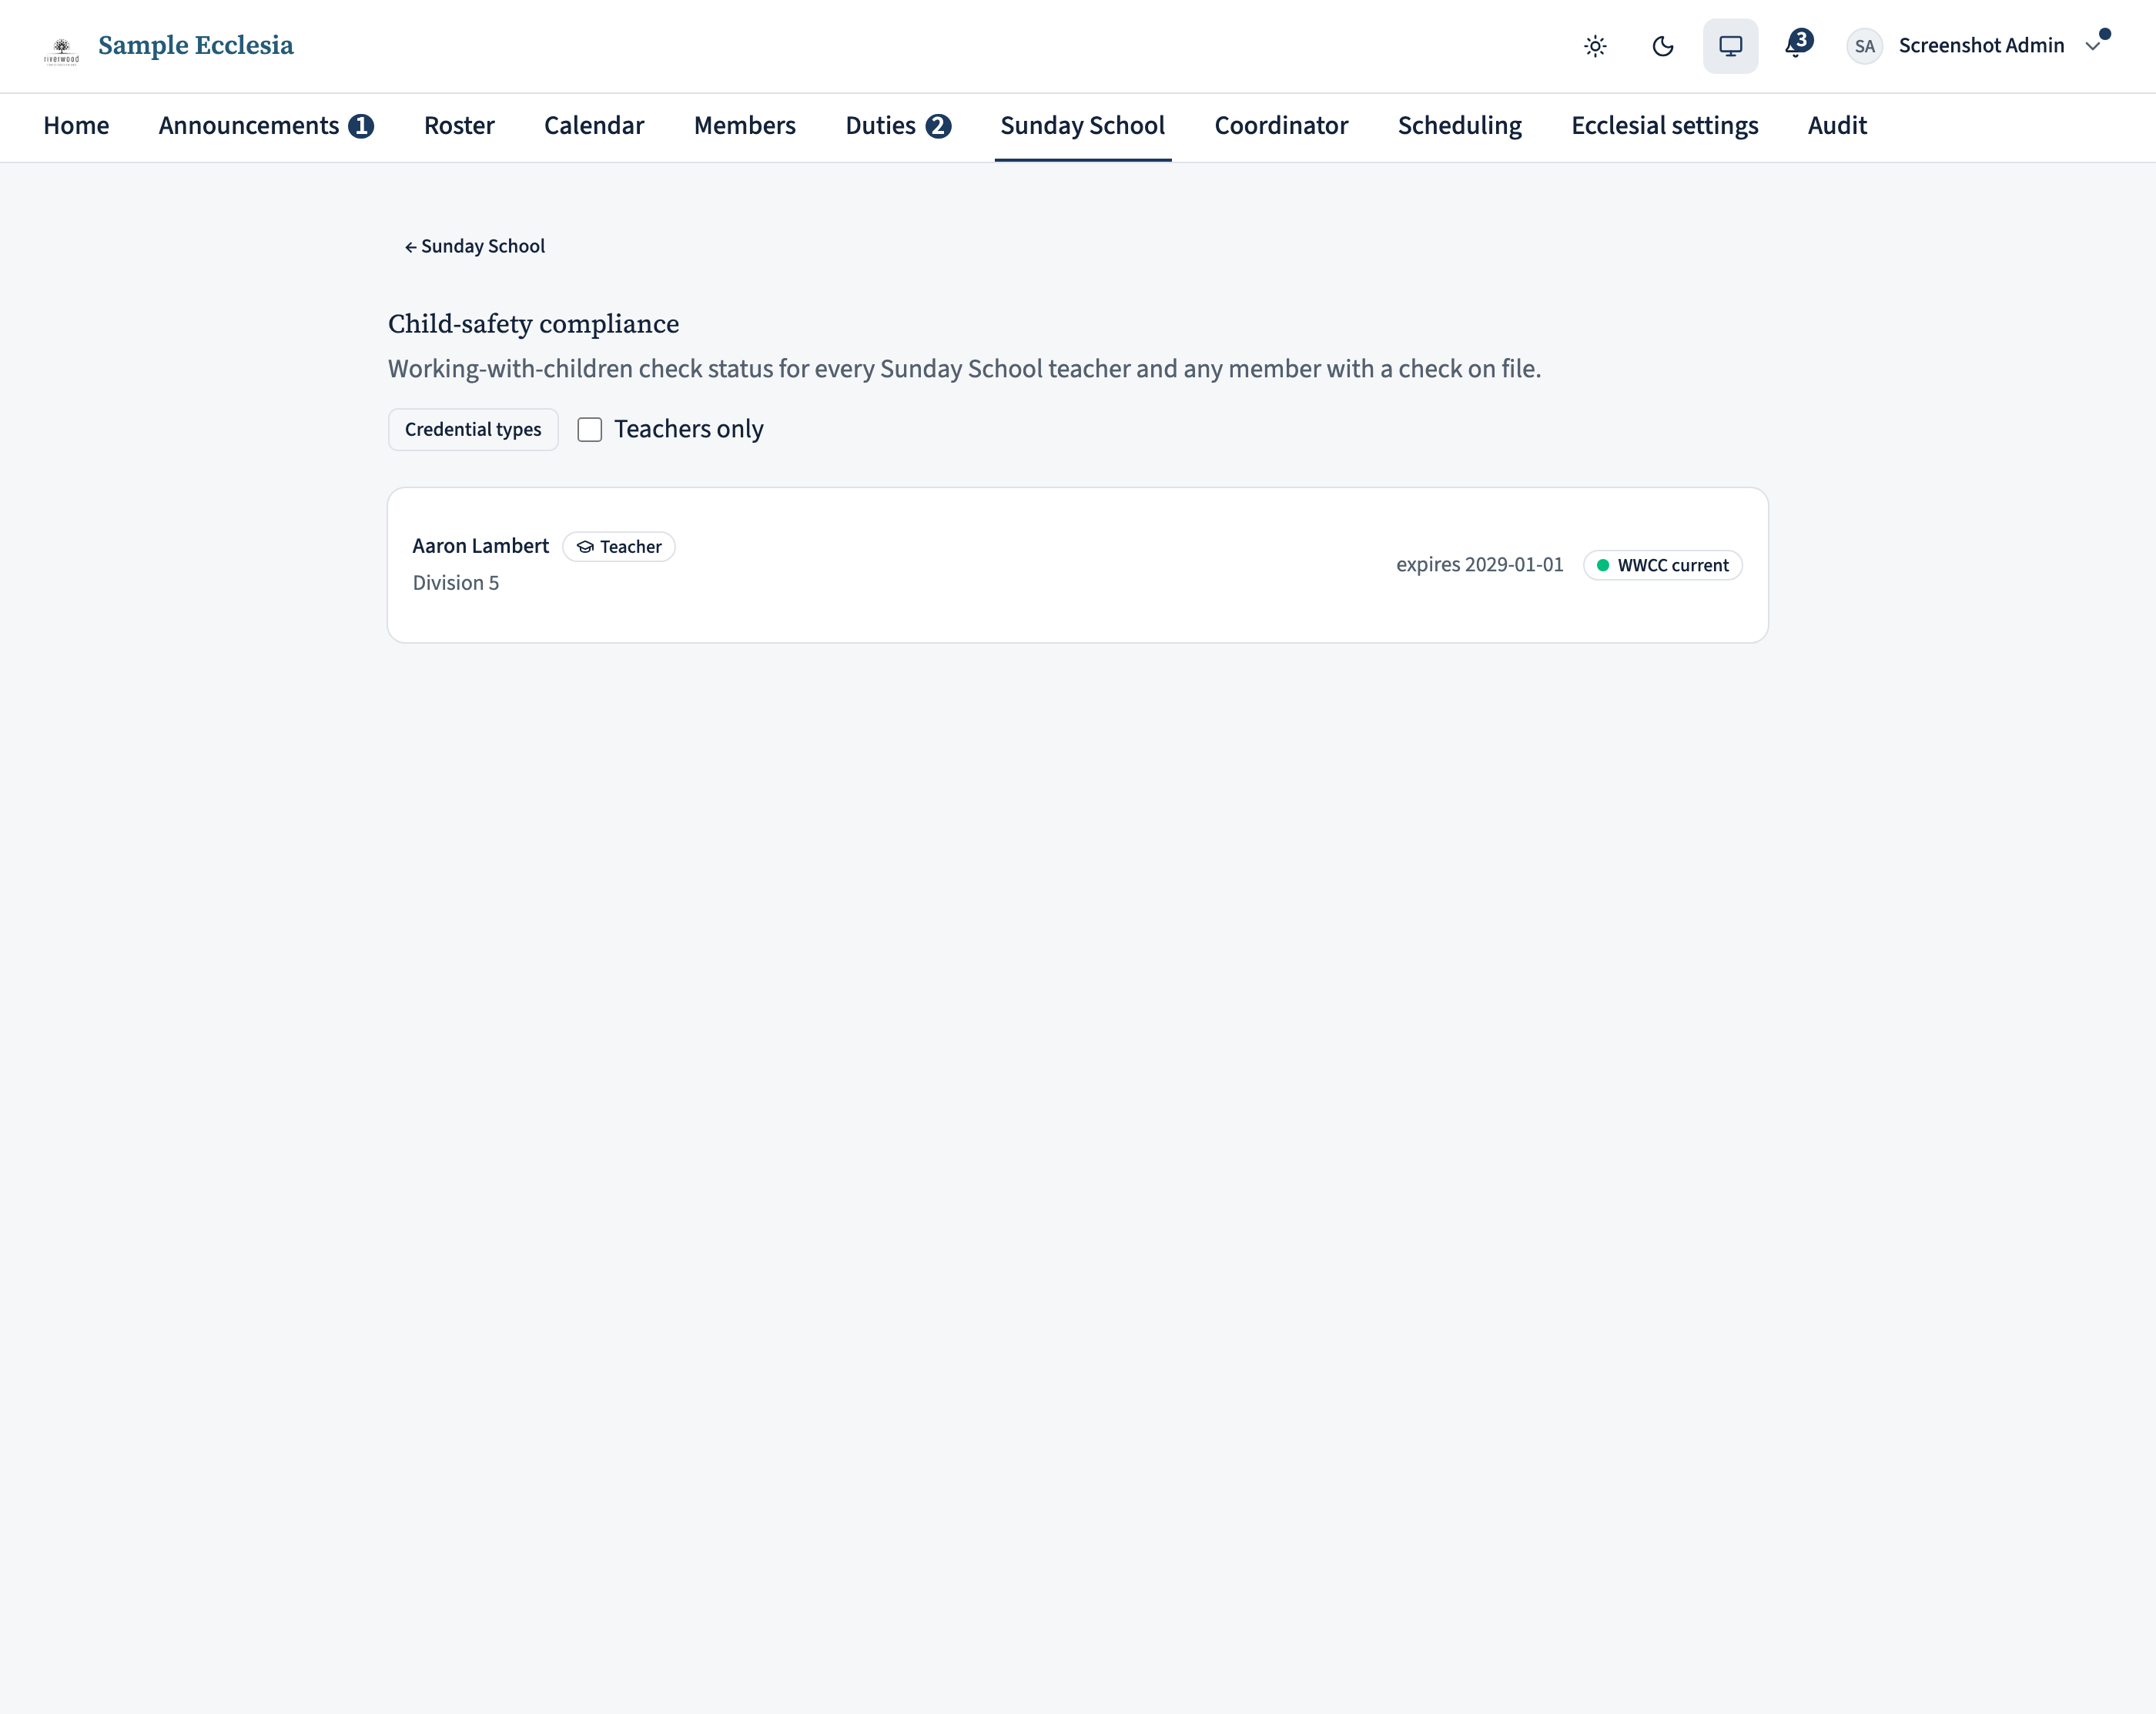
Safety checks, under Child safety in the left-hand menu, opens the child-safety compliance report — one row per person who teachesor has a check on file, each with its status: current, expiring, expired, or none. The list is sorted worst-first, with a headline count of teachers who aren’t currently cleared, so the people who need action are at the top.
Recording or updating a member’s check happens on their profile (Child-safety credentials). The set of credential types a check can be — NSW WWCC, QLD Blue Card, and so on — is managed by an administrator from Credential types in the same menu group (there’s a one-click “seed the Australian defaults” there to get started).
Import working-with-children checks in bulk
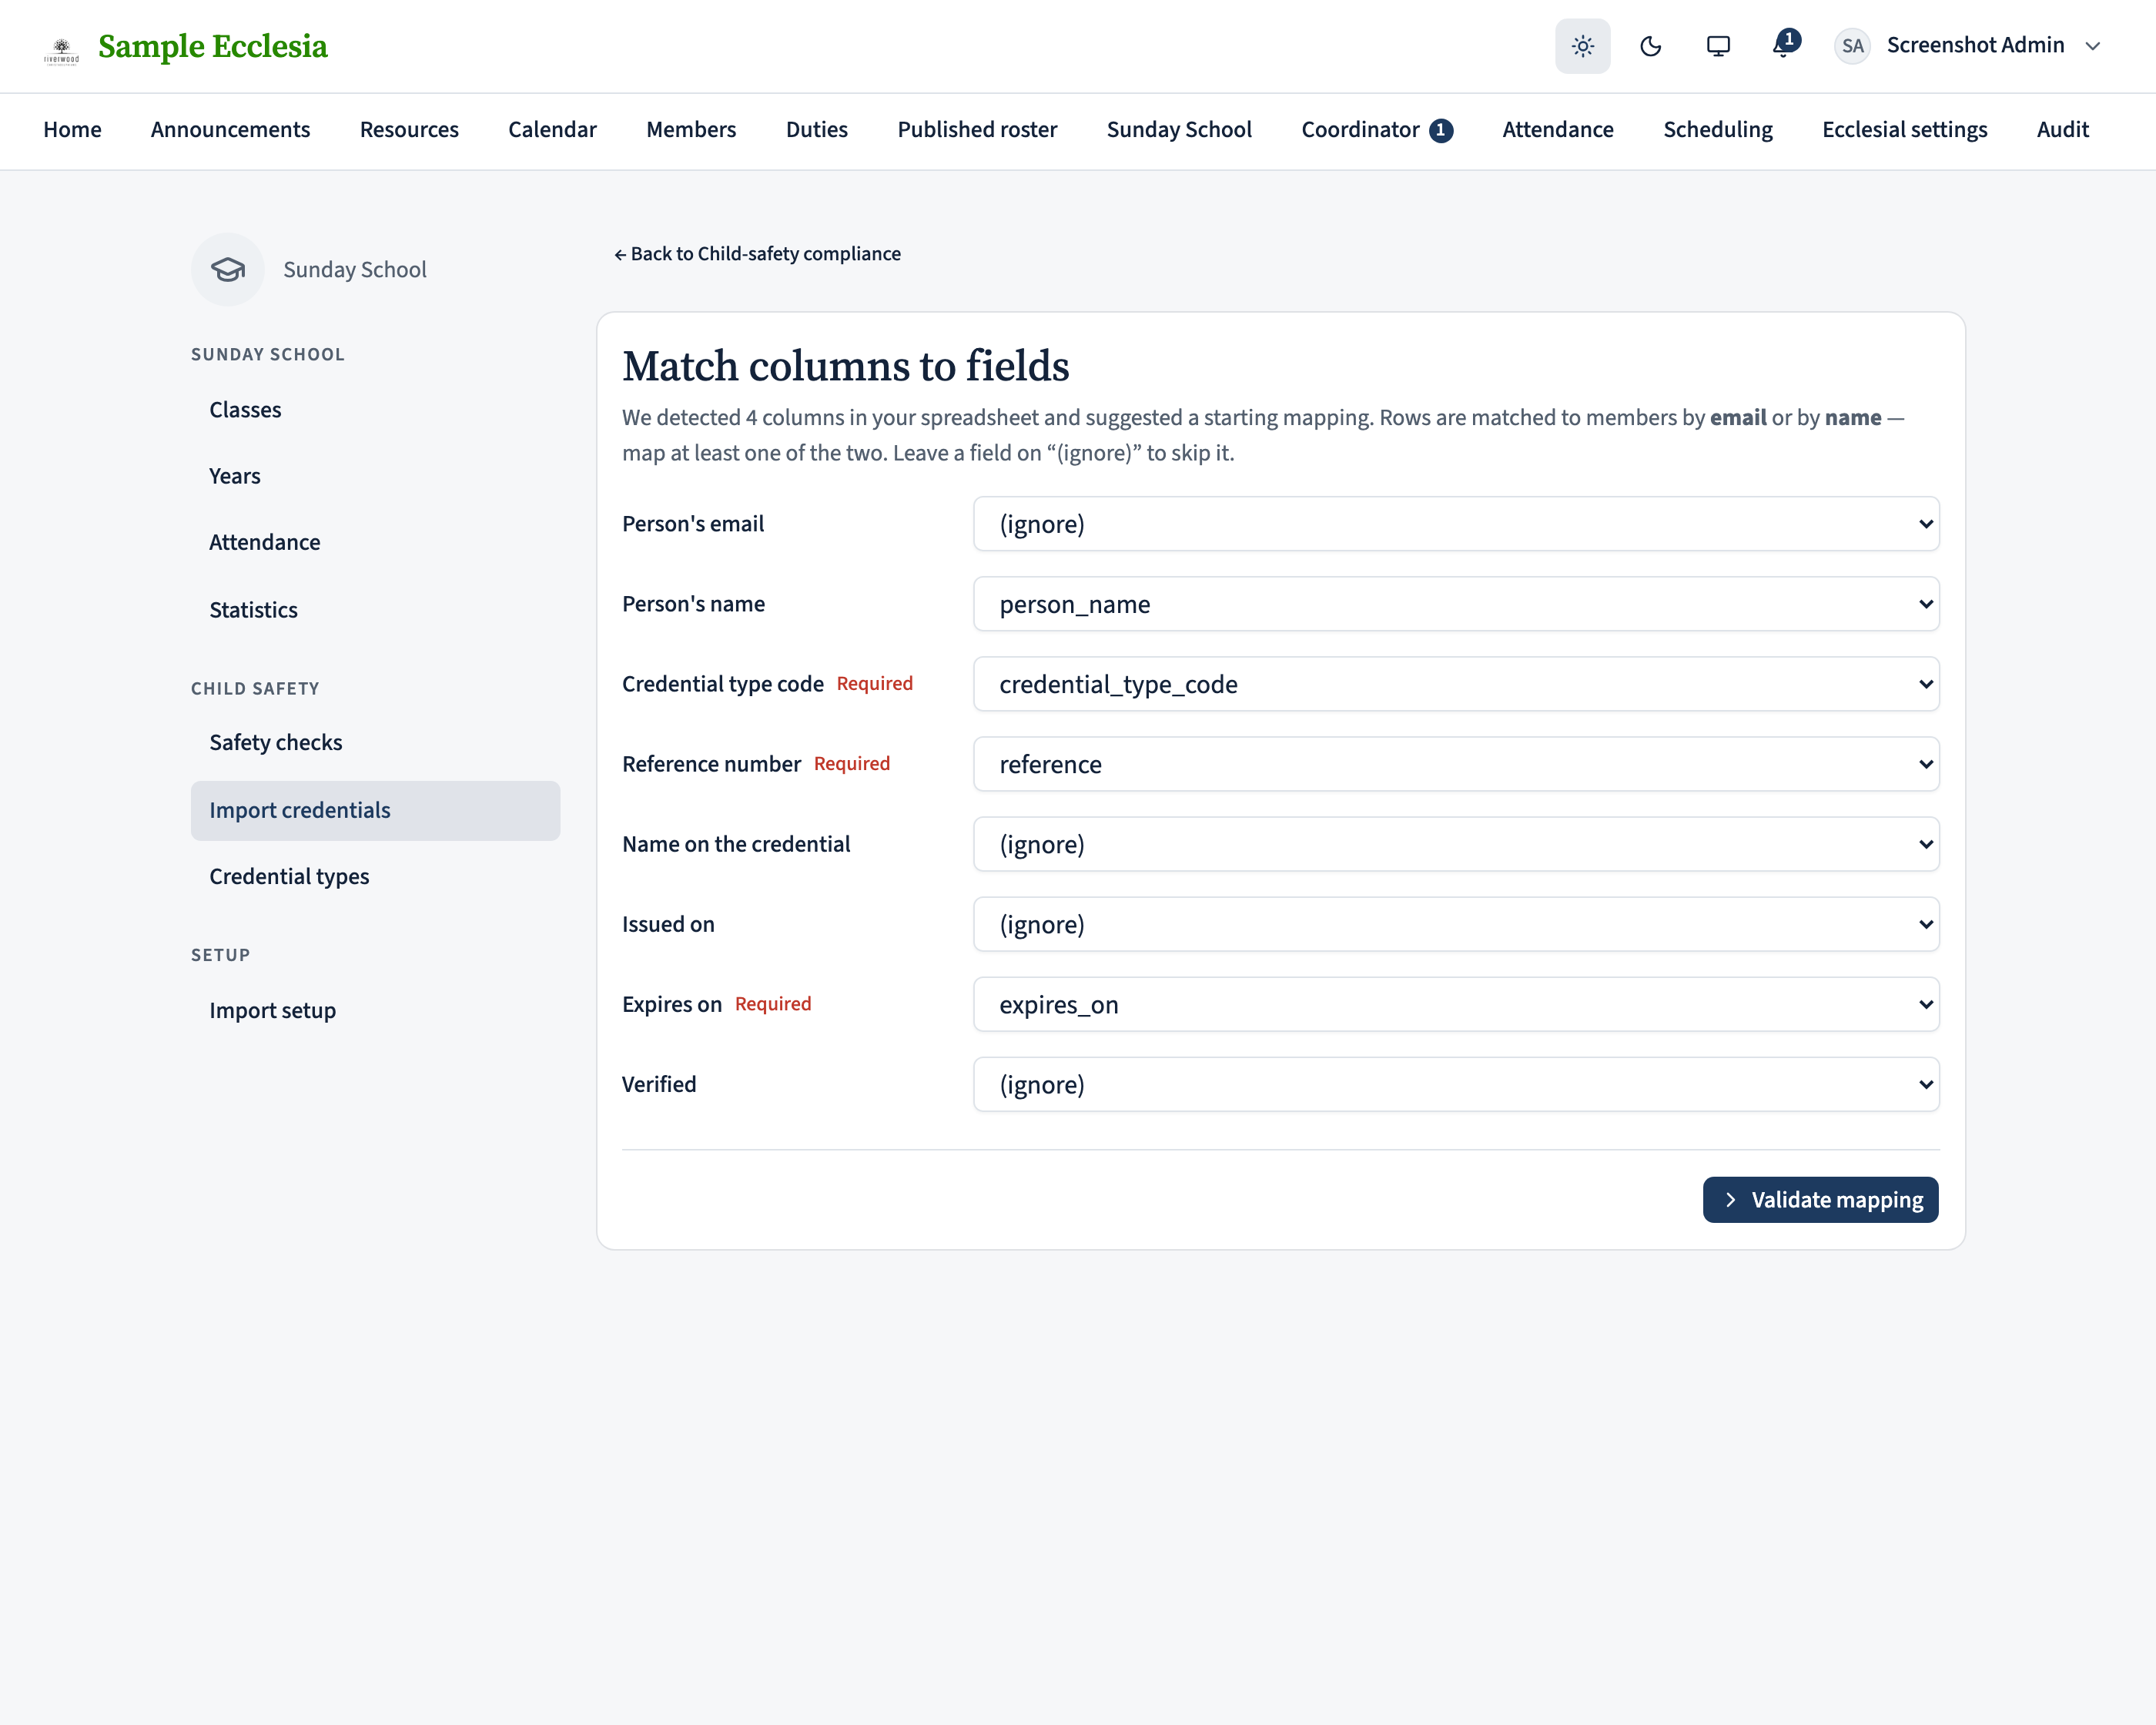
If your checks already live in a spreadsheet — a WWCC register from the previous system, say — you don’t have to re-type them one profile at a time. Import credentials, under Child safety in the left-hand menu, takes a CSV or XLSX with one check per row and records them all in one pass. (Make sure your credential types exist first — step 8.)
Each row needs a credential type code (shown on the Credential types page, e.g. wwcc_nsw), a reference number, and an expiry date— plus the member’s email or name so the row can be matched to a profile. After you upload, the columns are matched to those fields automatically (adjust if your headings differ), and then every row is checked and previewed before anything is written: you’ll see exactly who will get a credential recorded, and any rows that couldn’t be matched are listed with the reason. Committing records the good rows; problem rows are reported, never silently dropped — fix the spreadsheet (or the member’s details) and import again, or record the stragglers by hand on their profiles.
Review statistics — and let parents see attendance
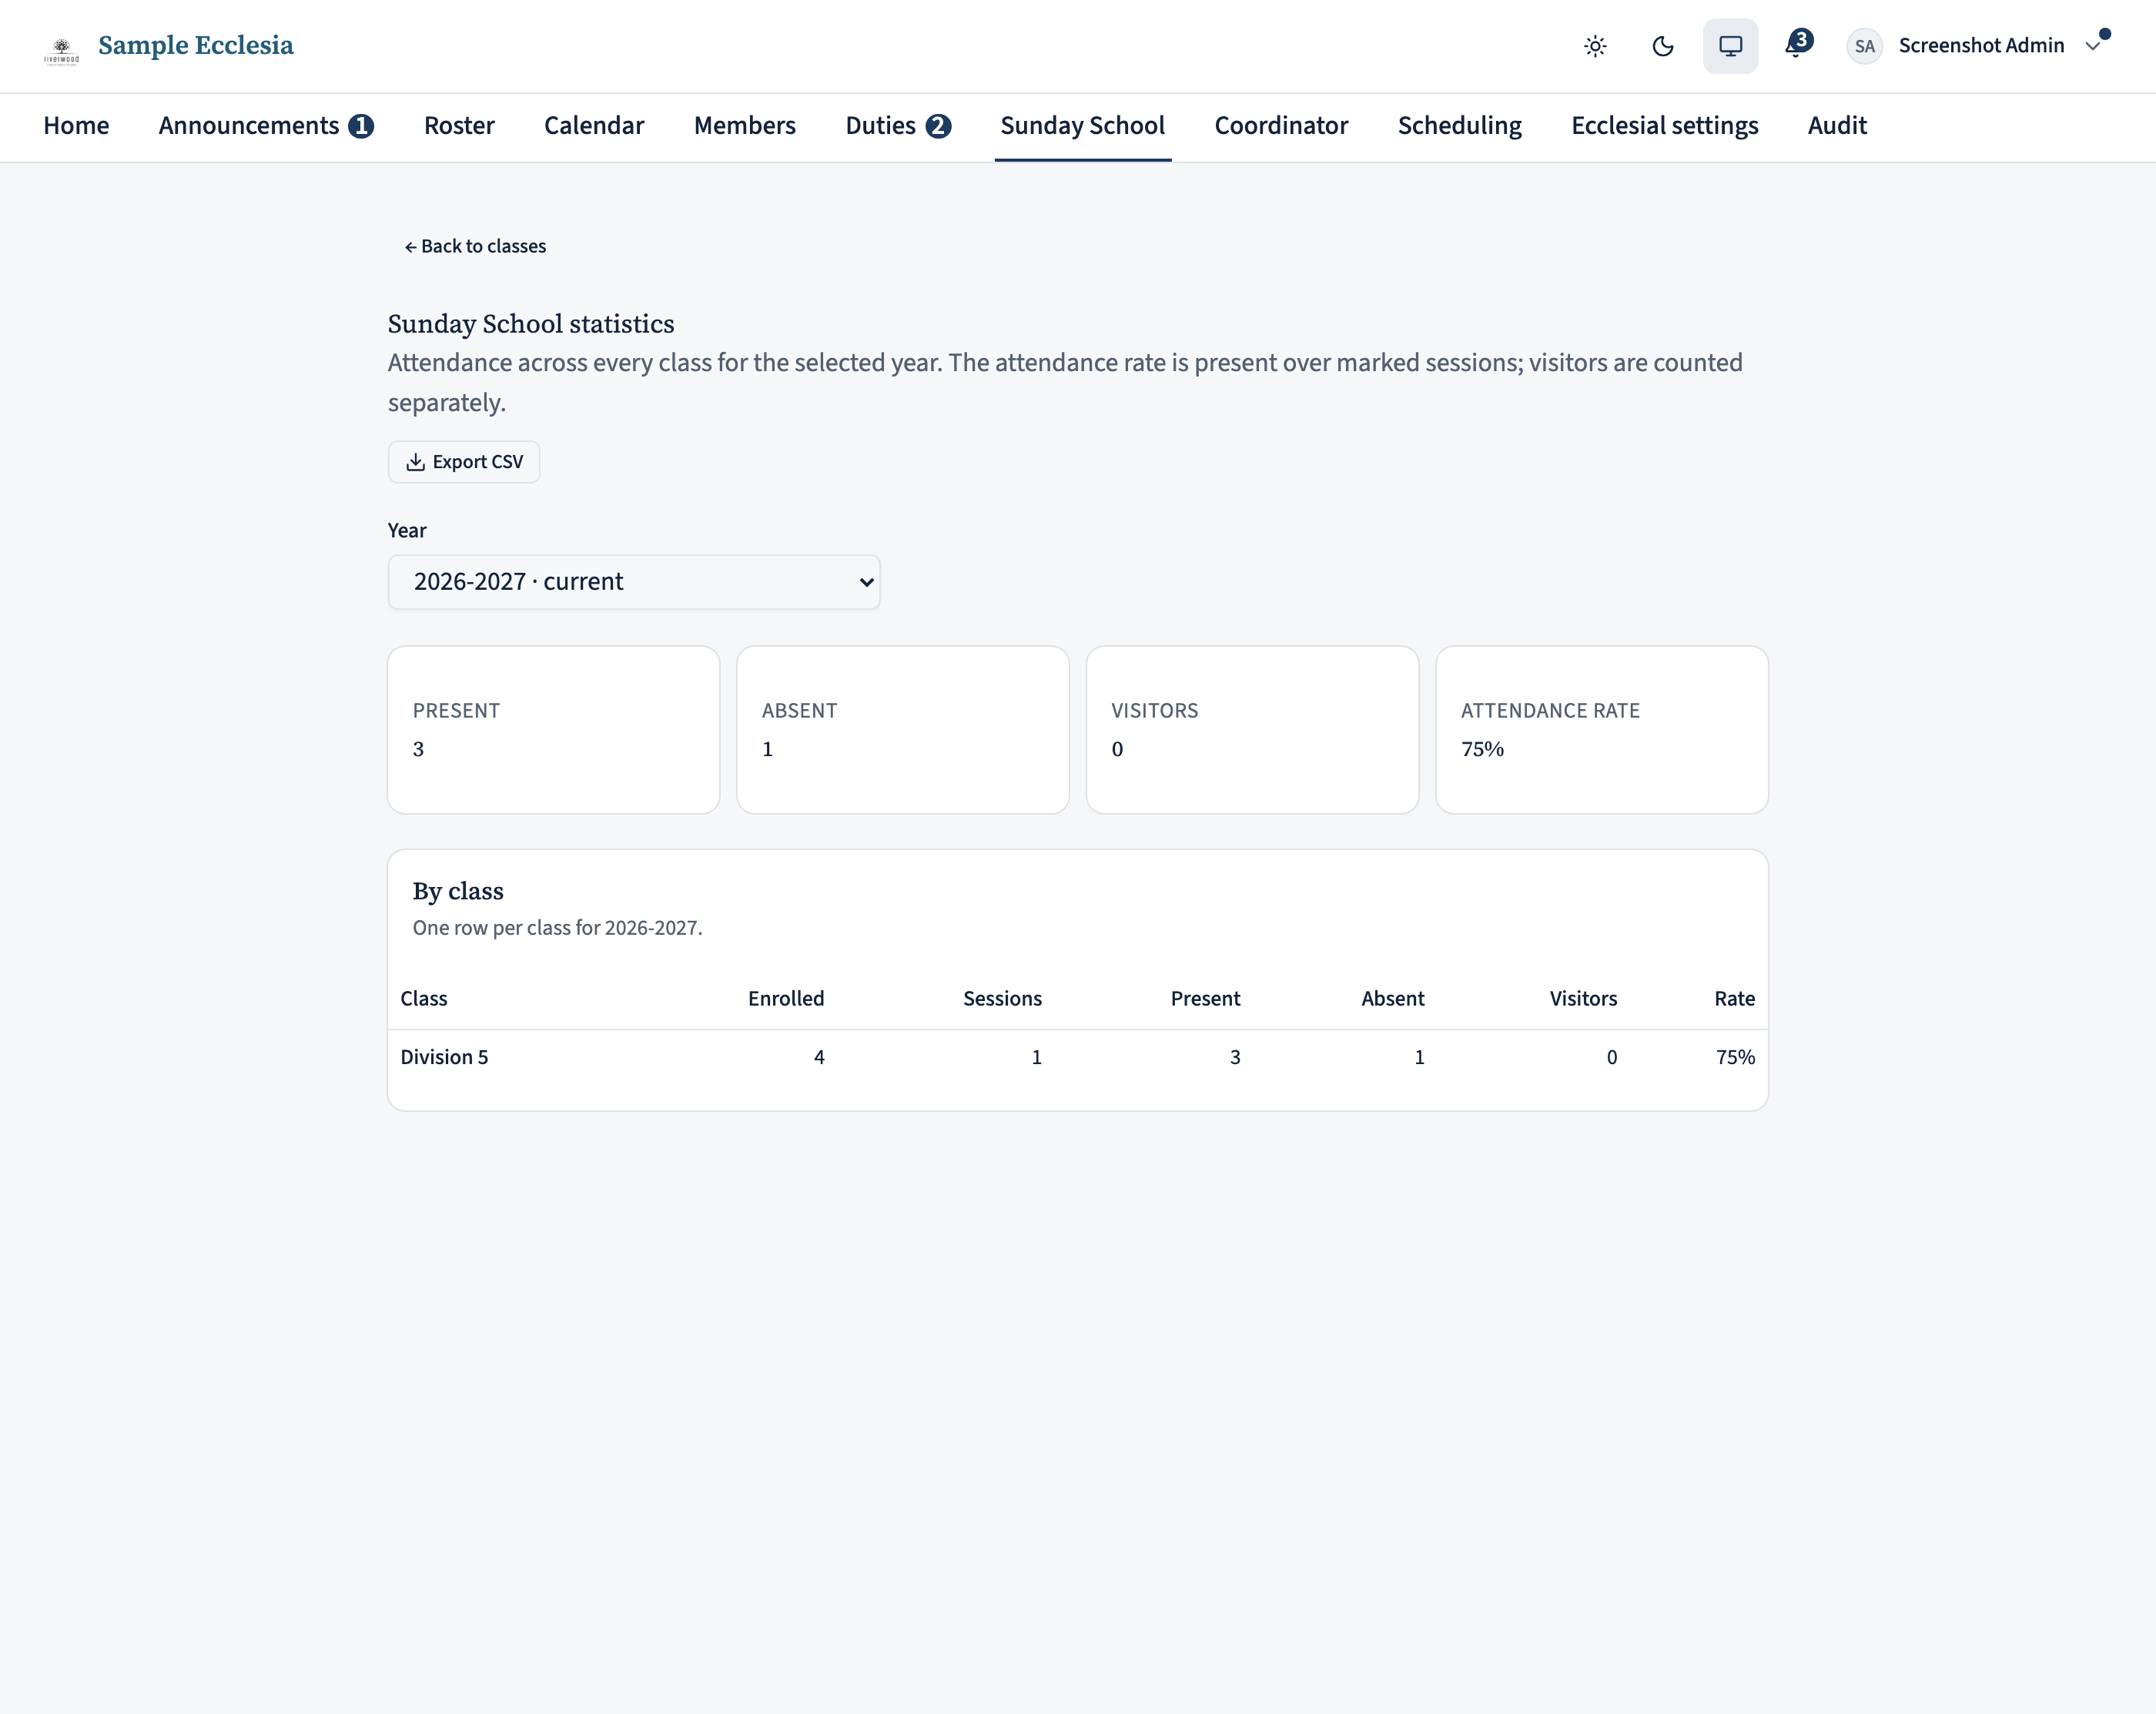
Statistics in the left-hand menu gives you attendance figures per class and across the ecclesia, with a CSV export for record-keeping.
Finally, if you’d like parents to see their own children’s attendance, an administrator can turn that on underManage → Settings (Sunday School). Once enabled, a parent sees a “Your children’s Sunday School” card on their home page with each child’s present/absent tally.