Resources: sharing documents
Resources is your ecclesia’s document library — arranging brethren’s minutes, a hall roster, a form members need to fill in. You upload a file, choose who can see it, and it appears under the Resources tab for exactly those people.
Every member sees the tab; what they find inside depends on the audience you chose for each document. Coordinators and administrators can upload and manage documents, with one exception noted in step 3.
Reading time: about four minutes.
Find the library
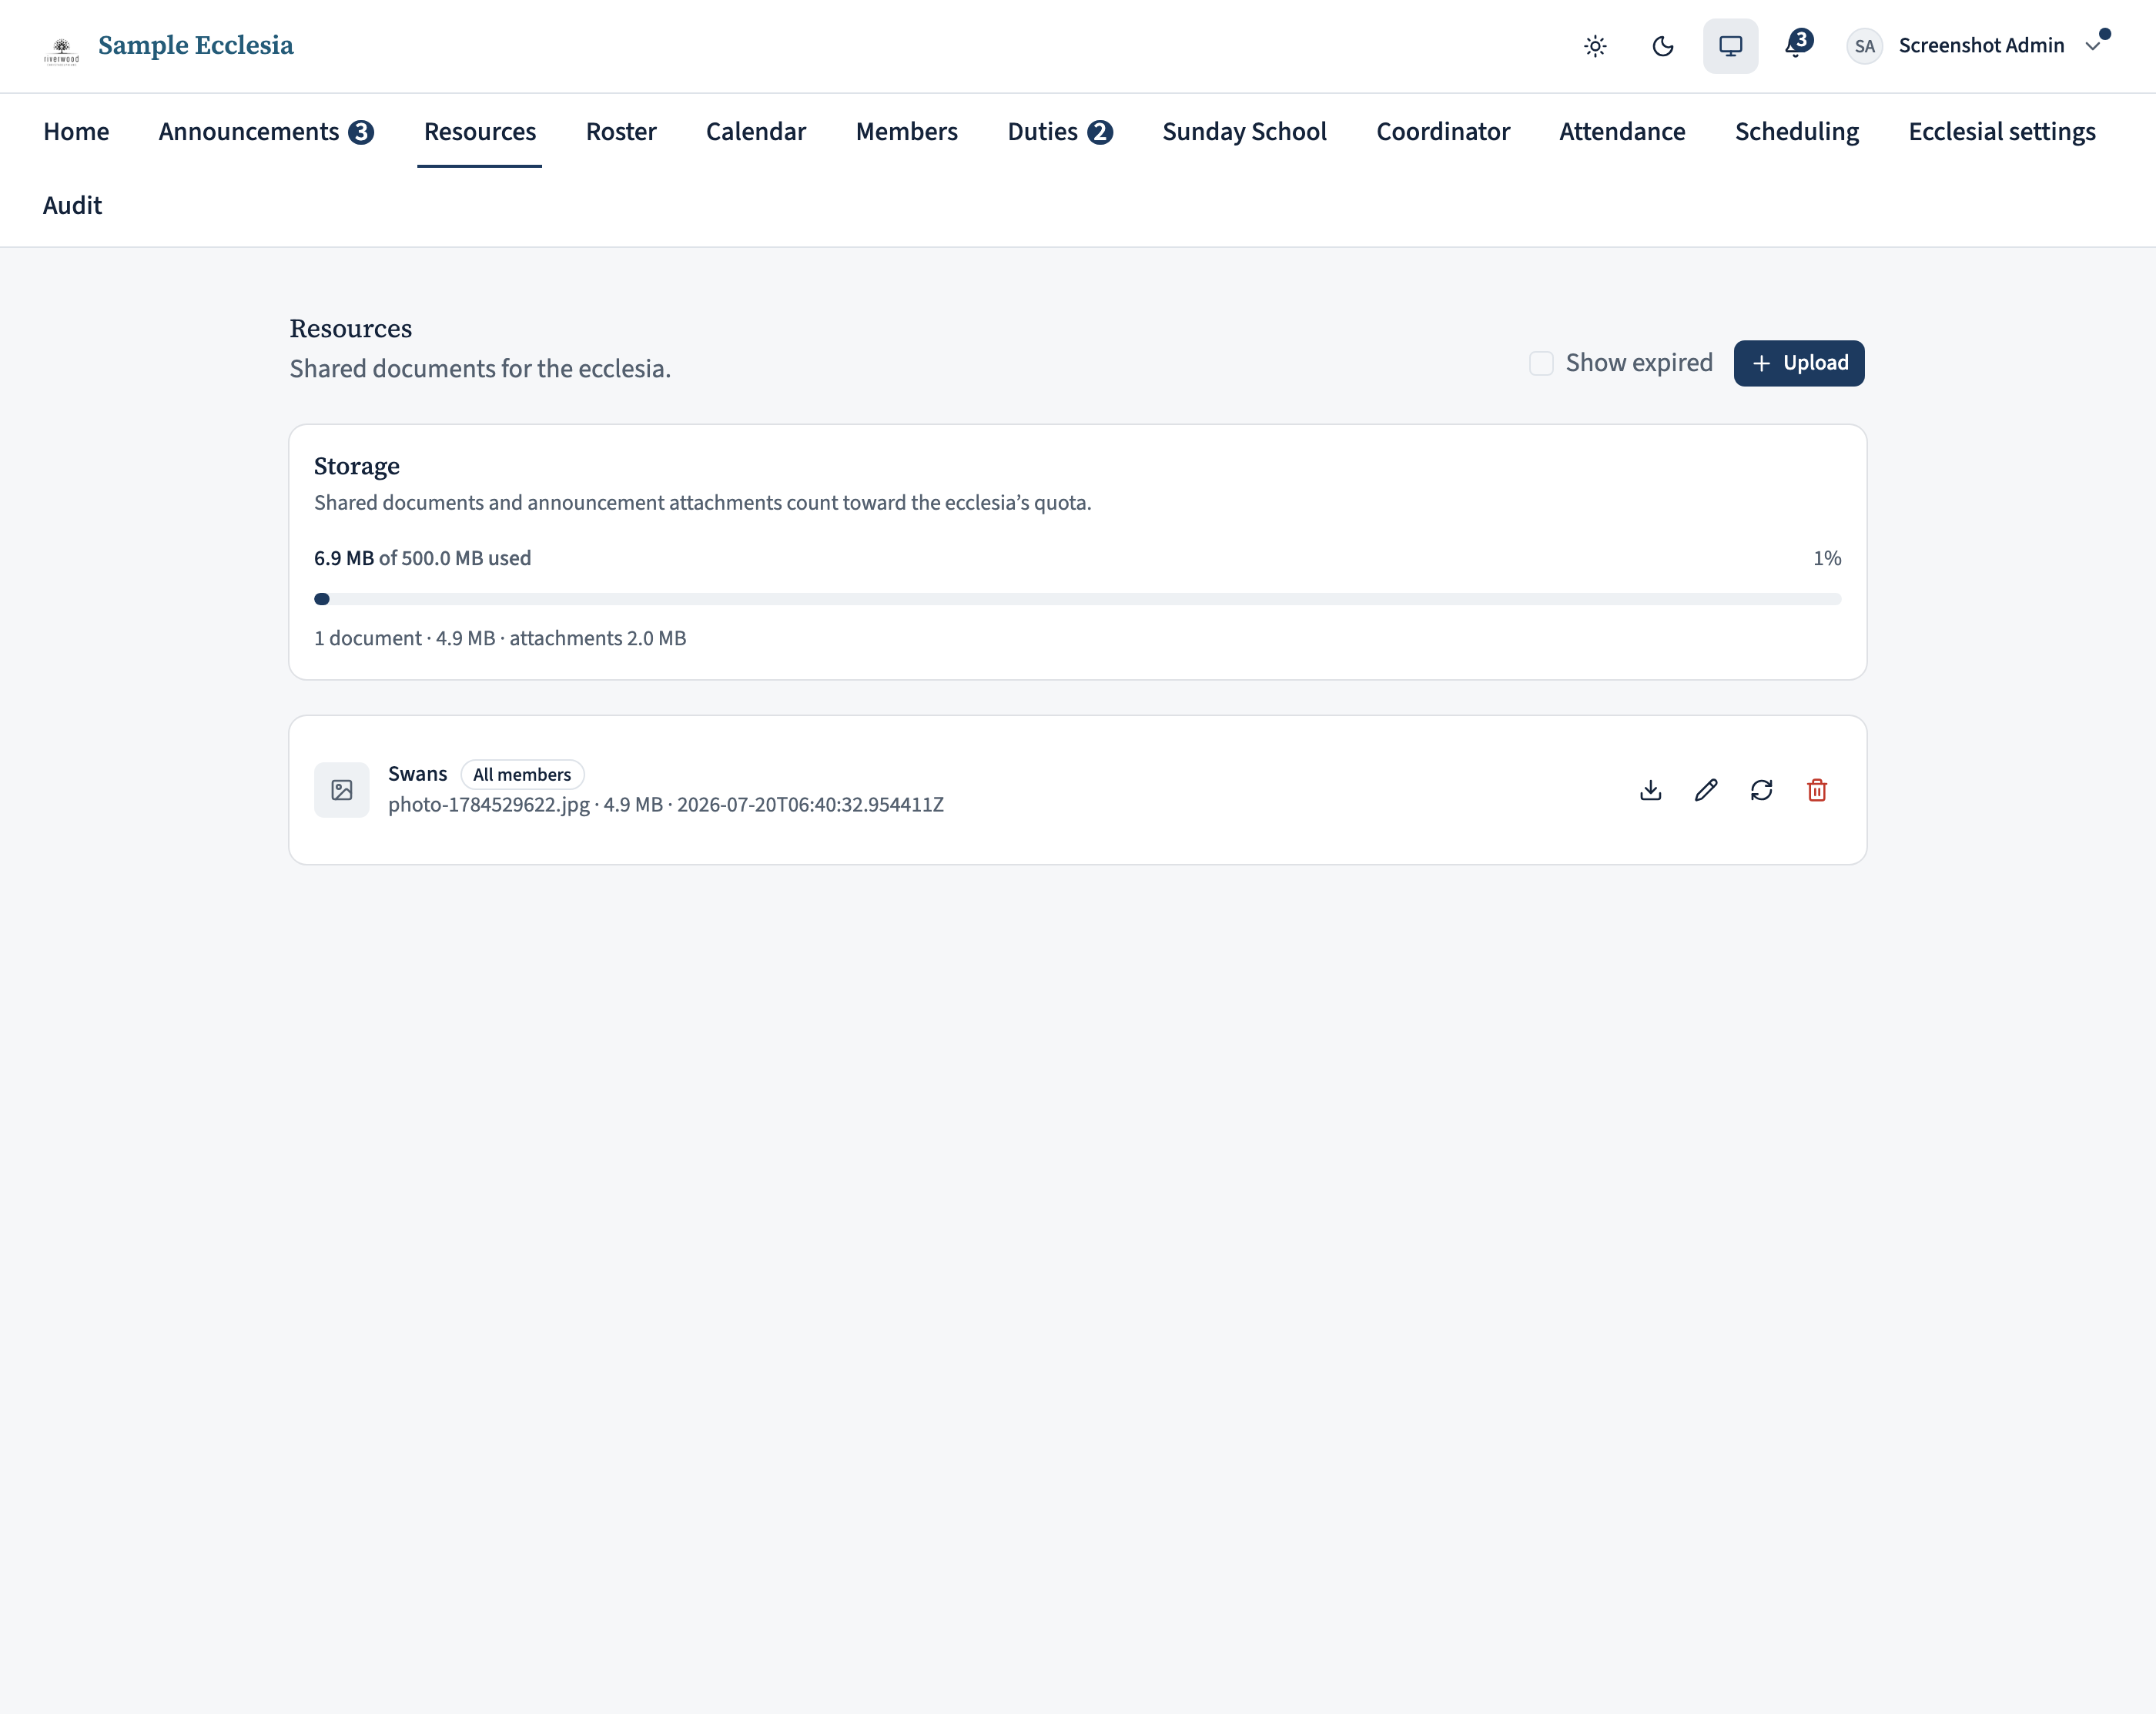
Click Resources in the top navigation. Documents are listed newest first, each showing its title, an optional description, the file name and size, and a badge saying who can see it.
Click the title (or the download icon) to open it. Nothing is hidden behind extra clicks — if a document is in your list, you can download it.
Upload a document
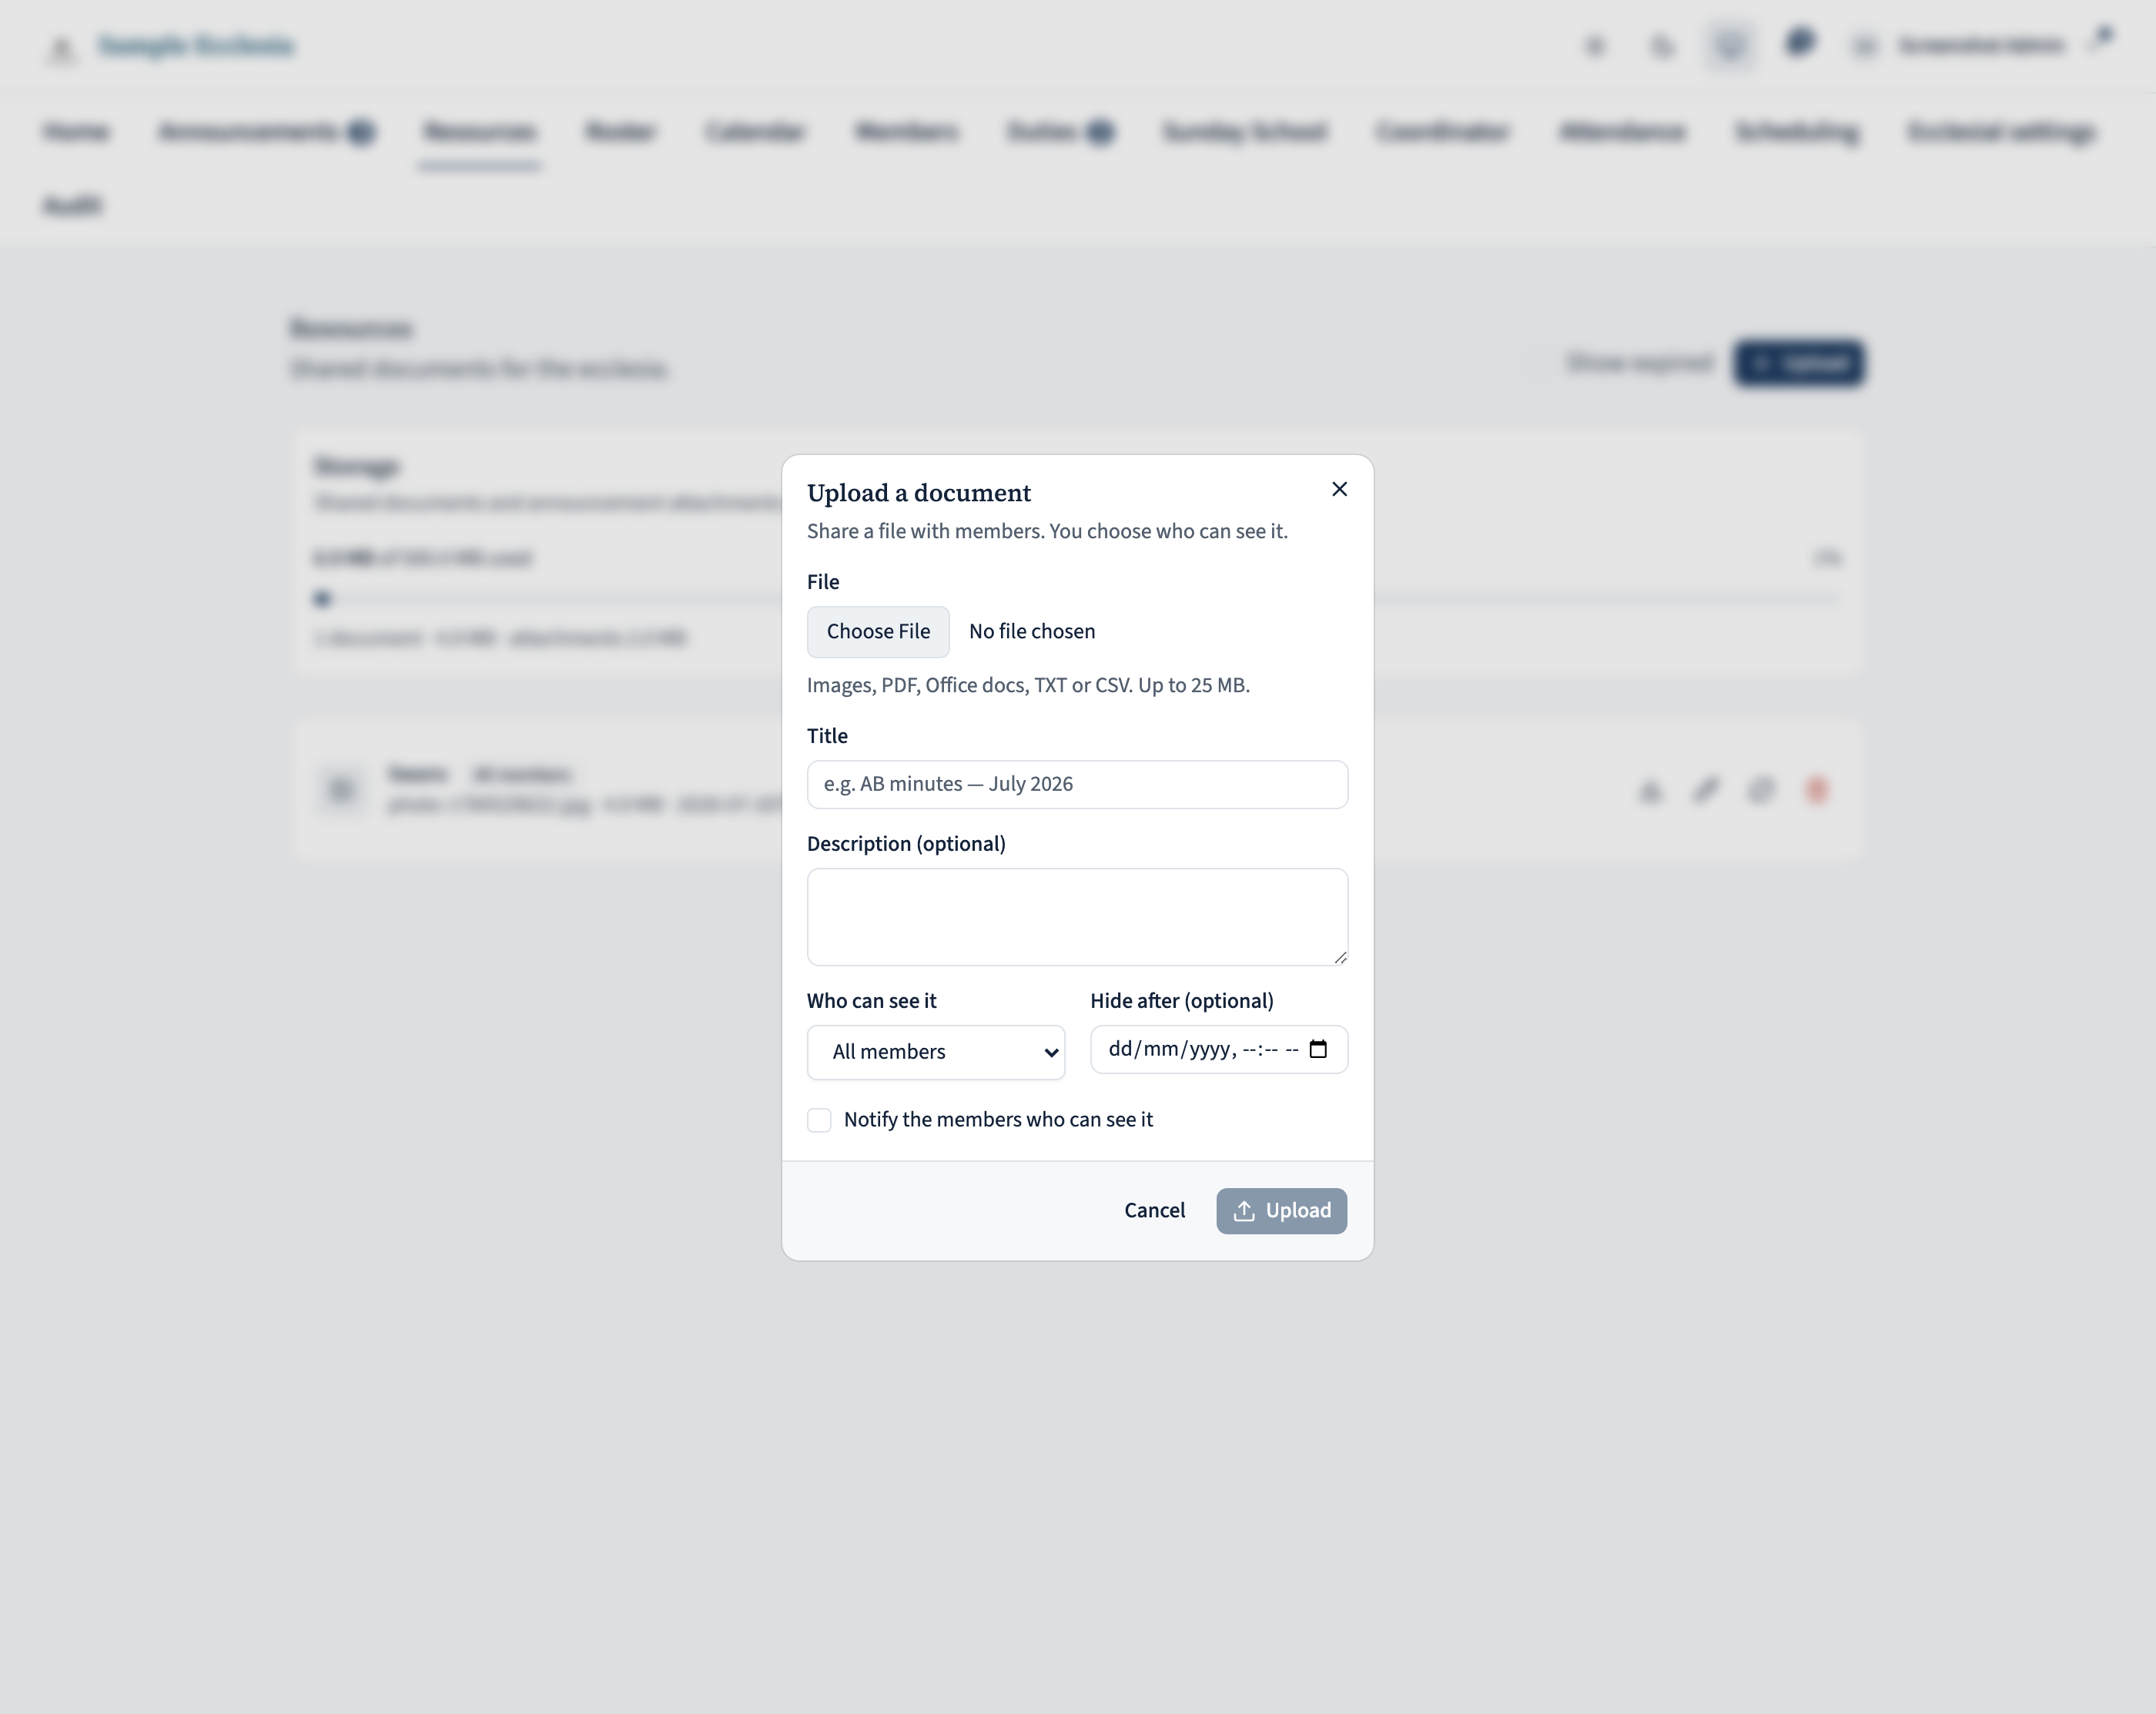
Click Upload and pick your file. Images, PDFs, Office documents, plain text and CSV are accepted, up to 25 MB each.
Give it a title members will recognise — “AB minutes — July 2026” is far more use than “minutes.pdf” — and a short description if the title does not say enough on its own.
Tick Notify the members who can see it if the document is worth interrupting people for. The notification goes only to those whose audience matches, so a coordinators-only document never pings the whole ecclesia.
Choose who can see it
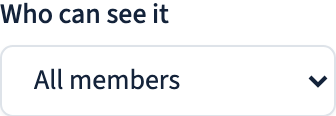
There are three audiences, from widest to narrowest:
- All members — everyone in the ecclesia. Use this for anything the body should have.
- Coordinators & admins — working documents for the people organising things.
- Administrators only — the most restricted tier, for sensitive material.
The exception mentioned earlier: a coordinator can create and manage documents in the first two tiers, but administrators-only documents can only be created or changed by an administrator. Coordinators will not see that option.
Get this right first time where you can. Changing the audience later works, but anyone who already downloaded a copy still has it — narrowing the audience does not reach back.
Set an expiry, if it should not linger
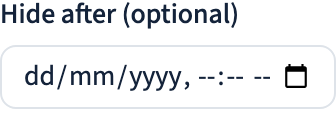
Hide after is optional. Once the date passes, the document drops out of every member’s list — useful for a sign-up sheet or a notice that stops being relevant.
Administrators still see expired documents, badged Expired, via the Show expired toggle. So expiry tidies the members’ view without losing anything; delete it properly when you want it removed.
Edit, replace, or delete
Each document you can manage has three controls. Edit changes the details — title, description, audience, expiry — leaving the file alone.
Replace swaps the file itself while keeping the same entry and the same link. This is the one to use when a corrected version of the minutes comes round: anyone who bookmarked it gets the new file rather than a dead link.
Delete removes it permanently and frees the storage it was using.

Keep an eye on storage (administrator)
Administrators see a Storage card, both on Resources and in Manage → Settings. It shows how much of your ecclesia’s quota is used, with a breakdown of shared documents against announcement attachments — the two share one allowance.
The bar turns red past 90%. If an upload is refused for being over quota, delete something large you no longer need — old scanned PDFs are usually the culprit. The quota itself is set by the CDRoster platform team, so it is shown here for information and cannot be changed from inside your ecclesia.

On the iPhone app
Members view and open shared documents in the app.
The Shared documents card at the bottom of Home opens the documents list — each file with a type icon, size, and Download.
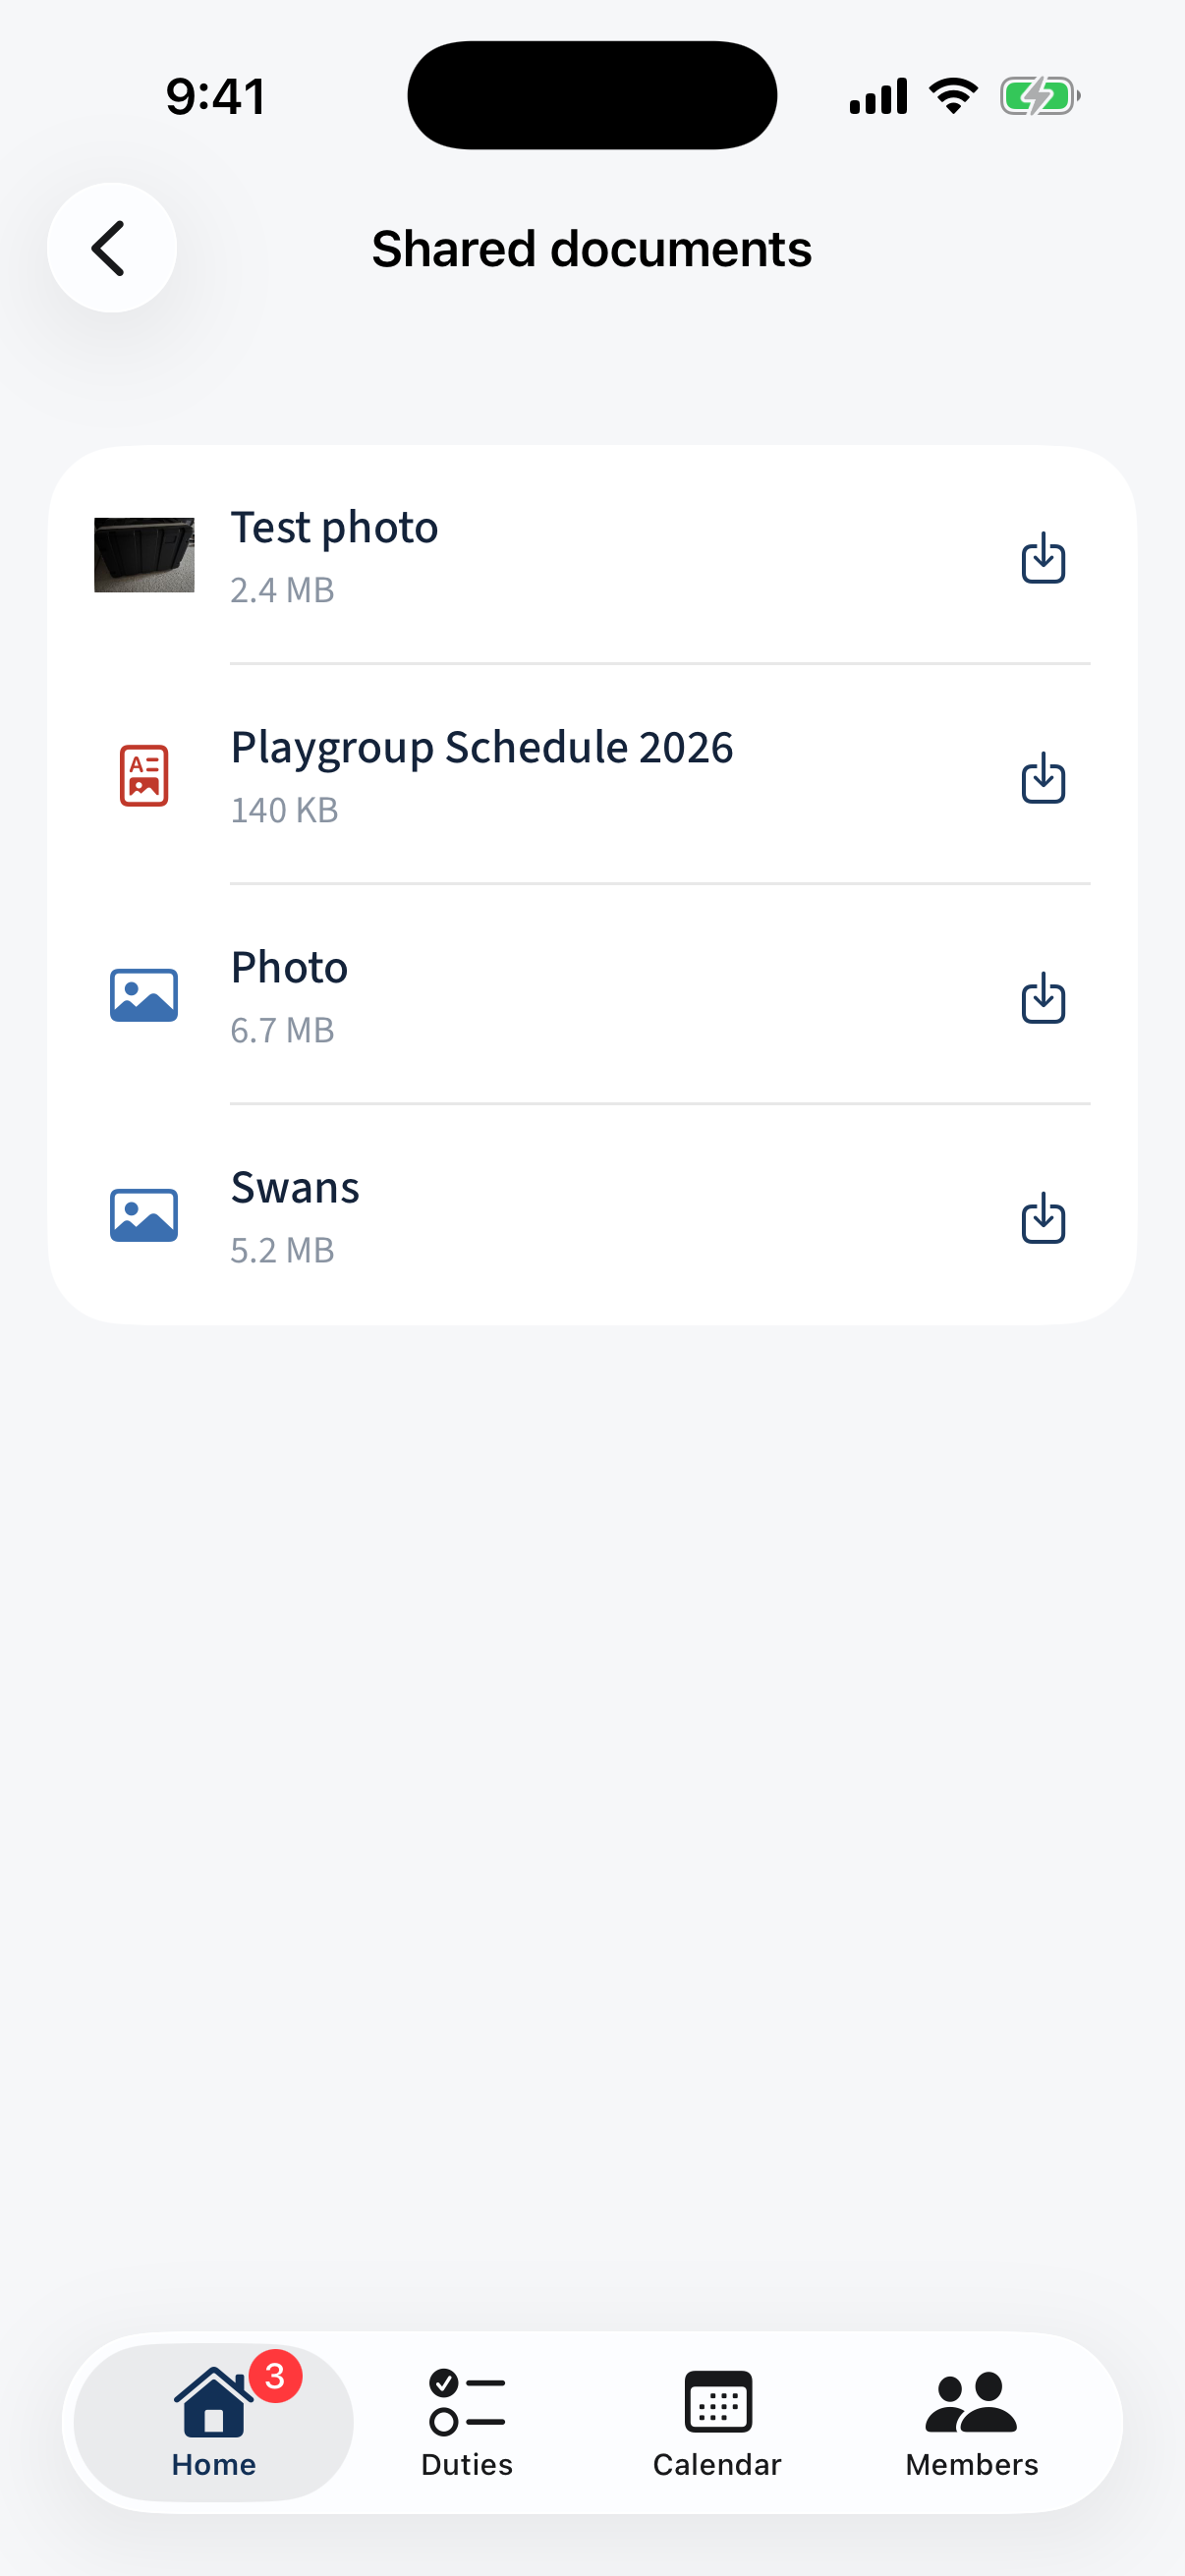
The Shared documents list: each file with a type icon, size, and Download. Tap a file to open it in the in-app preview, with share and markup controls.
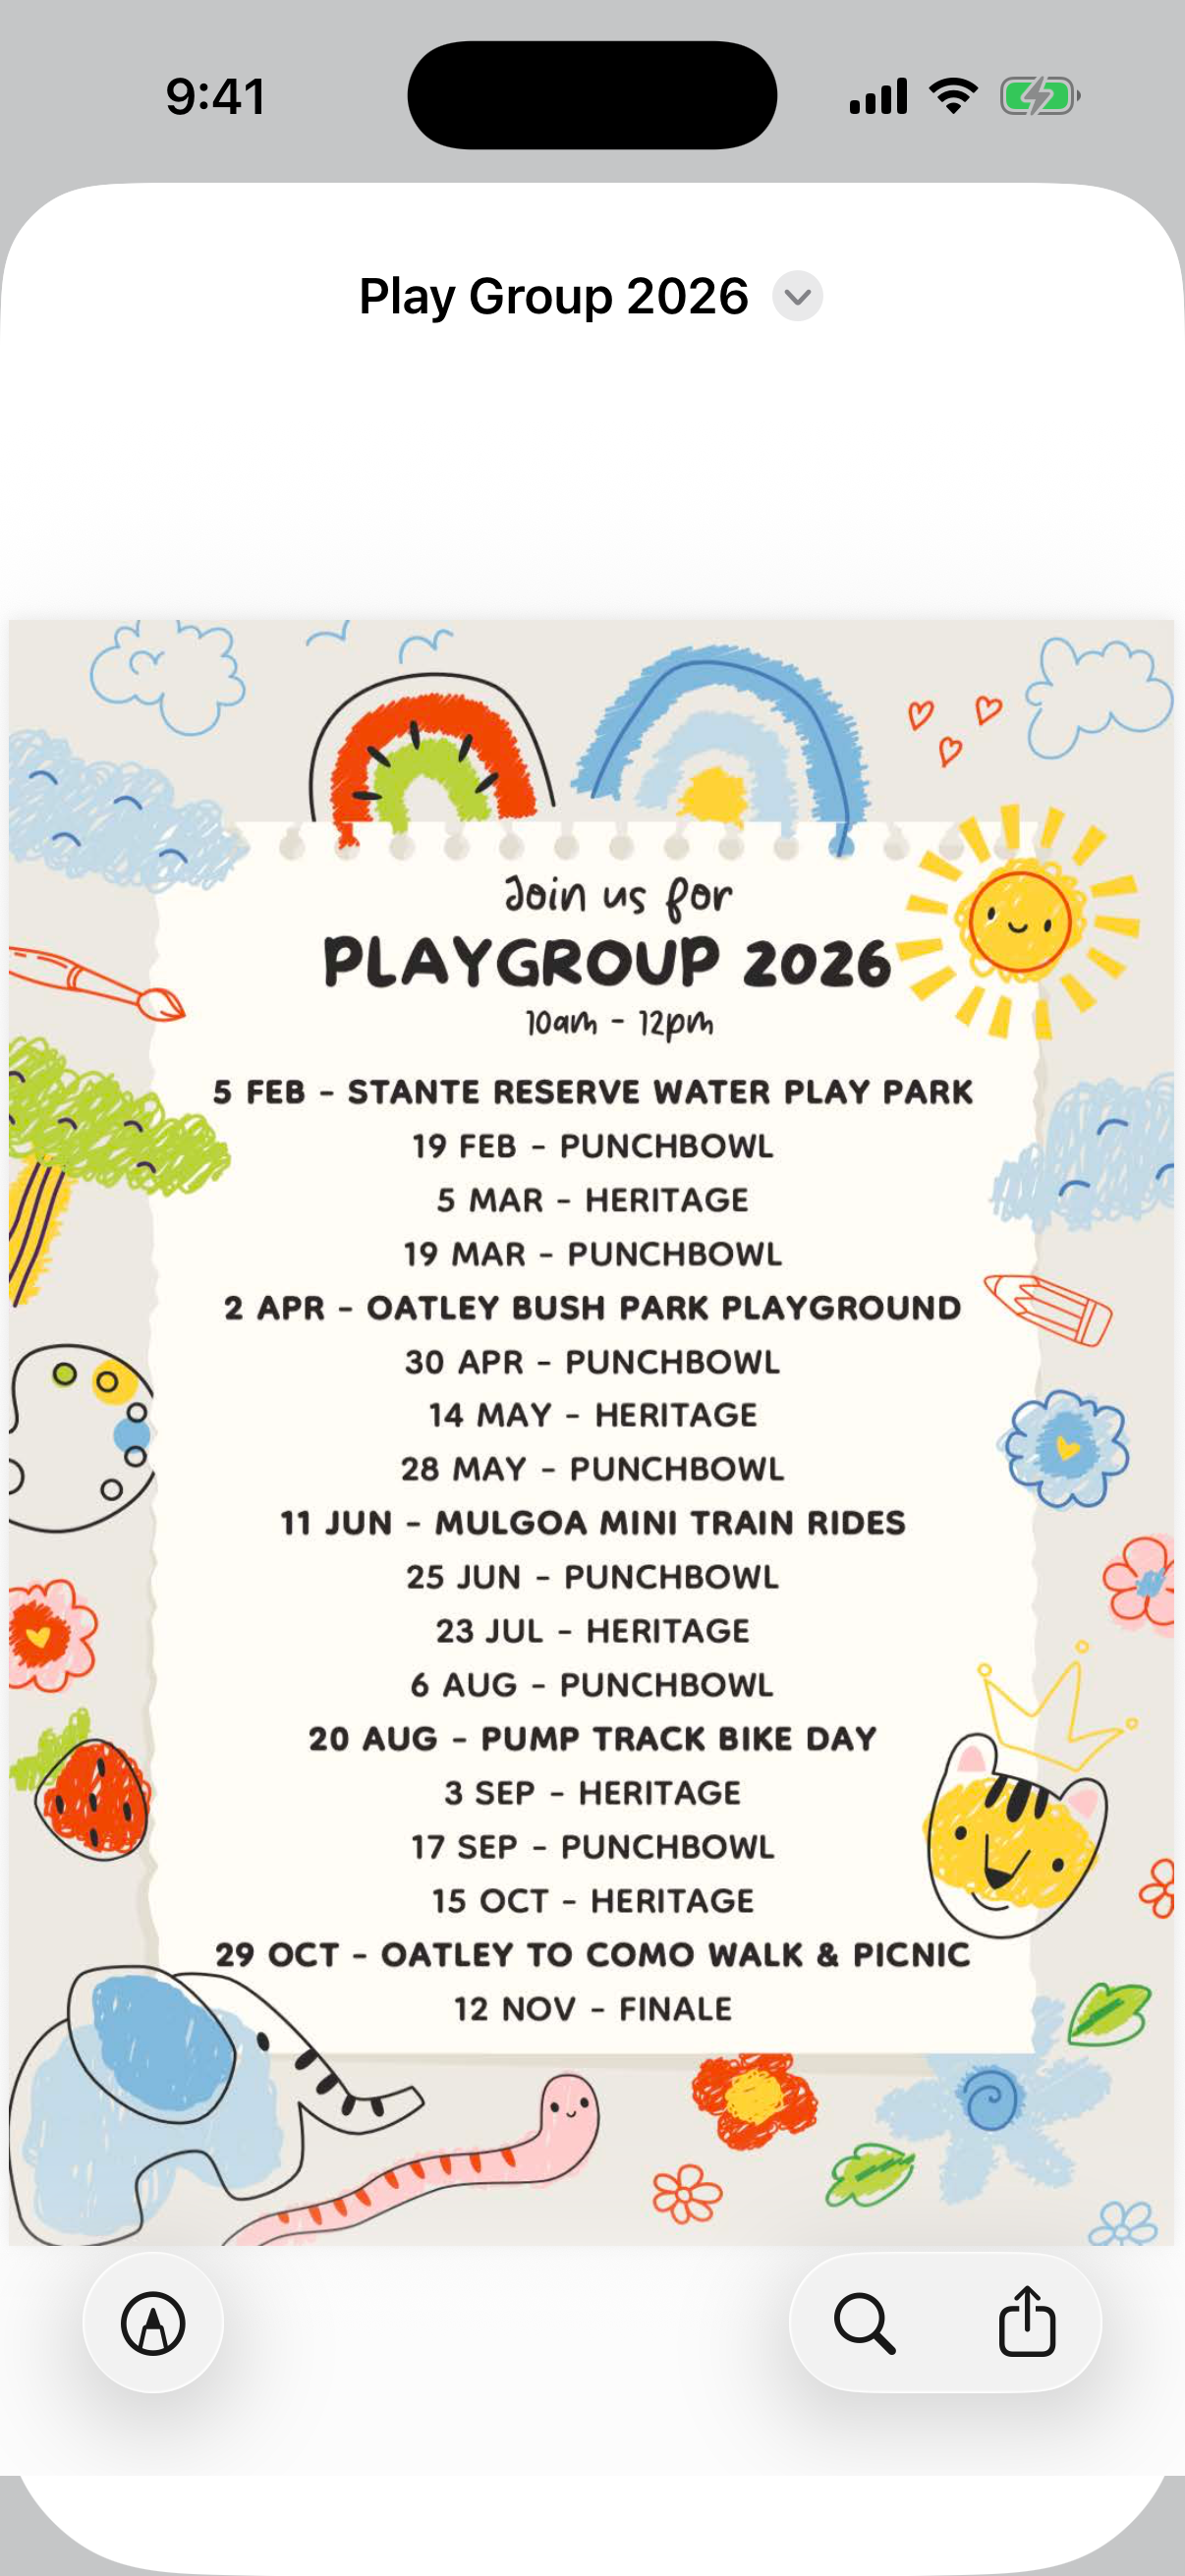
A document open in the in-app QuickLook preview.
On the web only: Uploading and managing shared documents isn't a member action — members view and download only.