Managing your availability
Your availability tells the scheduler two things: which roles you’re happy to be picked for, and how often. This guide covers the first — role preferences. If you also need to block out a specific date or period, see the unavailability guide instead.
Reading time: four minutes. Actual setup: two, once you know your way around.
Open the Role preferences page
Open the top-right avatar menu → My profile, then Role preferences under Volunteering in the profile sidebar. (It sits next to Availability, which is where you block out specific dates — see the unavailability guide.)
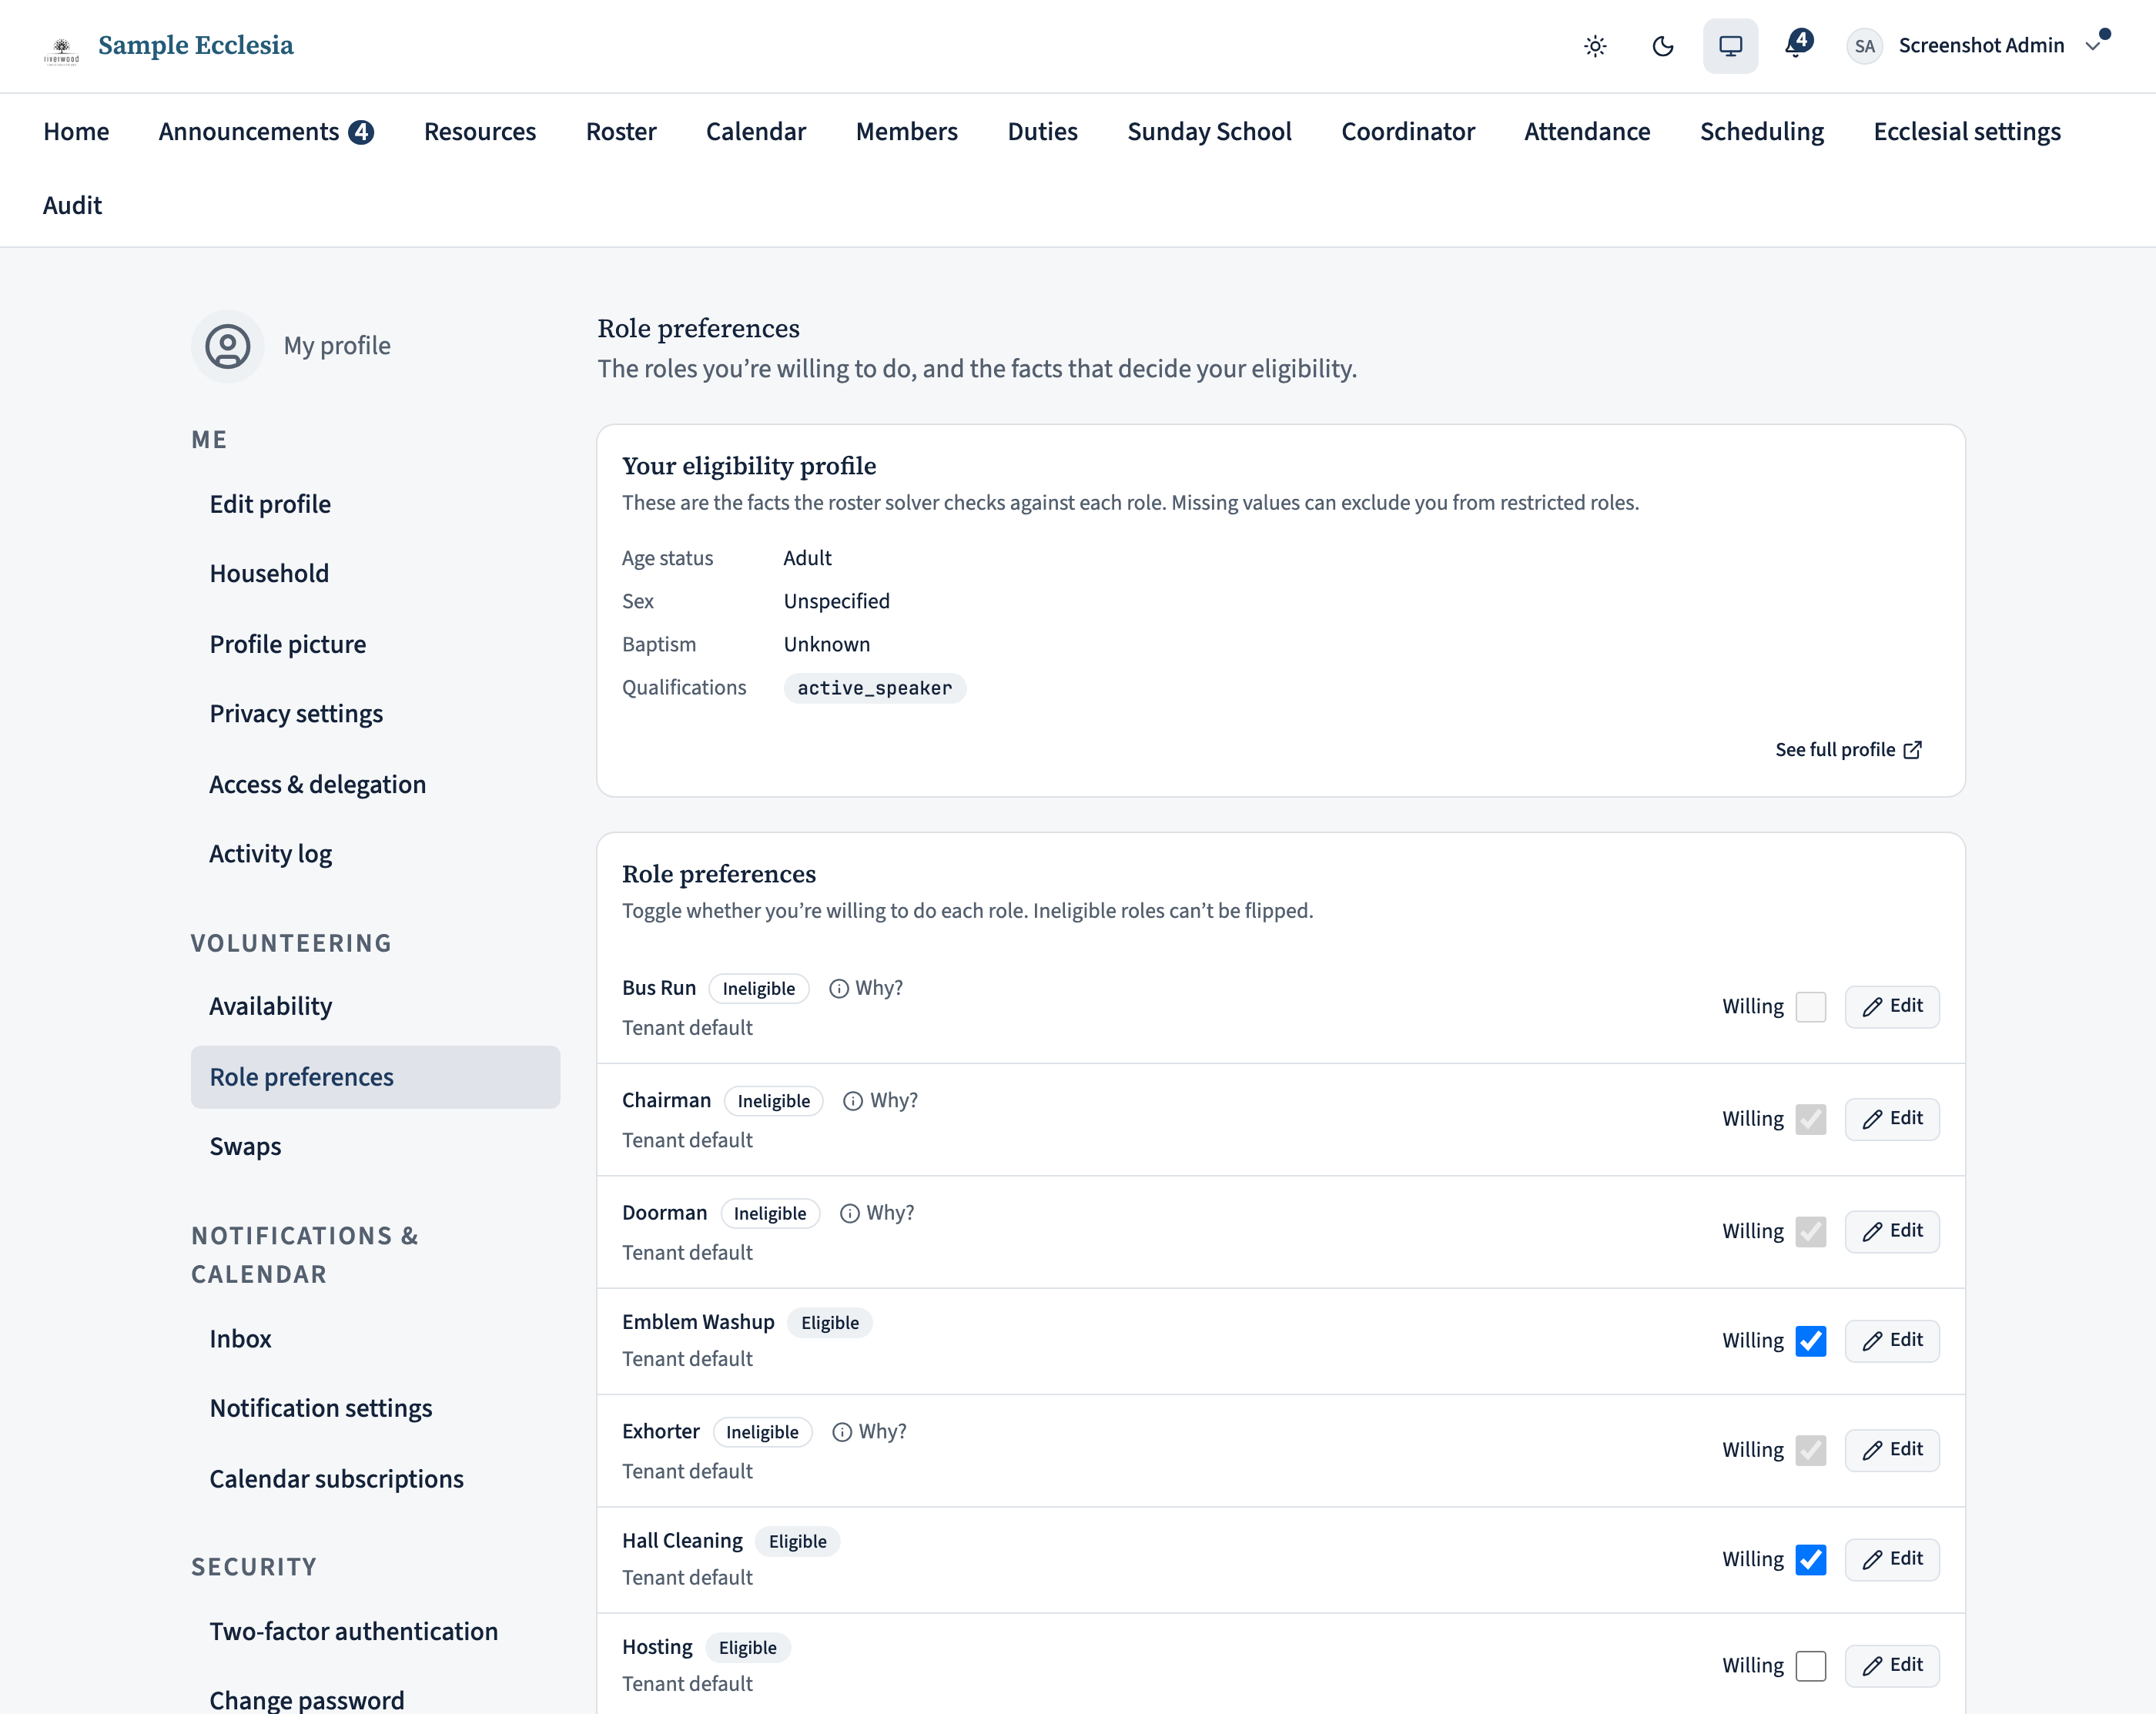
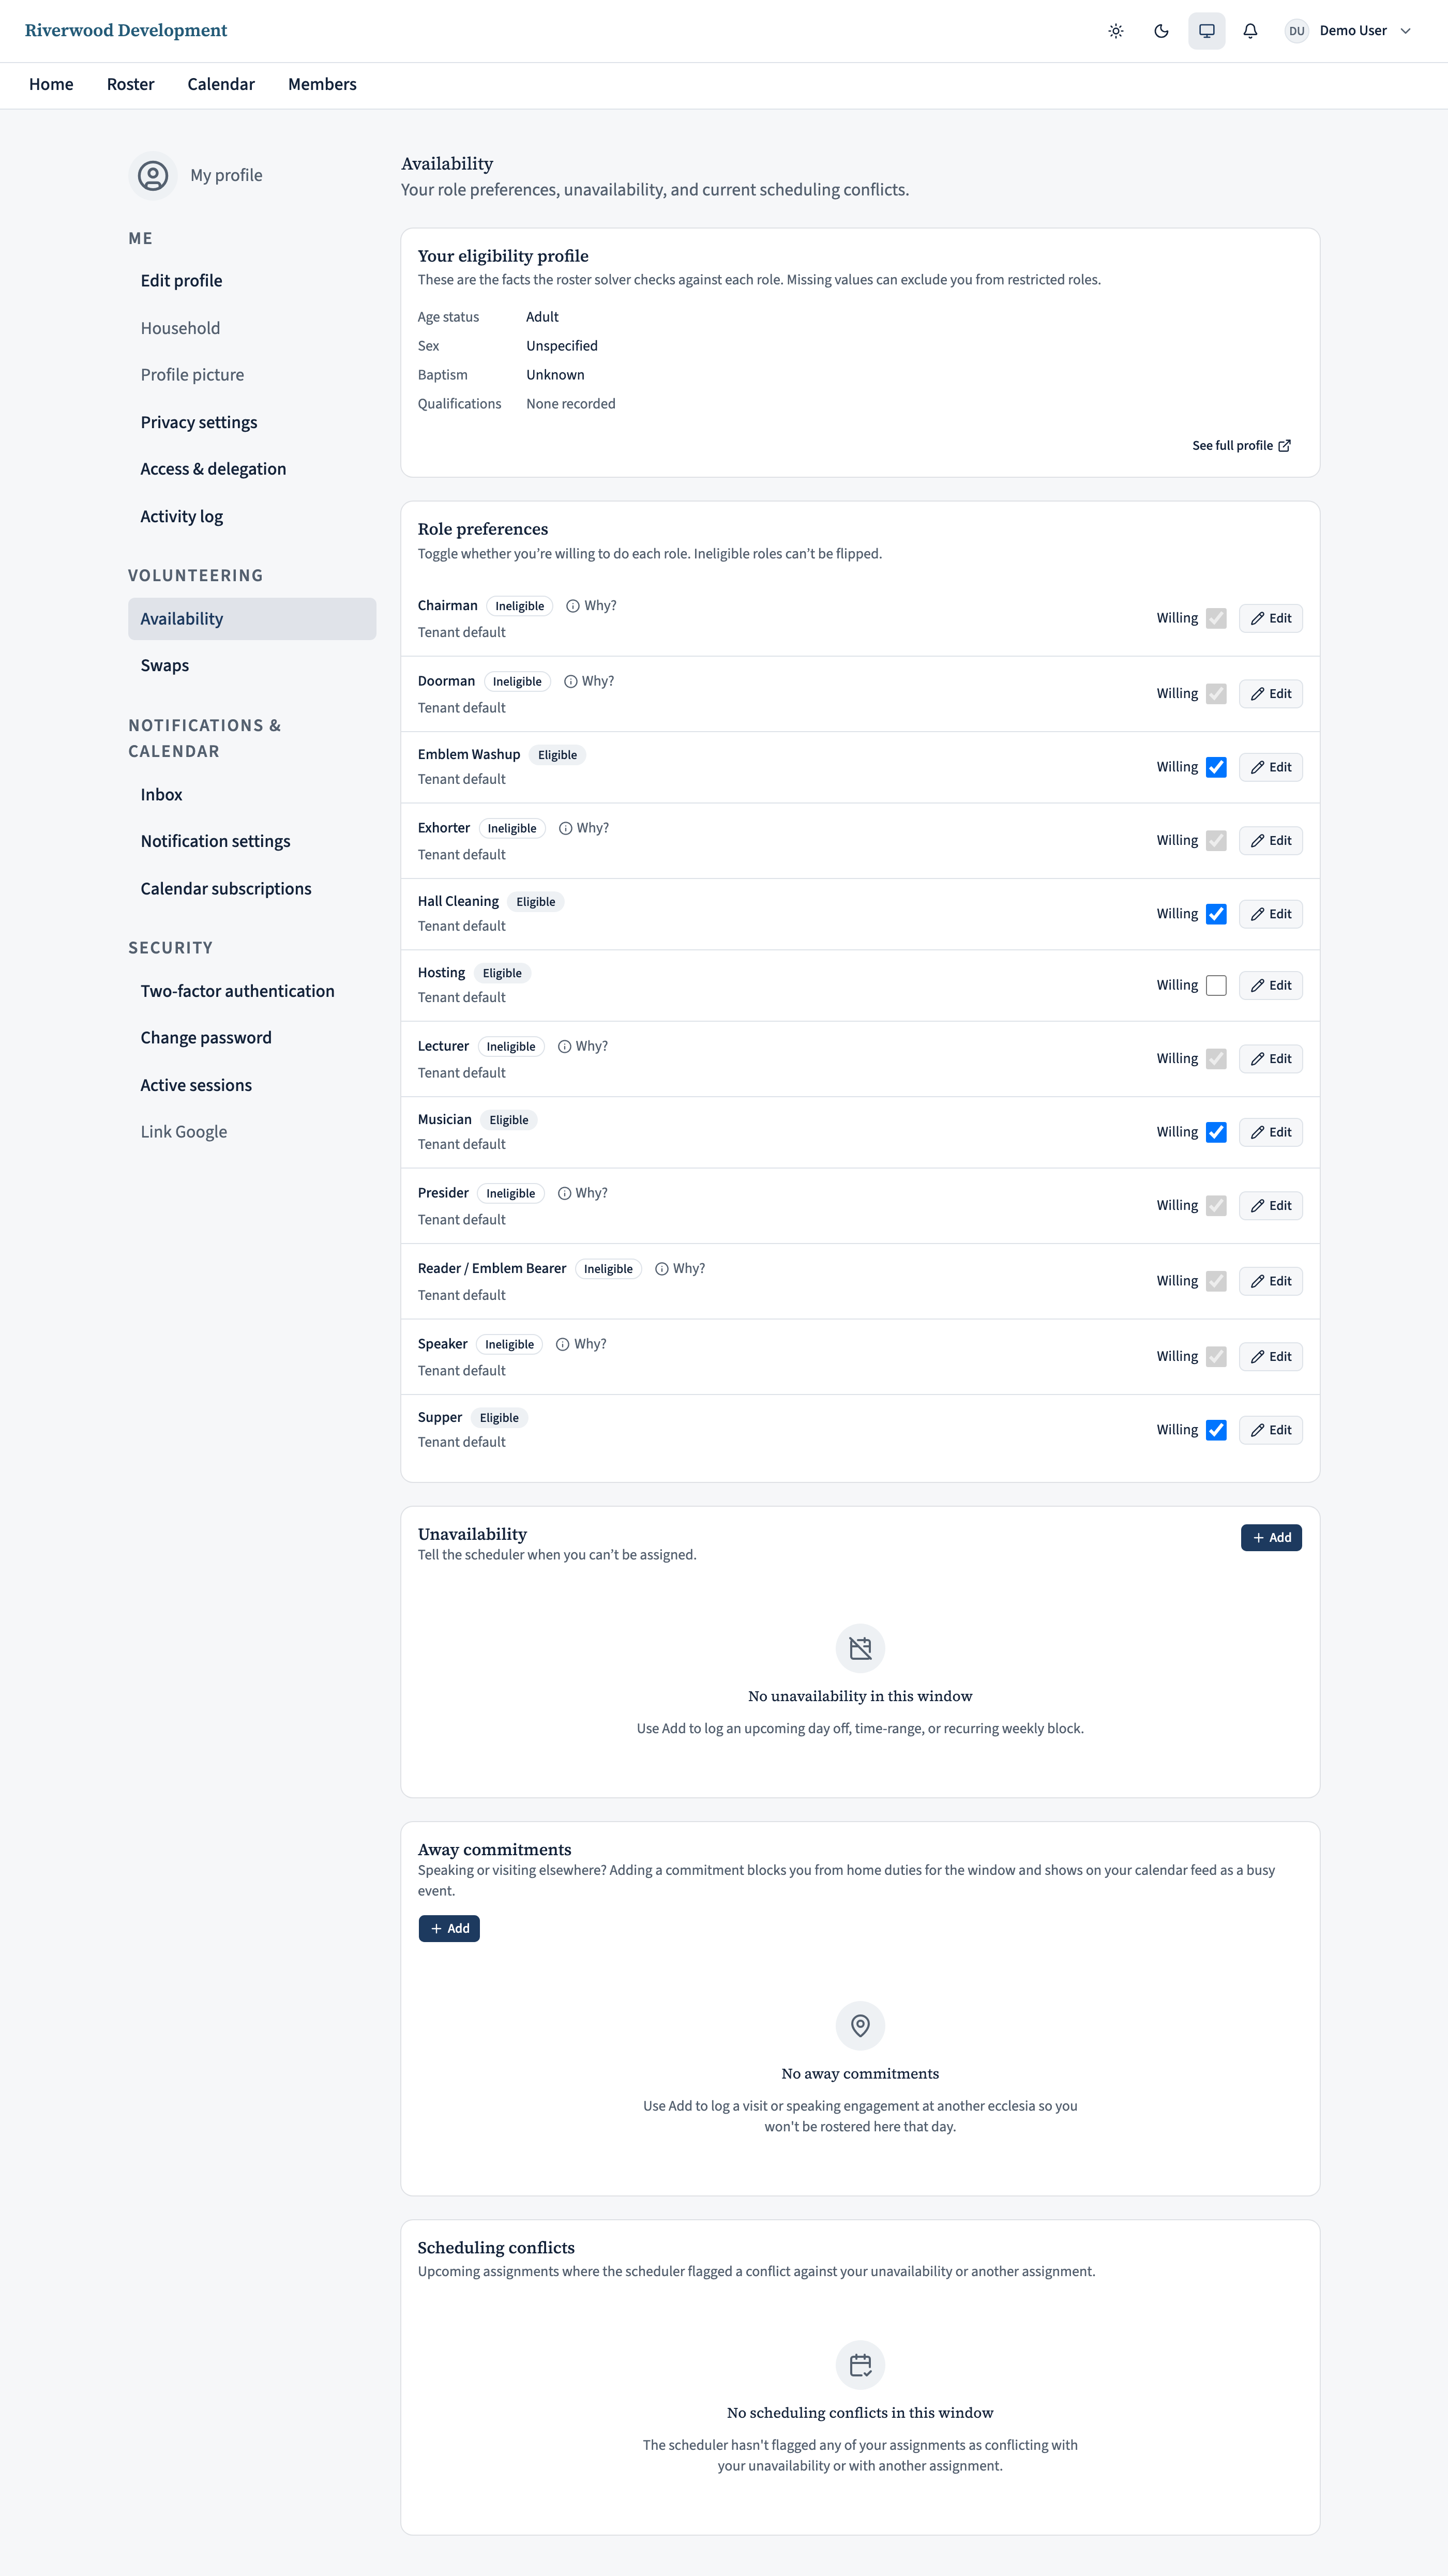
The page opens with your Eligibility profile at the top — the age status, sex, baptism status, and any qualifications the scheduler knows about you. That’s the data behind “why am I (not) being asked for this role?” and it’s the same information your administrator can edit from your member record.
The Role preferences card underneath is where you spend most of your time.
Turn a role on or off
Each role you’re eligible for has its own row with a large toggle. Flip it on to tell the scheduler “yes, please pick me for this one”; leave it off if you’d rather not. Roles you’re not eligible for (e.g. an adult-only role while you’re a minor) have a Why? button instead of a toggle — click it to see the mismatch.
Every change saves on click; there’s no separate Save button, and you can back out by flipping the toggle back. The scheduler picks the change up on the next roster run.
Cap how often you're picked
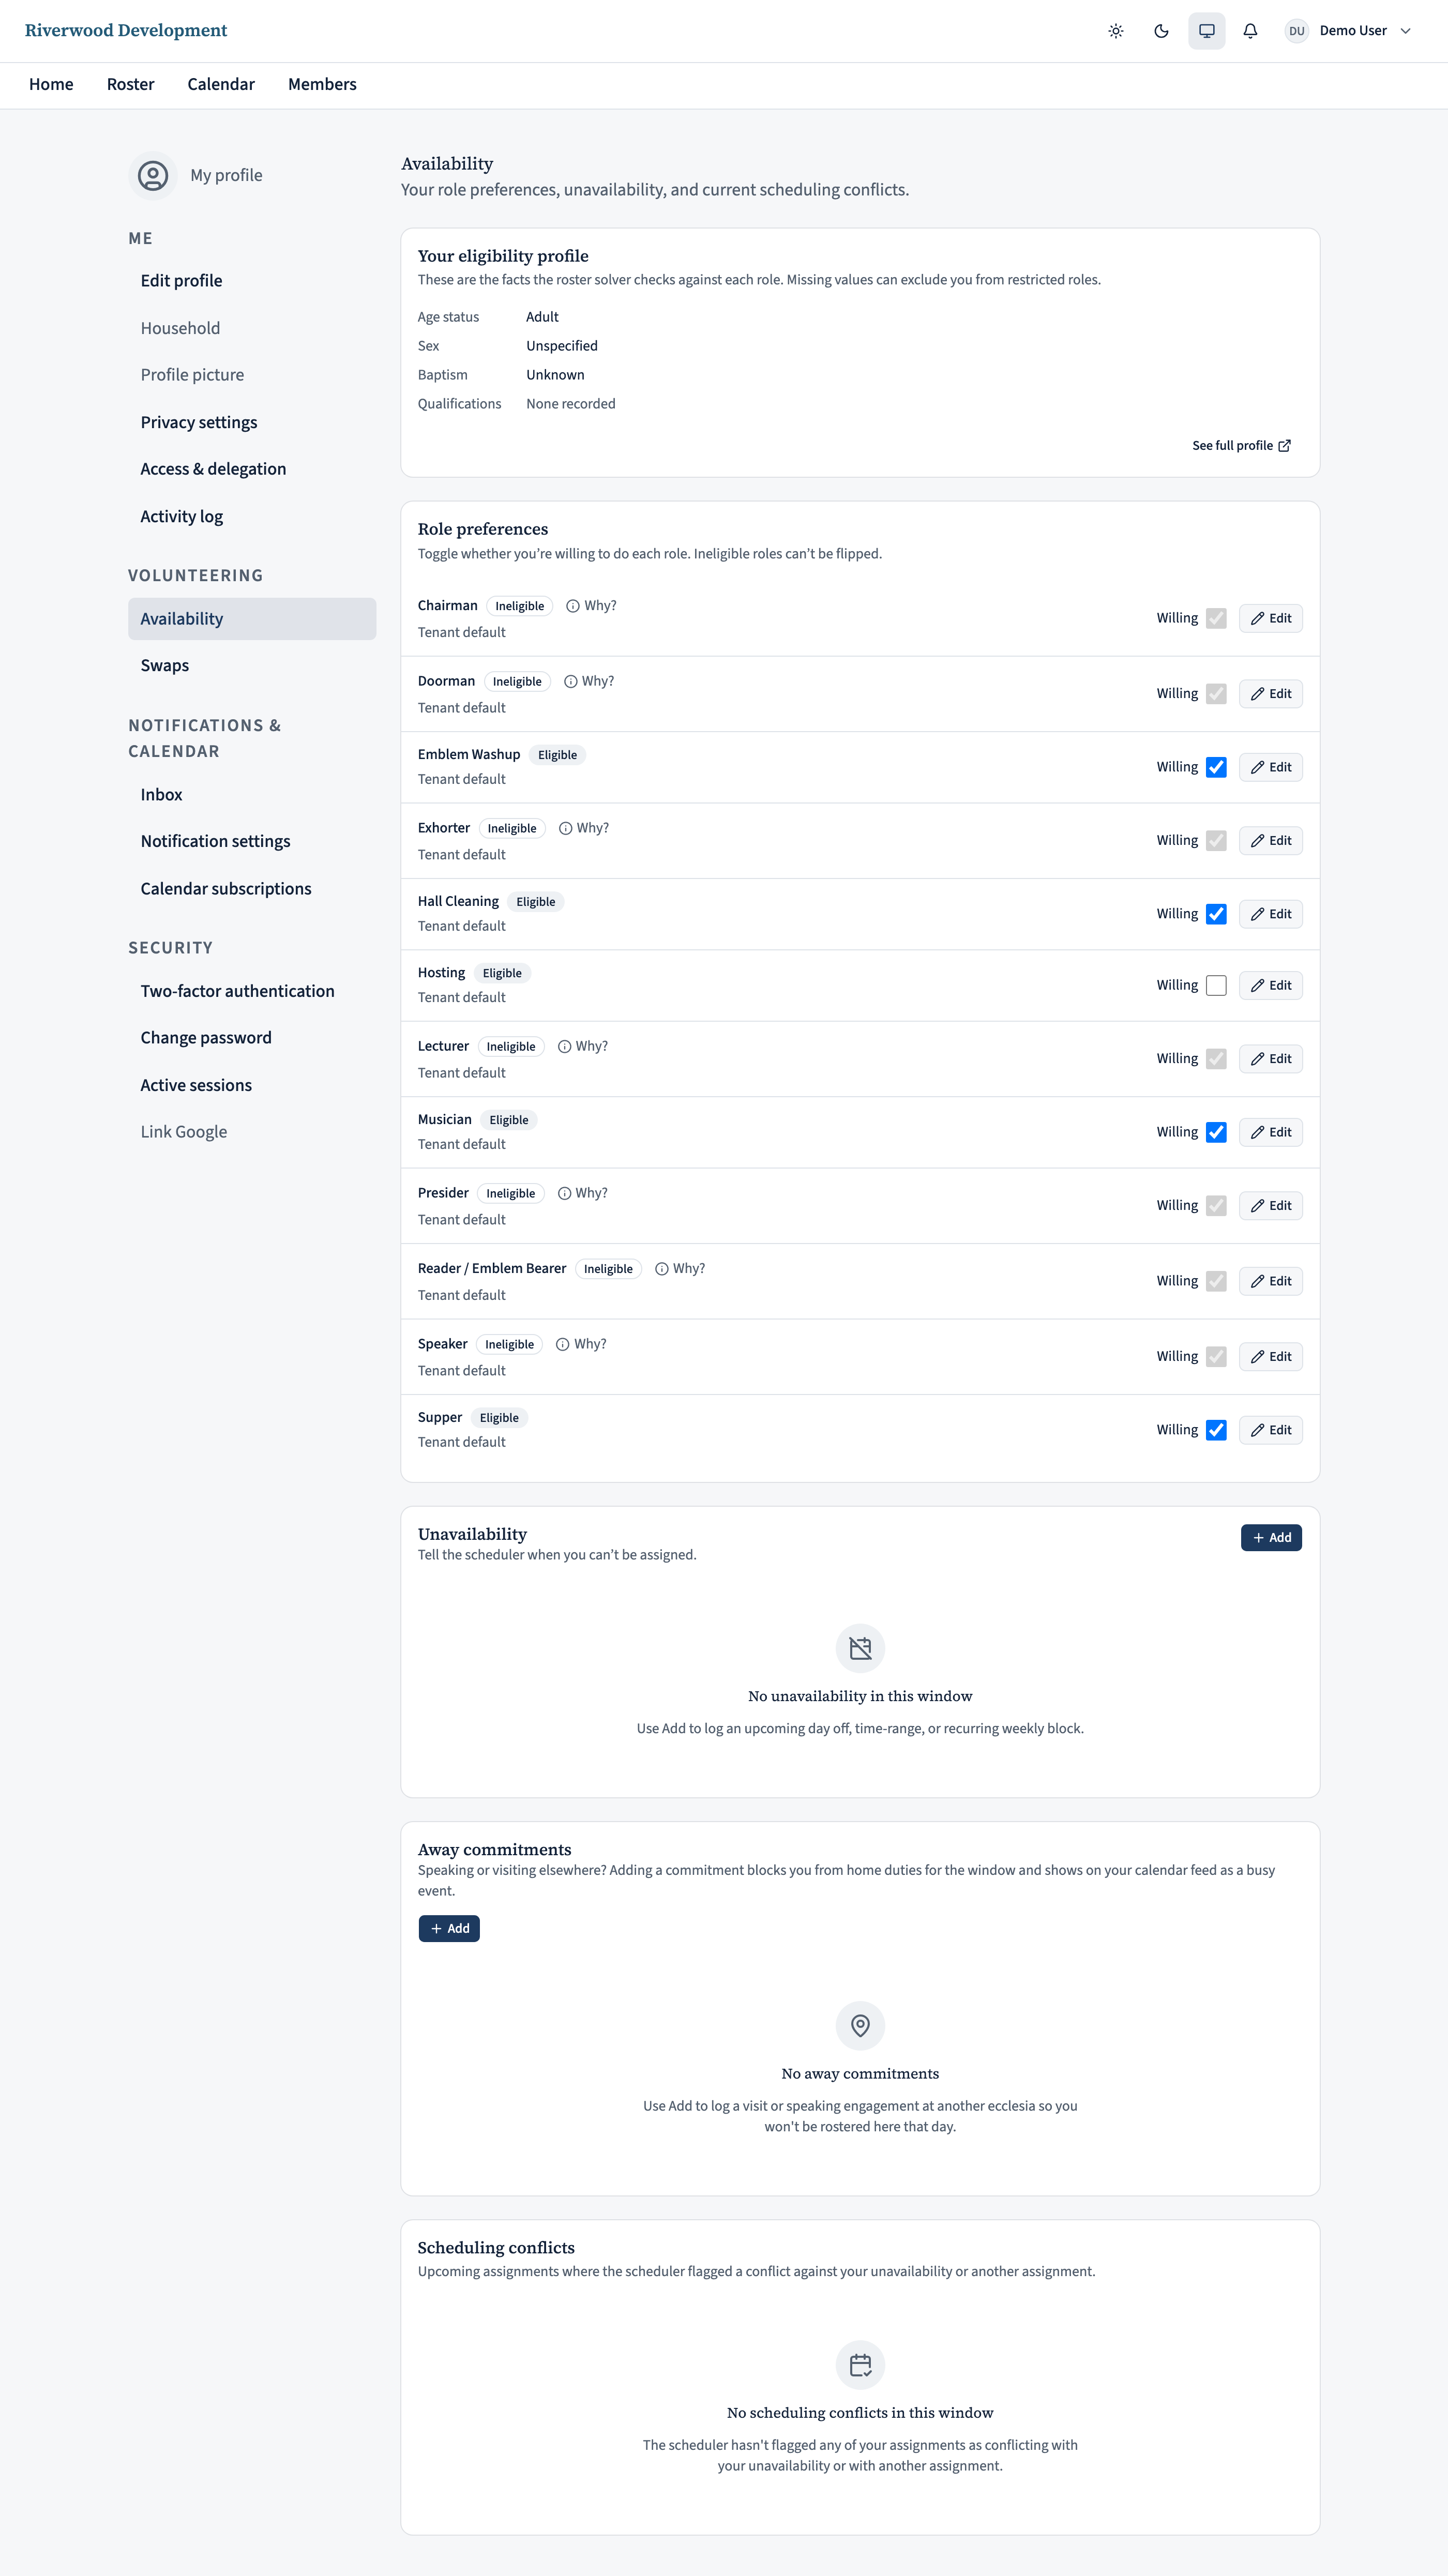
Click the small chevron on the right of a row to expand it. Two controls appear:
- Cycle — the period the cap applies over. Your administrator sets the choices (e.g. Monthly, Quarterly, Yearly). Pick whichever matches how you think about it.
- Maximum per cycle — the largest number of times you’re happy to serve for this role in that period. Leave it blank for “no cap”.
These are soft targets: the scheduler tries not to exceed the cap but will if nobody else is available. You’ll see an explanation on the assignment when that happens.
Handle activity-group exceptions
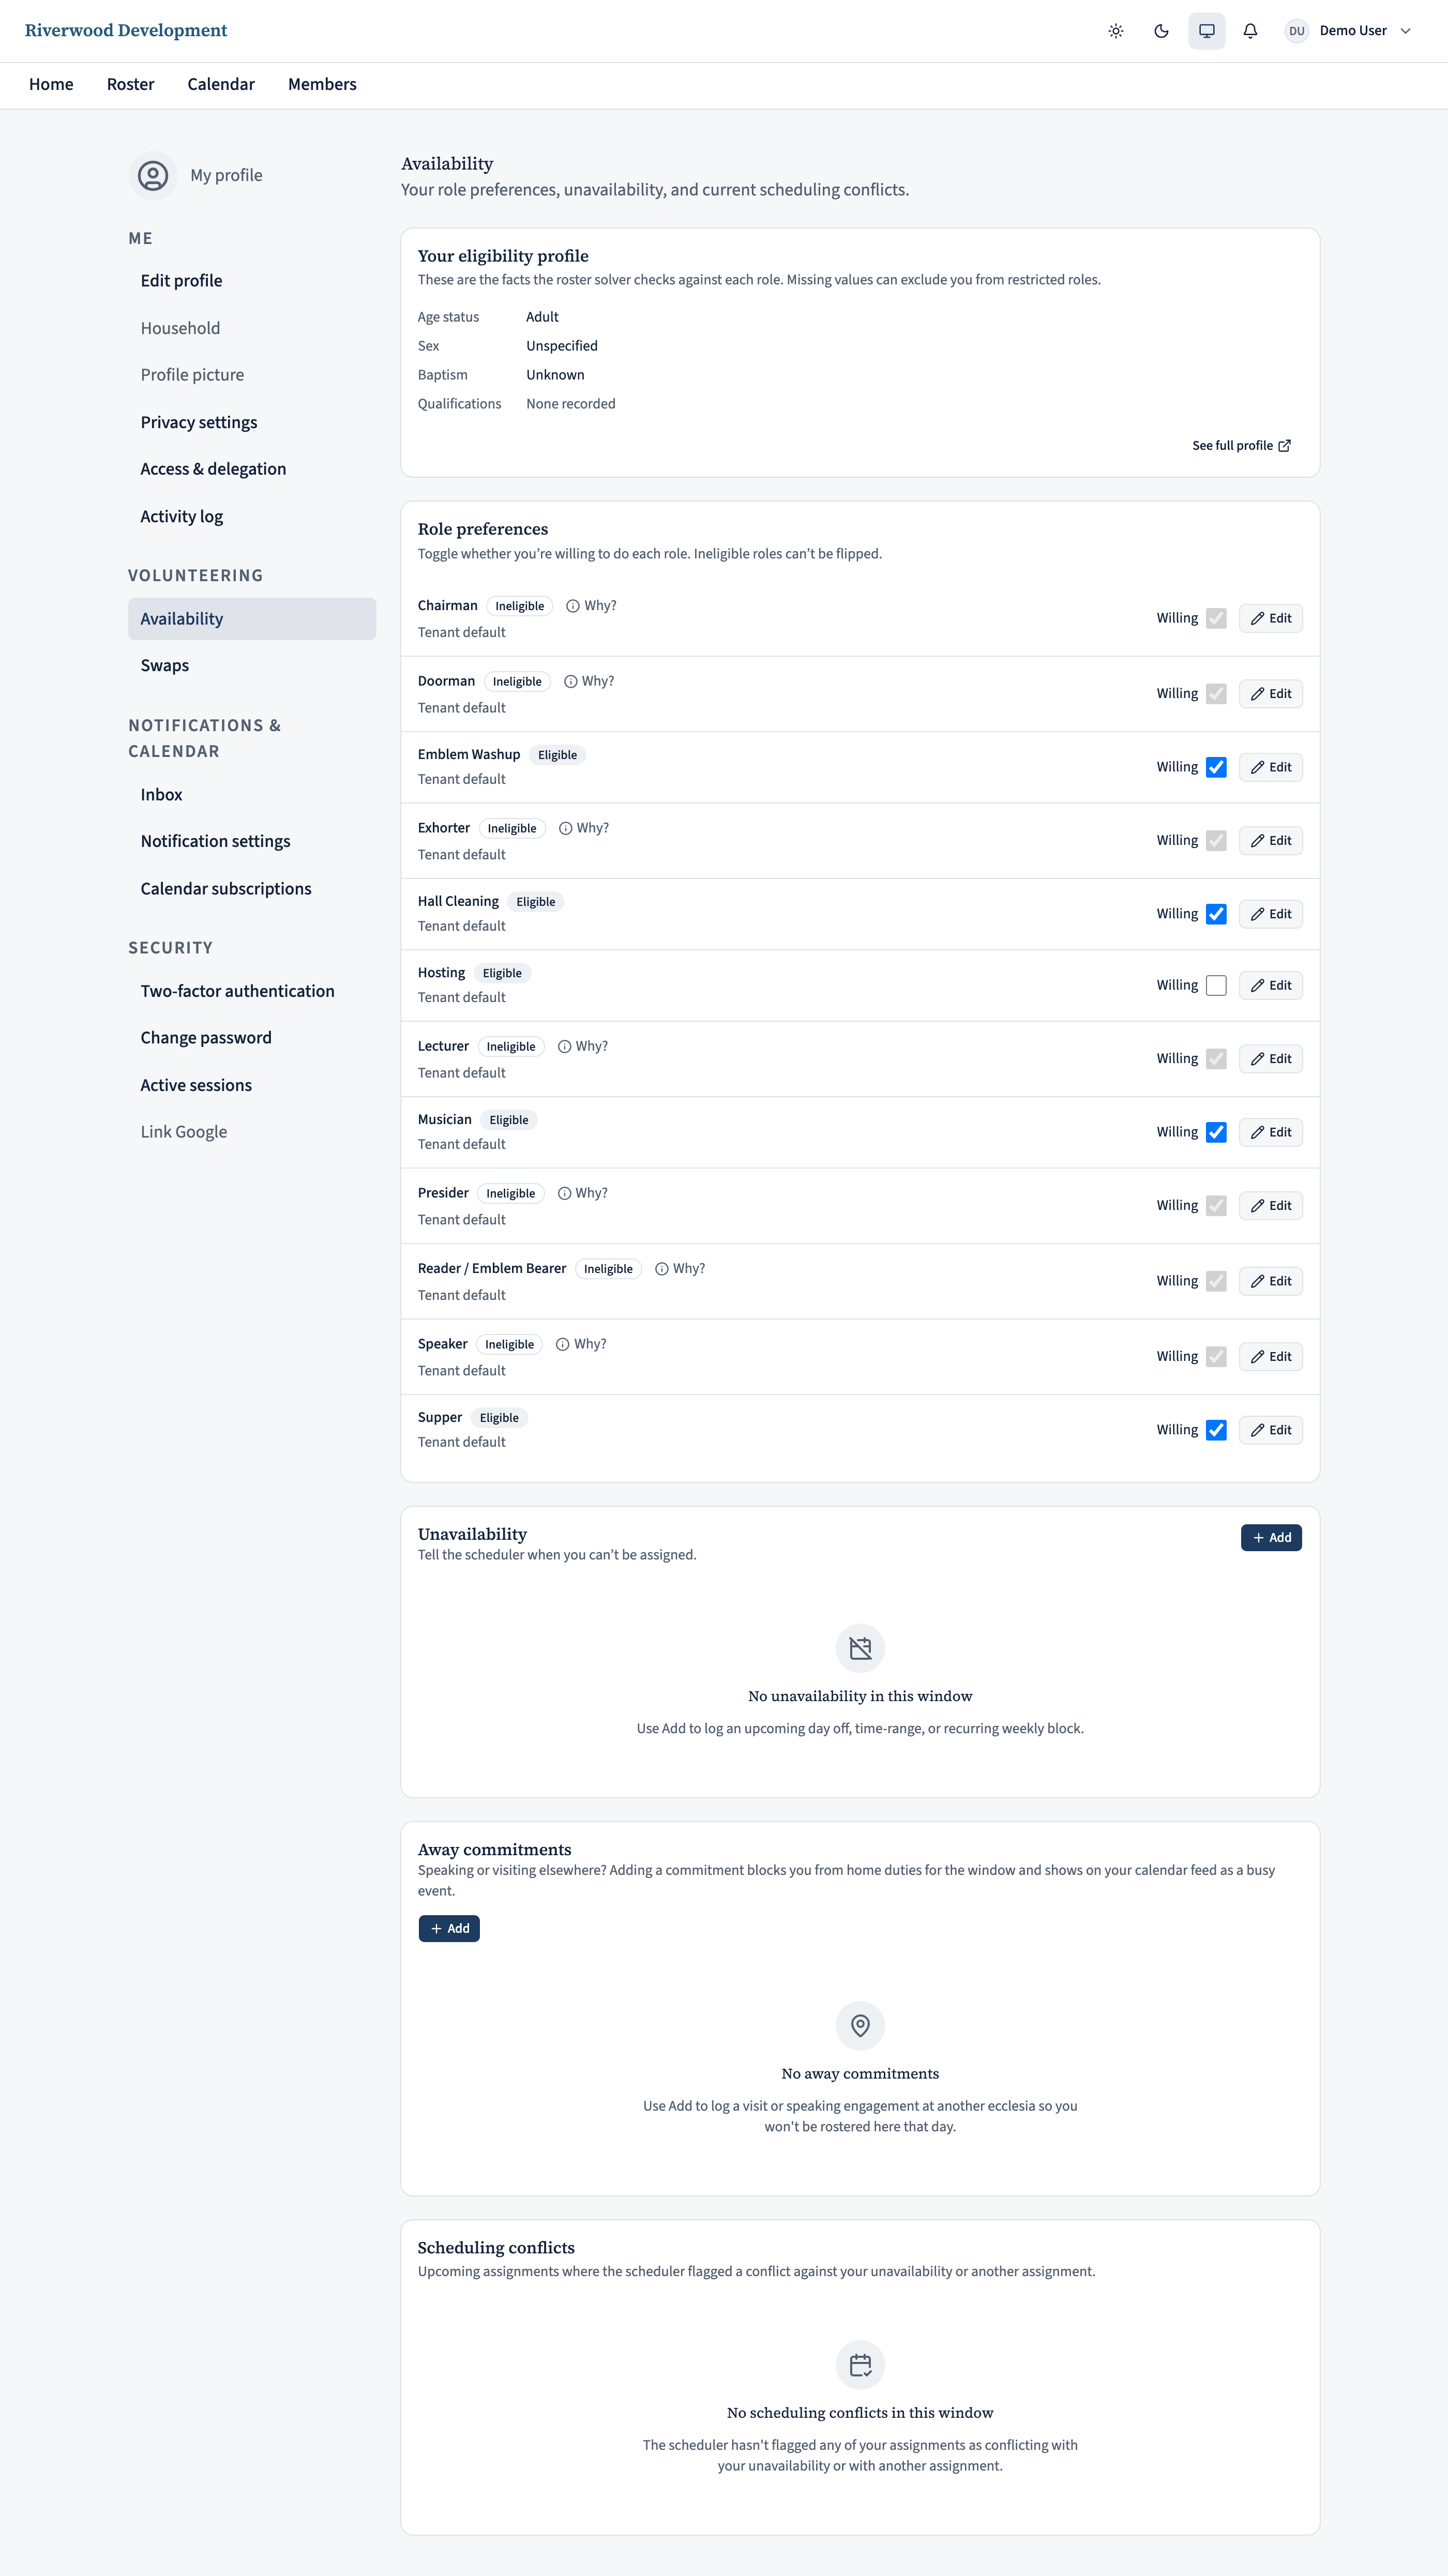
Some roles run across multiple scheduling groups. If you’re happy to serve at one but not another — say you read for the Memorial but not the Bible Class — tick I have activity-group exceptions. Each group gets its own toggle, and you can even set a different maximum per group.
Rule of thumb: if a role only ever runs at one activity, ignore this section entirely.
Check scheduling conflicts
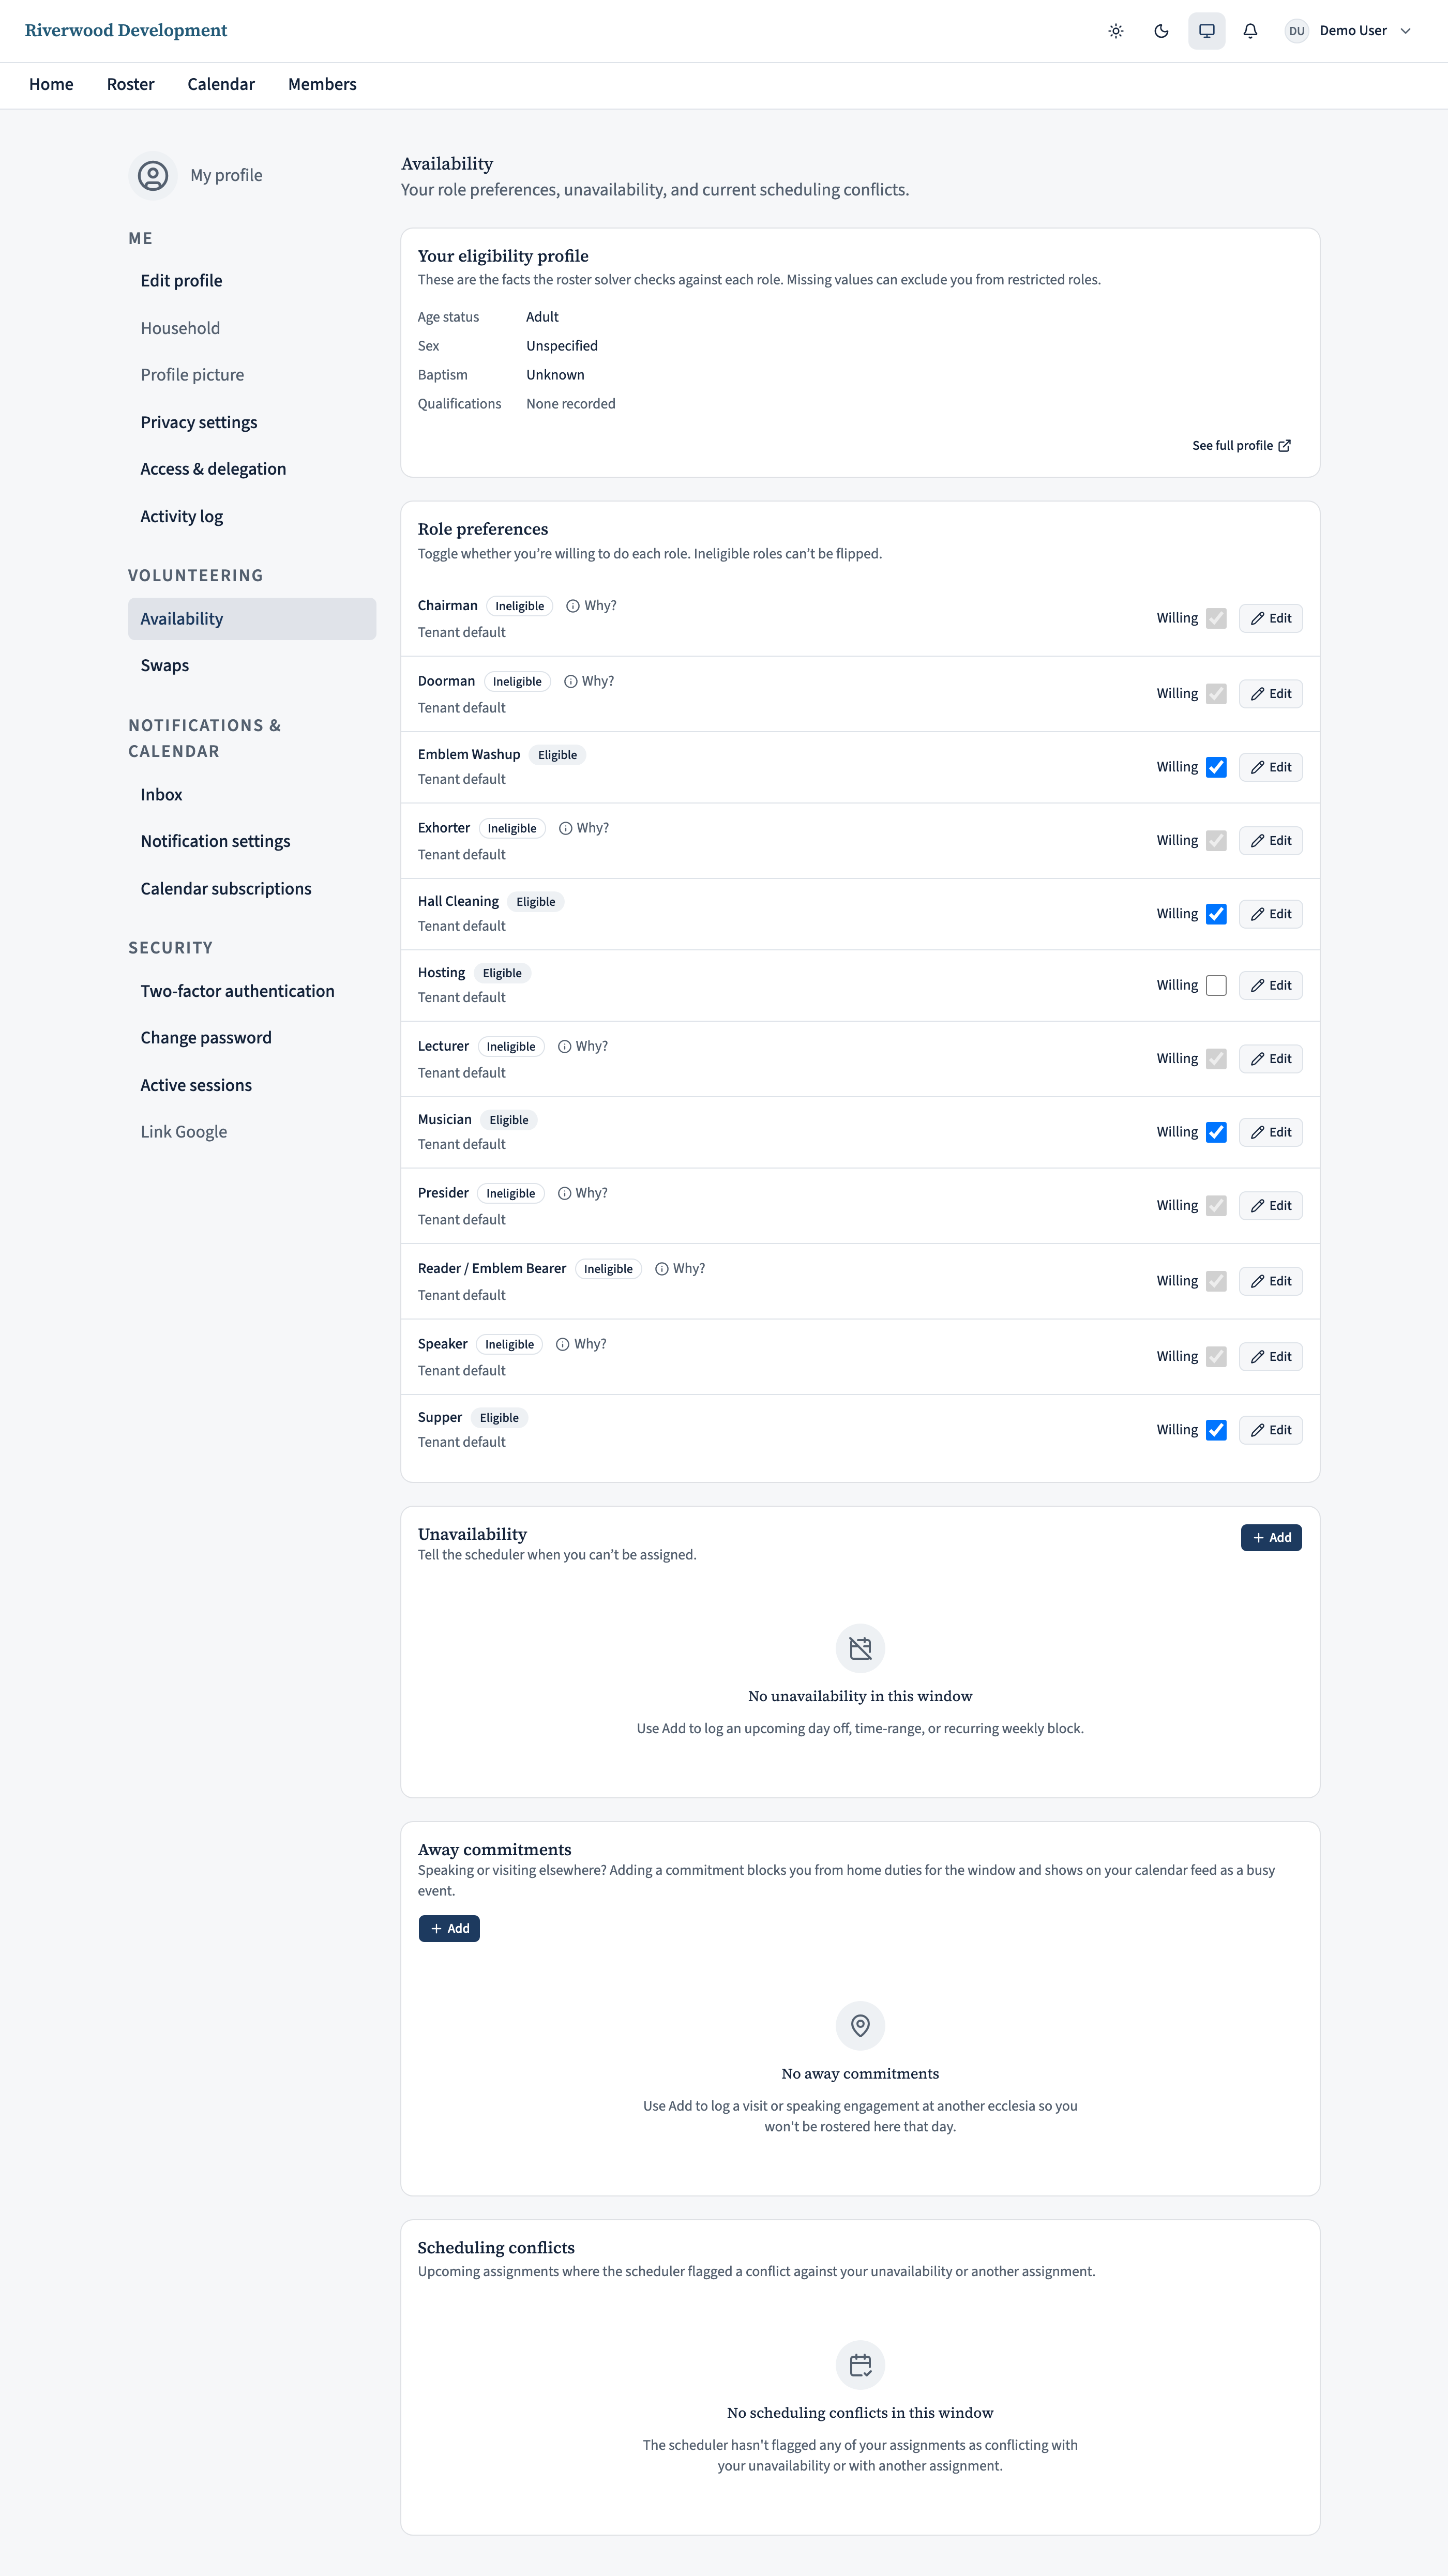
Scheduling conflicts live on the Availability page (the sibling of Role preferences under Volunteering), not here. Its Scheduling conflicts card lists upcoming assignments where the solver flagged a conflict — usually because you were already unavailable that day, or because you and another household member landed on the same occurrence.
Conflicts aren’t errors on your part; the coordinator reviews them before publishing the roster and either overrides or reassigns. But it’s a good place to double-check nothing looks wrong before the roster goes out.
On the iPhone app
Set your role willingness from the app too.
Tap the person icon (top-right) → Role preferences.
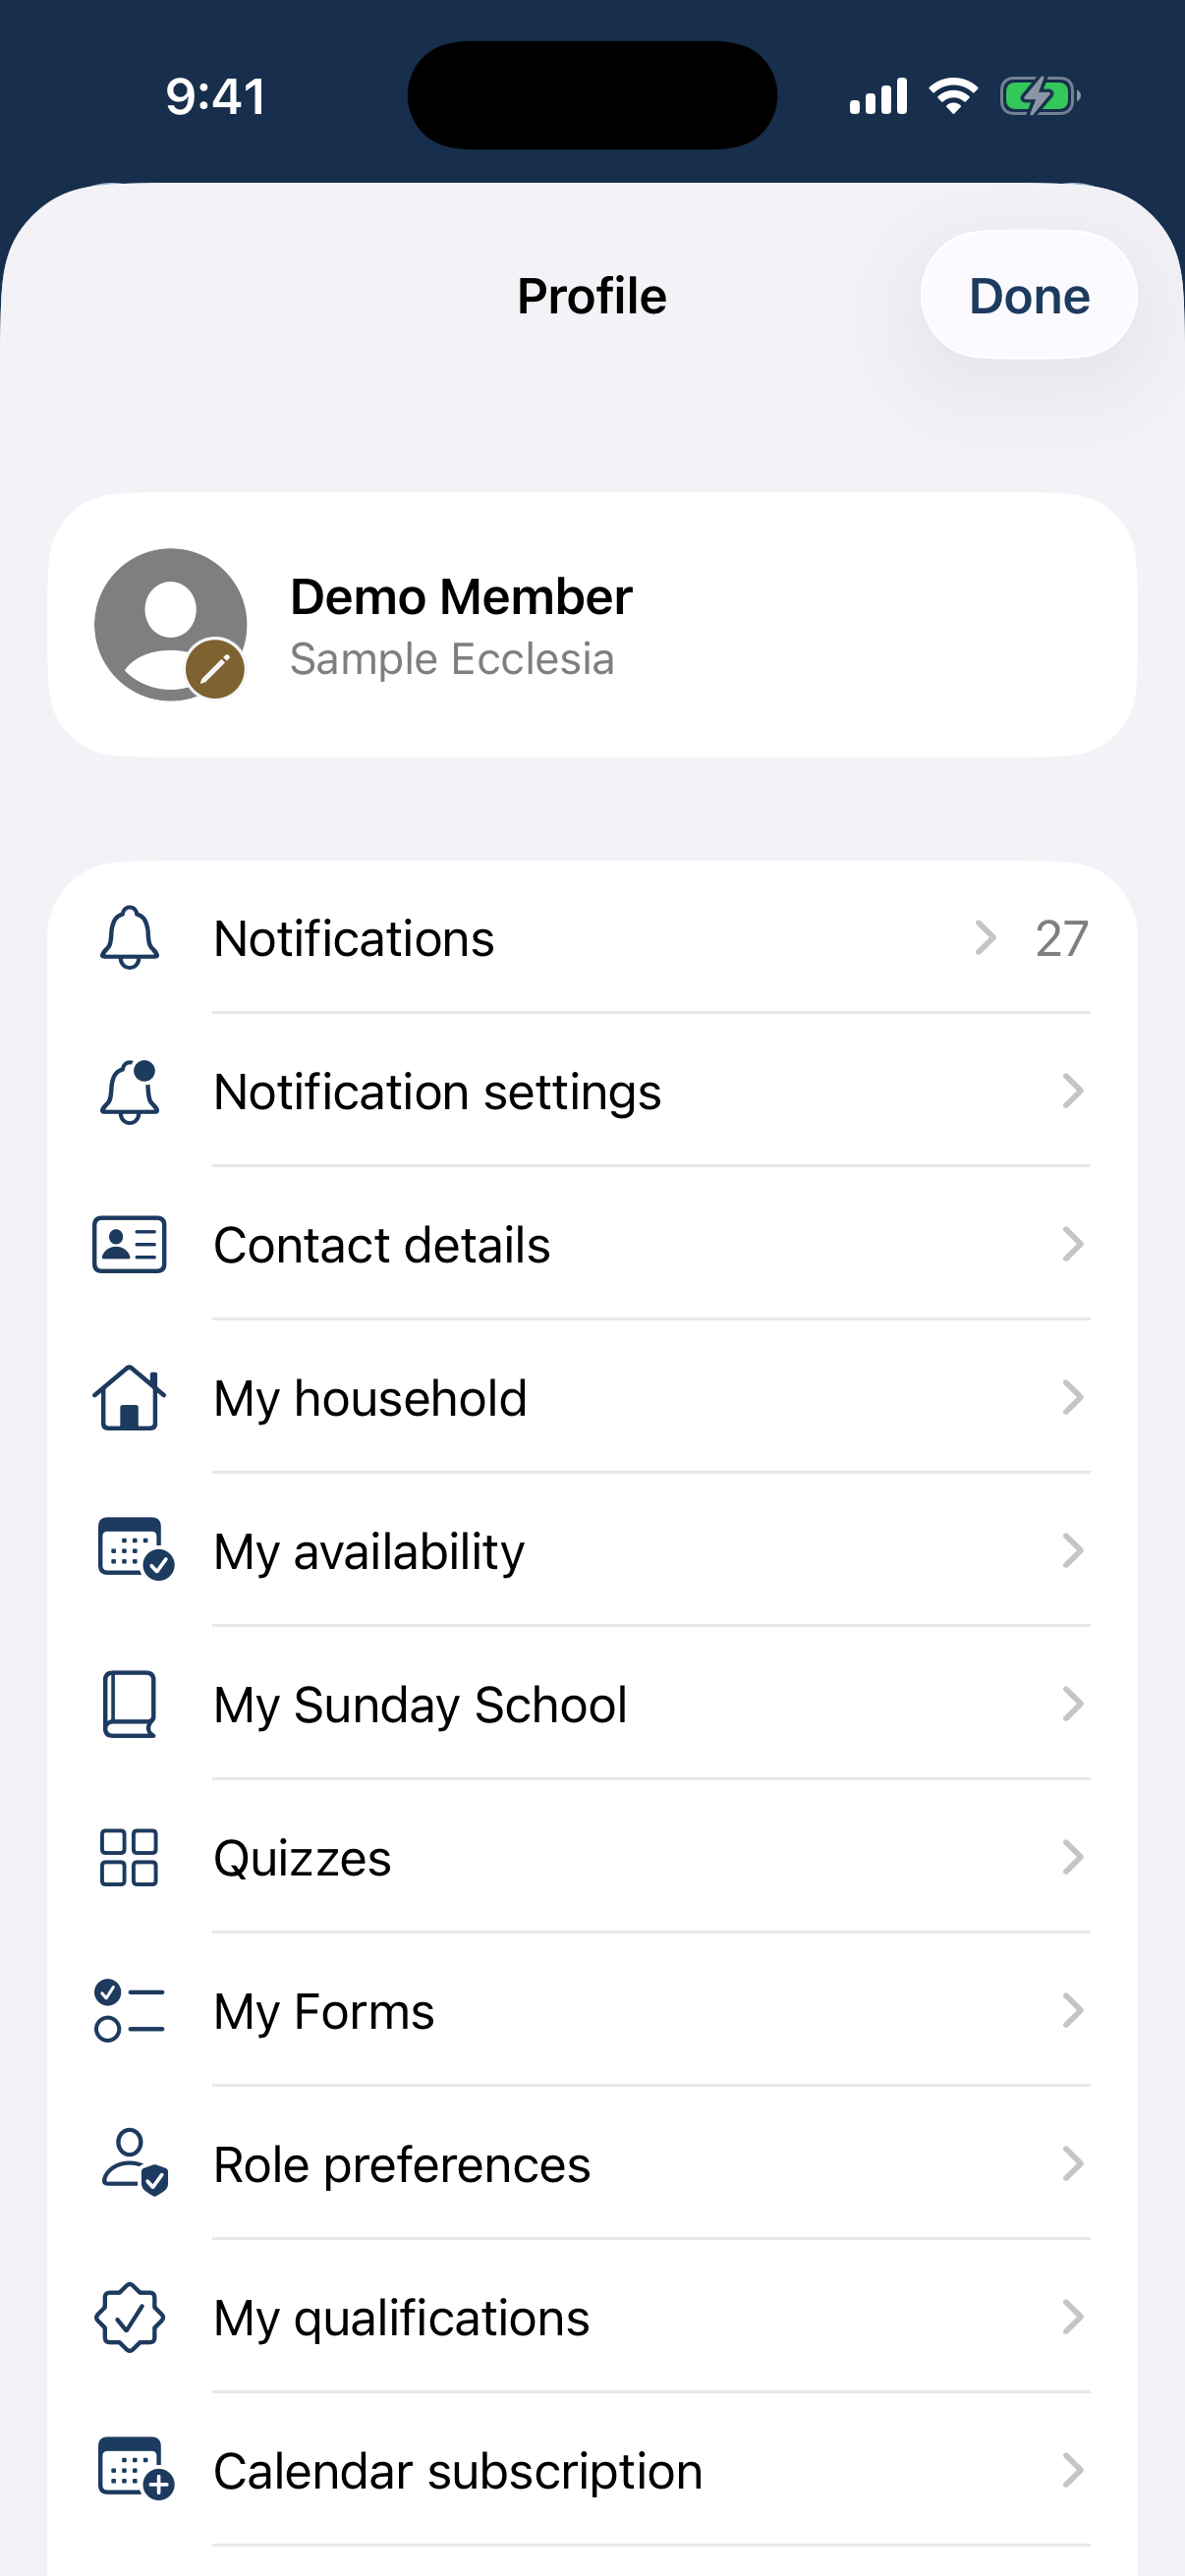
The app's profile menu with a Role preferences row. Toggle off any role you’d rather not be rostered for. For a role you keep on, set “Roster me at most N times” to cap how often you’re used. Changes save immediately.
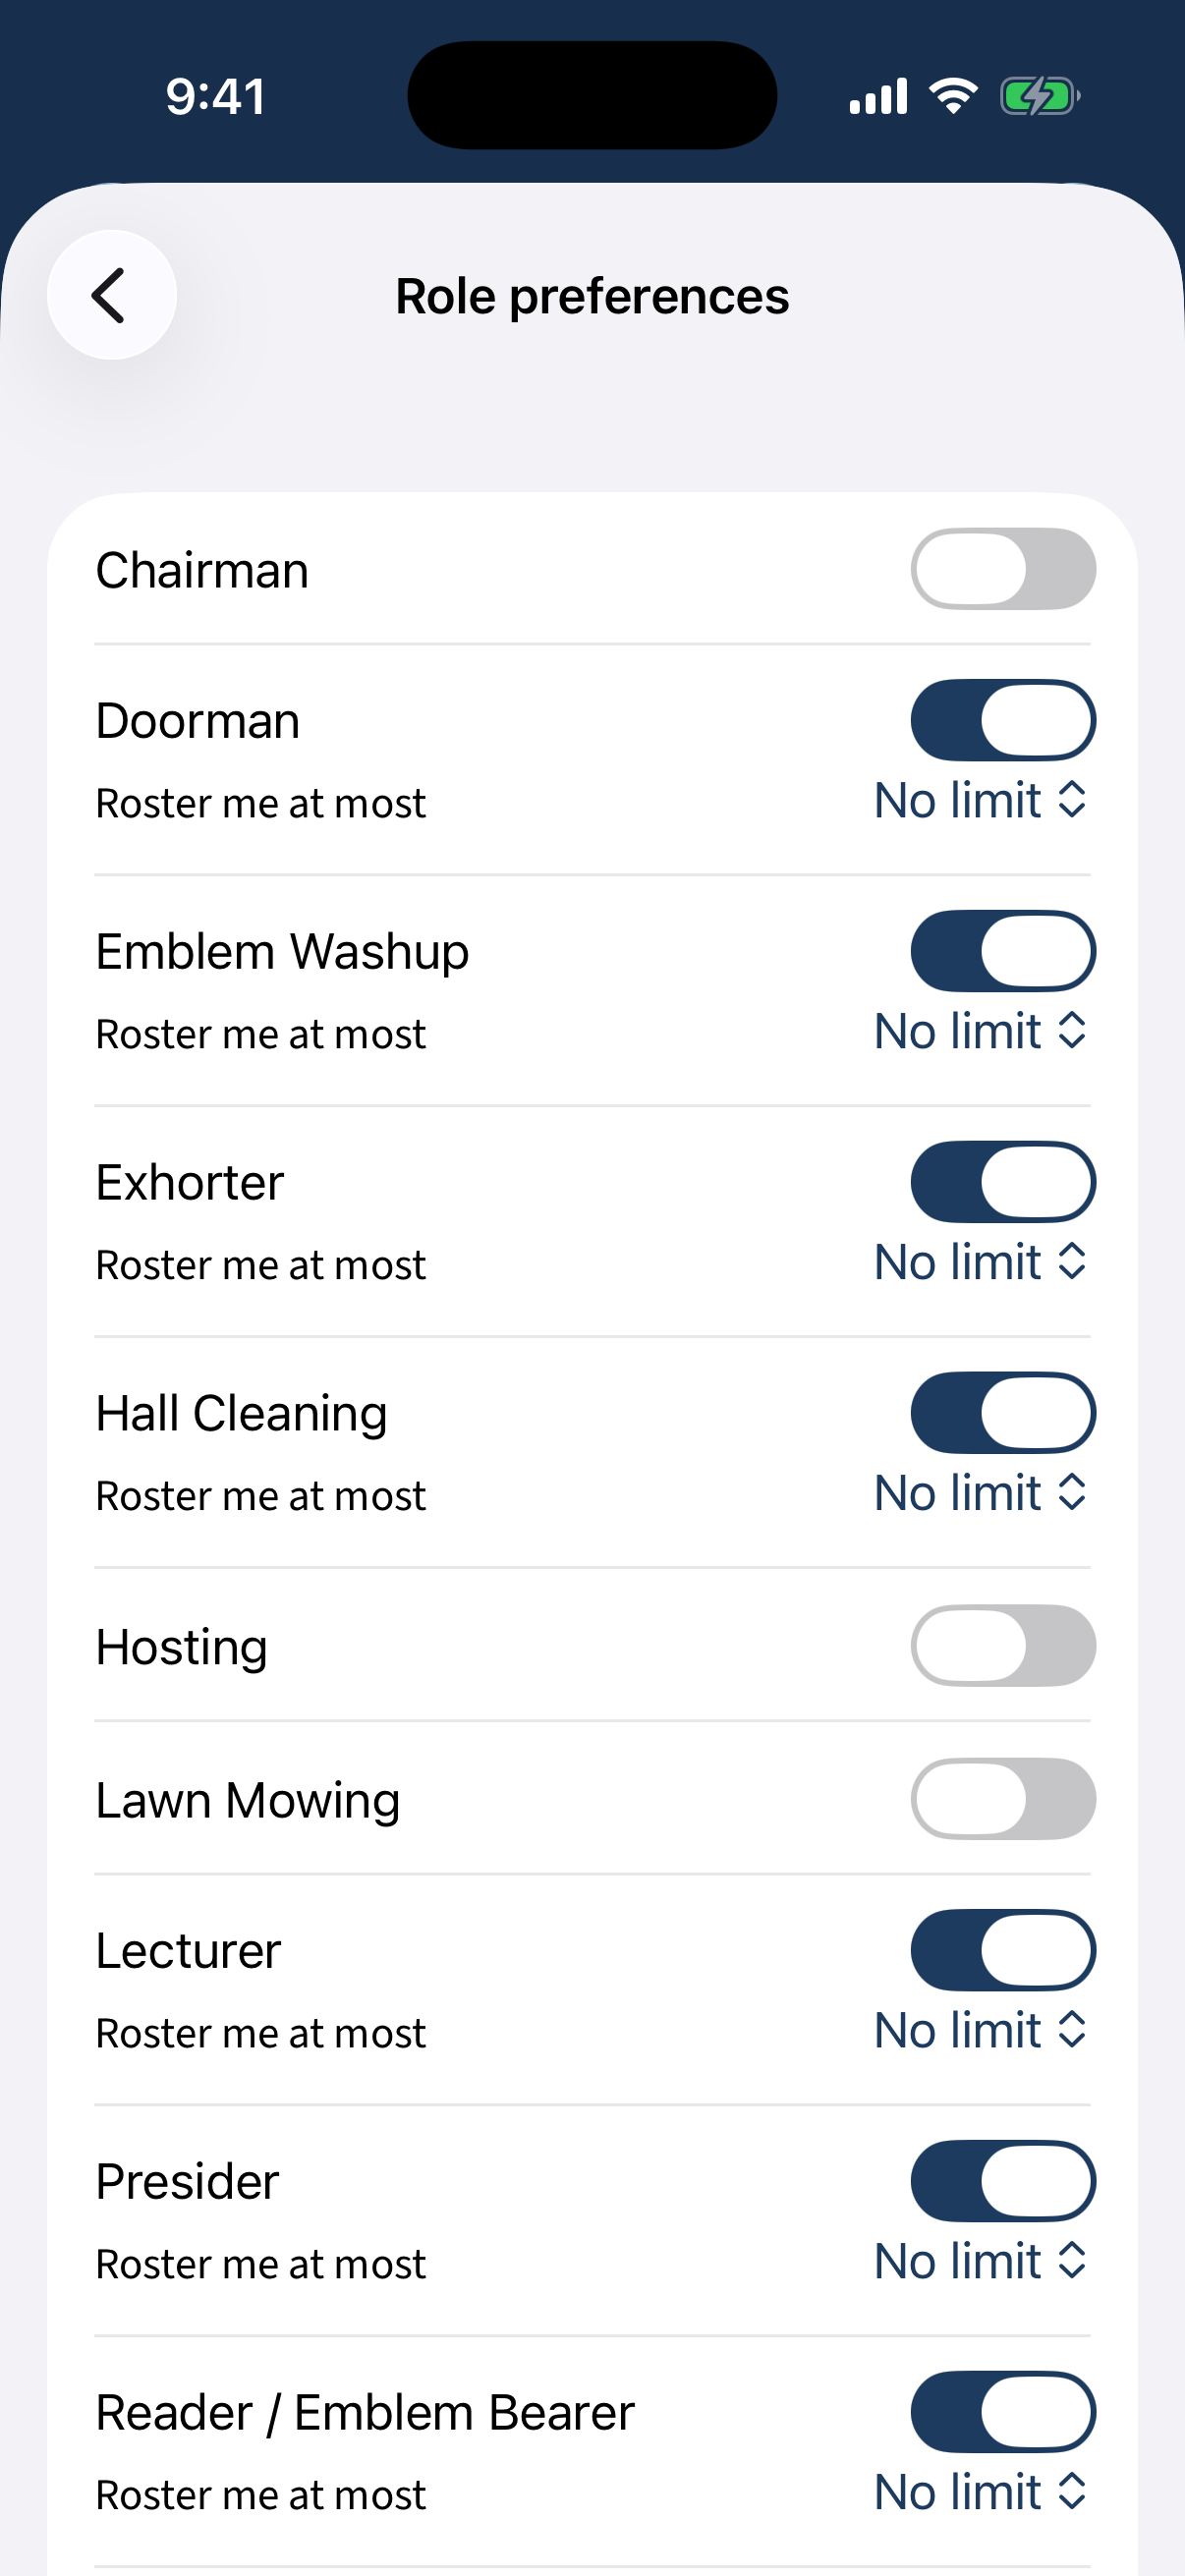
The Role preferences screen: a toggle per role and a “roster me at most N times” cap.
Different on the app: The per-role frequency cap is a picker under each willing role.
What next?
- Submitting unavailability — how to block out a holiday, a temporary break, or an away commitment.
- Getting started — new to CDRoster? Start here.
- Something looks wrong on your eligibility profile? Ask your administrator to correct the member record — e.g. update your baptism status or add a qualification.