Inviting new members
You can bring a new person onto the roster in two ways: send them an invitation by email and let them fill in their own details after they sign in, or create the full member profile yourself and invite them once it’s set up. The quick invite is the right call for most cases; the full flow is for members you can’t reach by email or who need a household + roles set up before they log in.
Both flows live on the Members page. Coordinators can send email invitations; only administrators can create a full profile from scratch.
Open the Members page
Click Members in the top navigation. The header on the right carries the two entry points:
- Invite by email — the quick path. Coordinators and administrators both see this.
- New member — the fuller path. Only administrators see this button.

Path A — quick invite by email
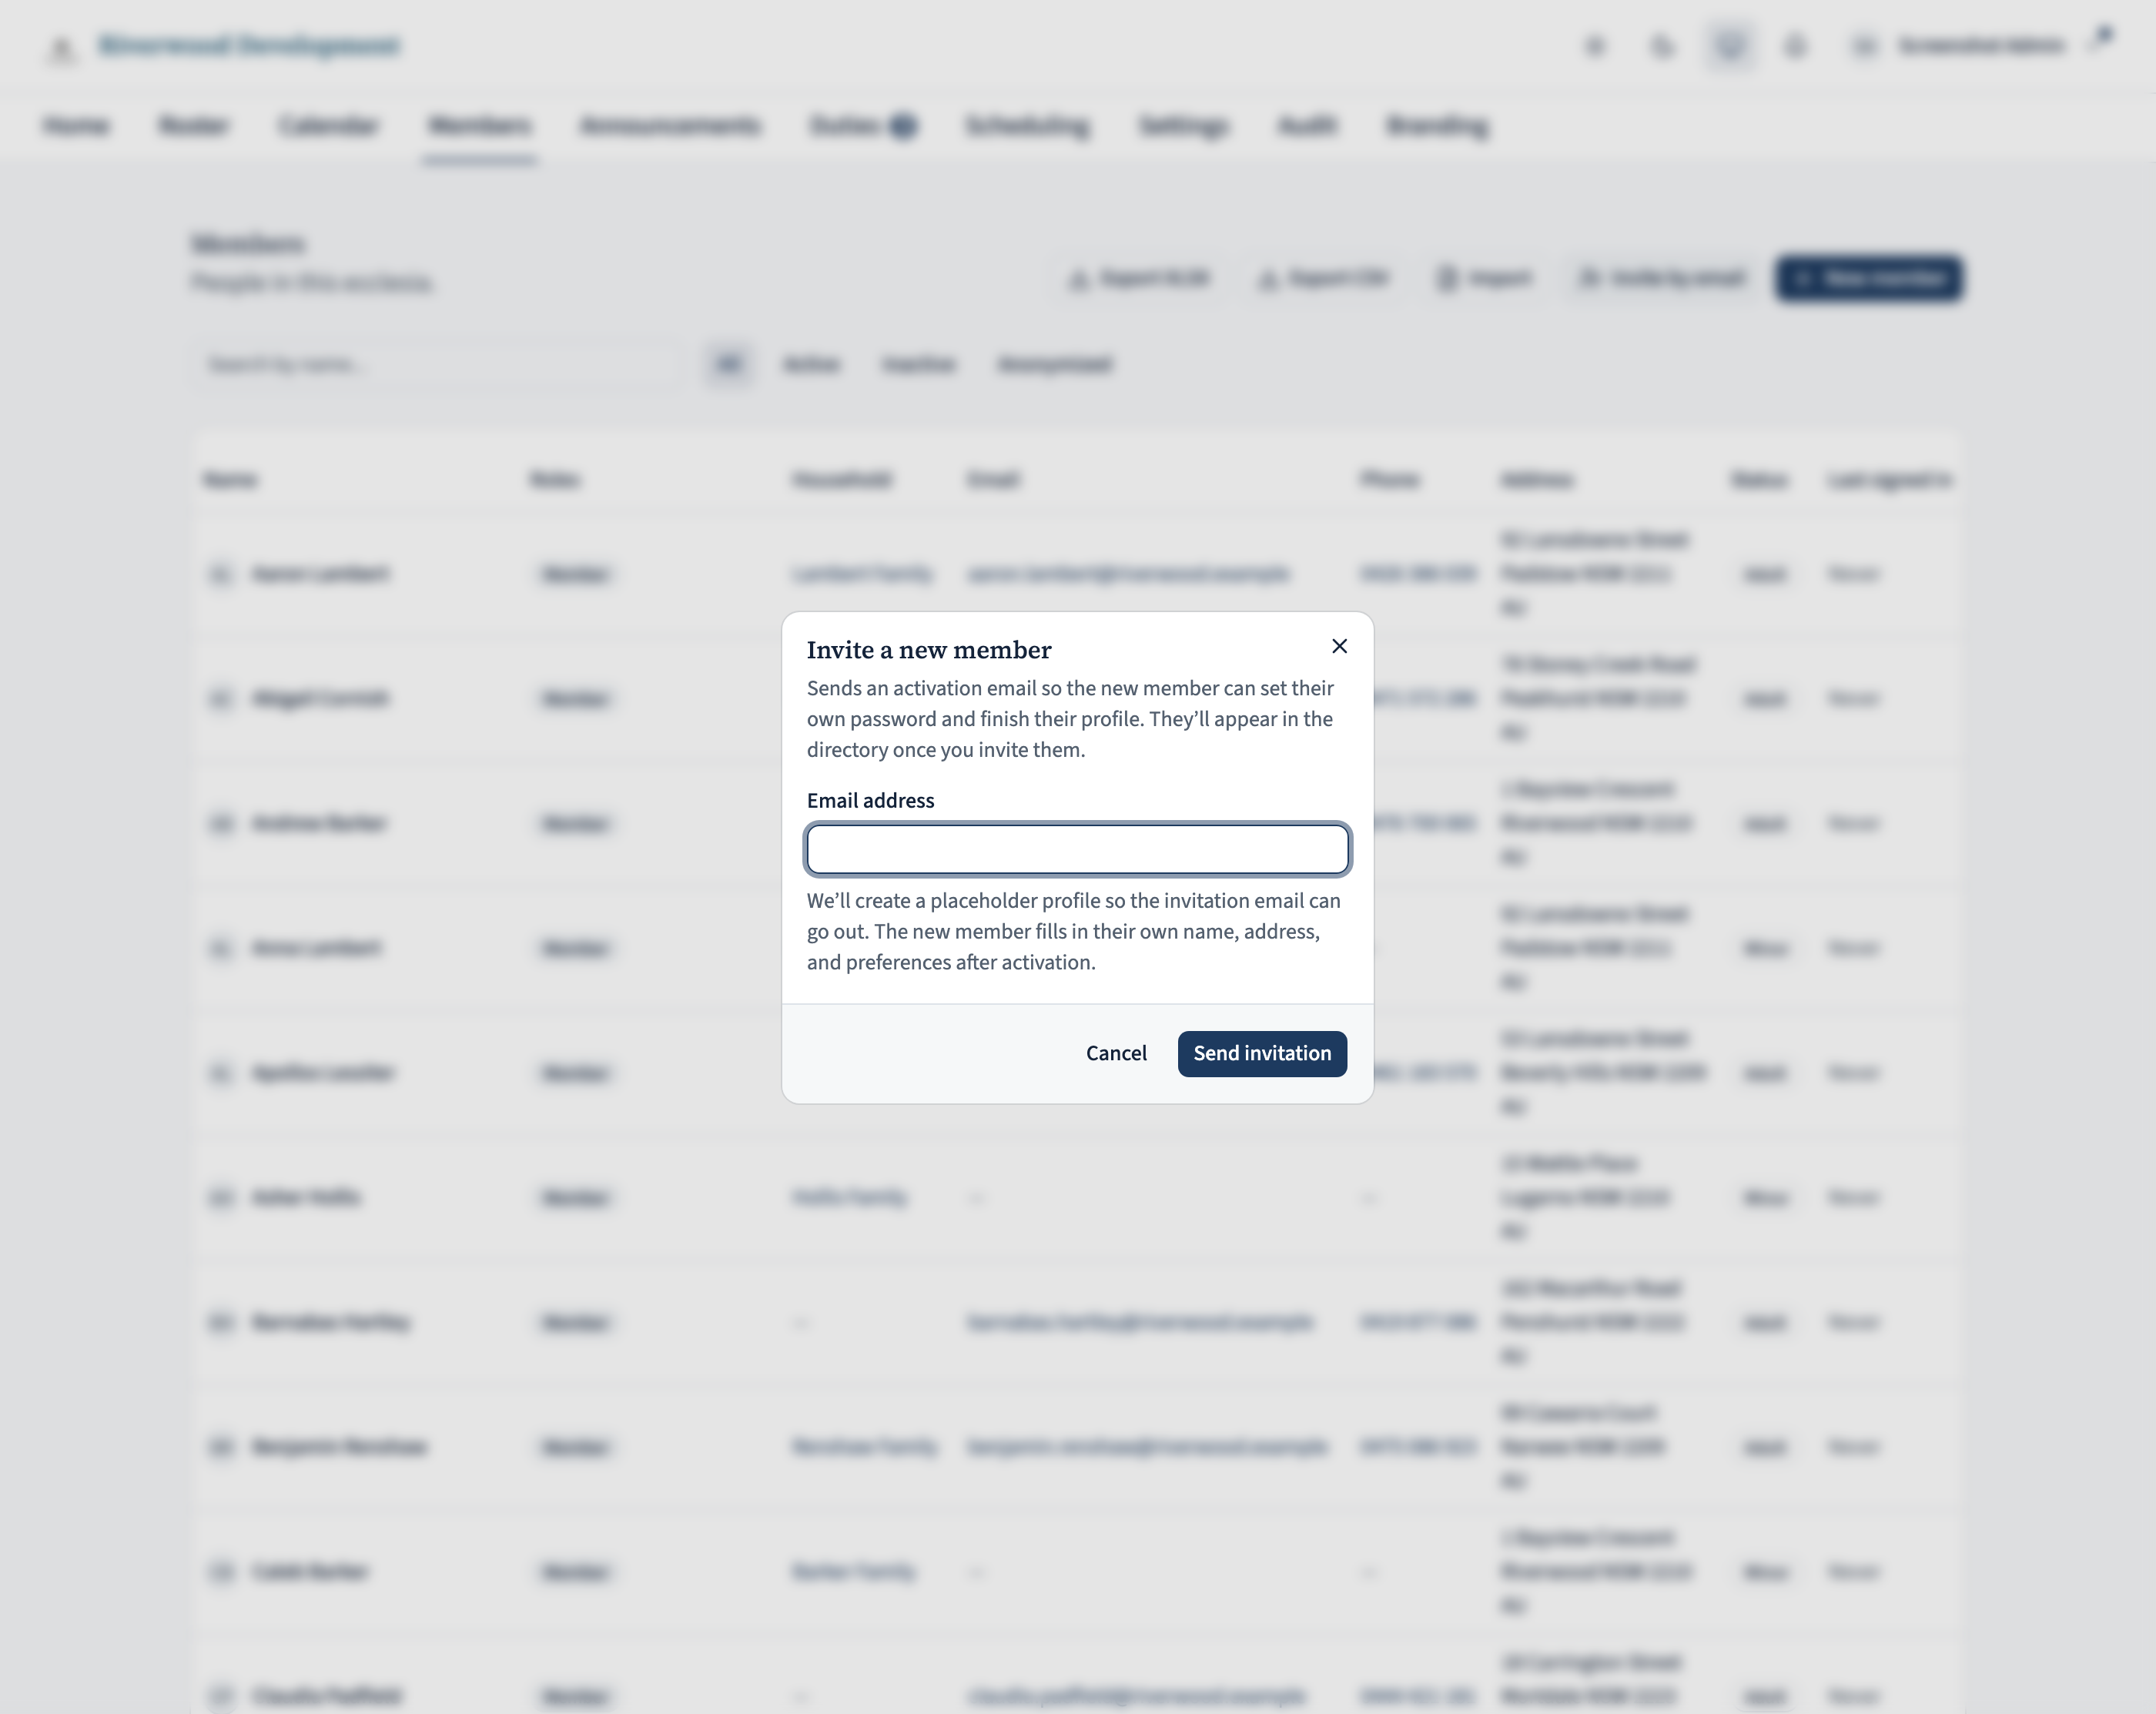
Click Invite by email. A dialog opens with a single field — the person’s email address. Type it in and hit Send invitation.
The server:
- Creates a placeholder profile in your ecclesia. The display name is derived from the email local-part (e.g. chris.example@… becomes Chris Example). The new member fixes it up after they sign in.
- Emails the person a one-time activation link. Clicking it lets them pick a password.
- Marks the placeholder as invited on the Members list so you can see who’s pending.
If the email address already belongs to someone in your directory or is on a pending invitation, the dialog tells you and offers an Open the existing profile link so you don’t duplicate them.
What the invited member sees
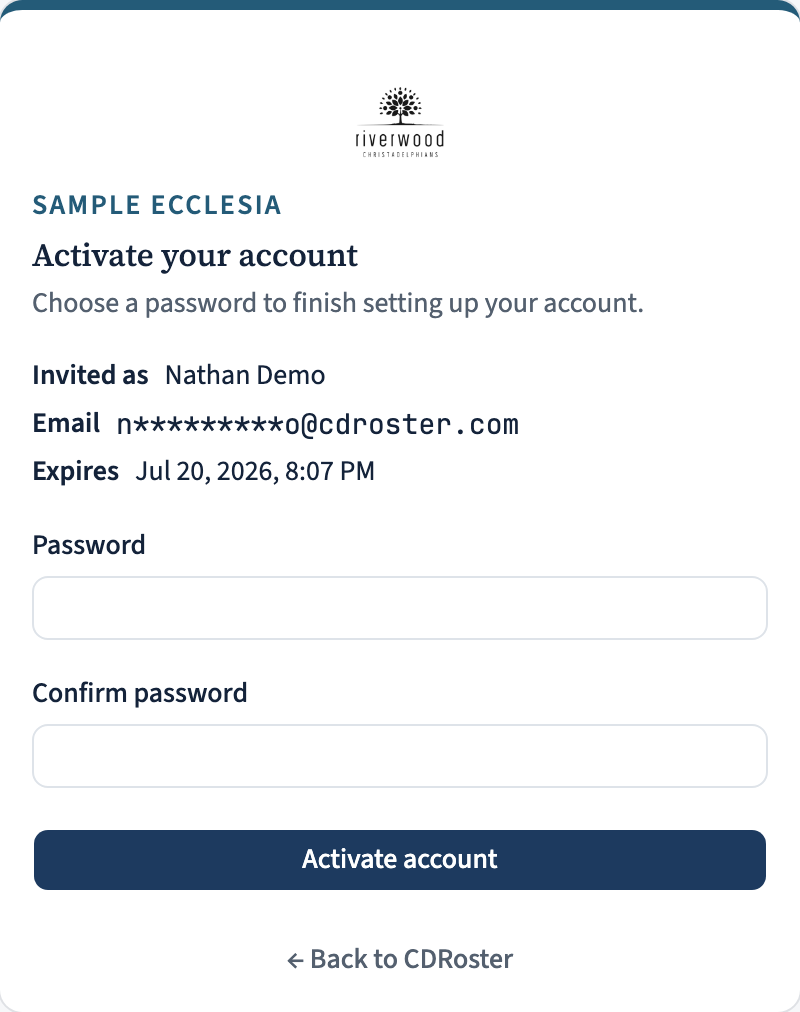
The recipient gets an email with a link like https://<your slug>.cdroster.com/auth/invitations/…. Clicking it lands them on an activation page where they pick a password. Their session starts as soon as they activate.
They land on their My profile overview with an Edit button prominent at the top. Their first job is to fix the auto-generated display name and add a phone number and address if you want those in the directory. Everything else — household, availability, notification preferences — is reachable from the profile side rail.
Path B — full member profile (administrators)
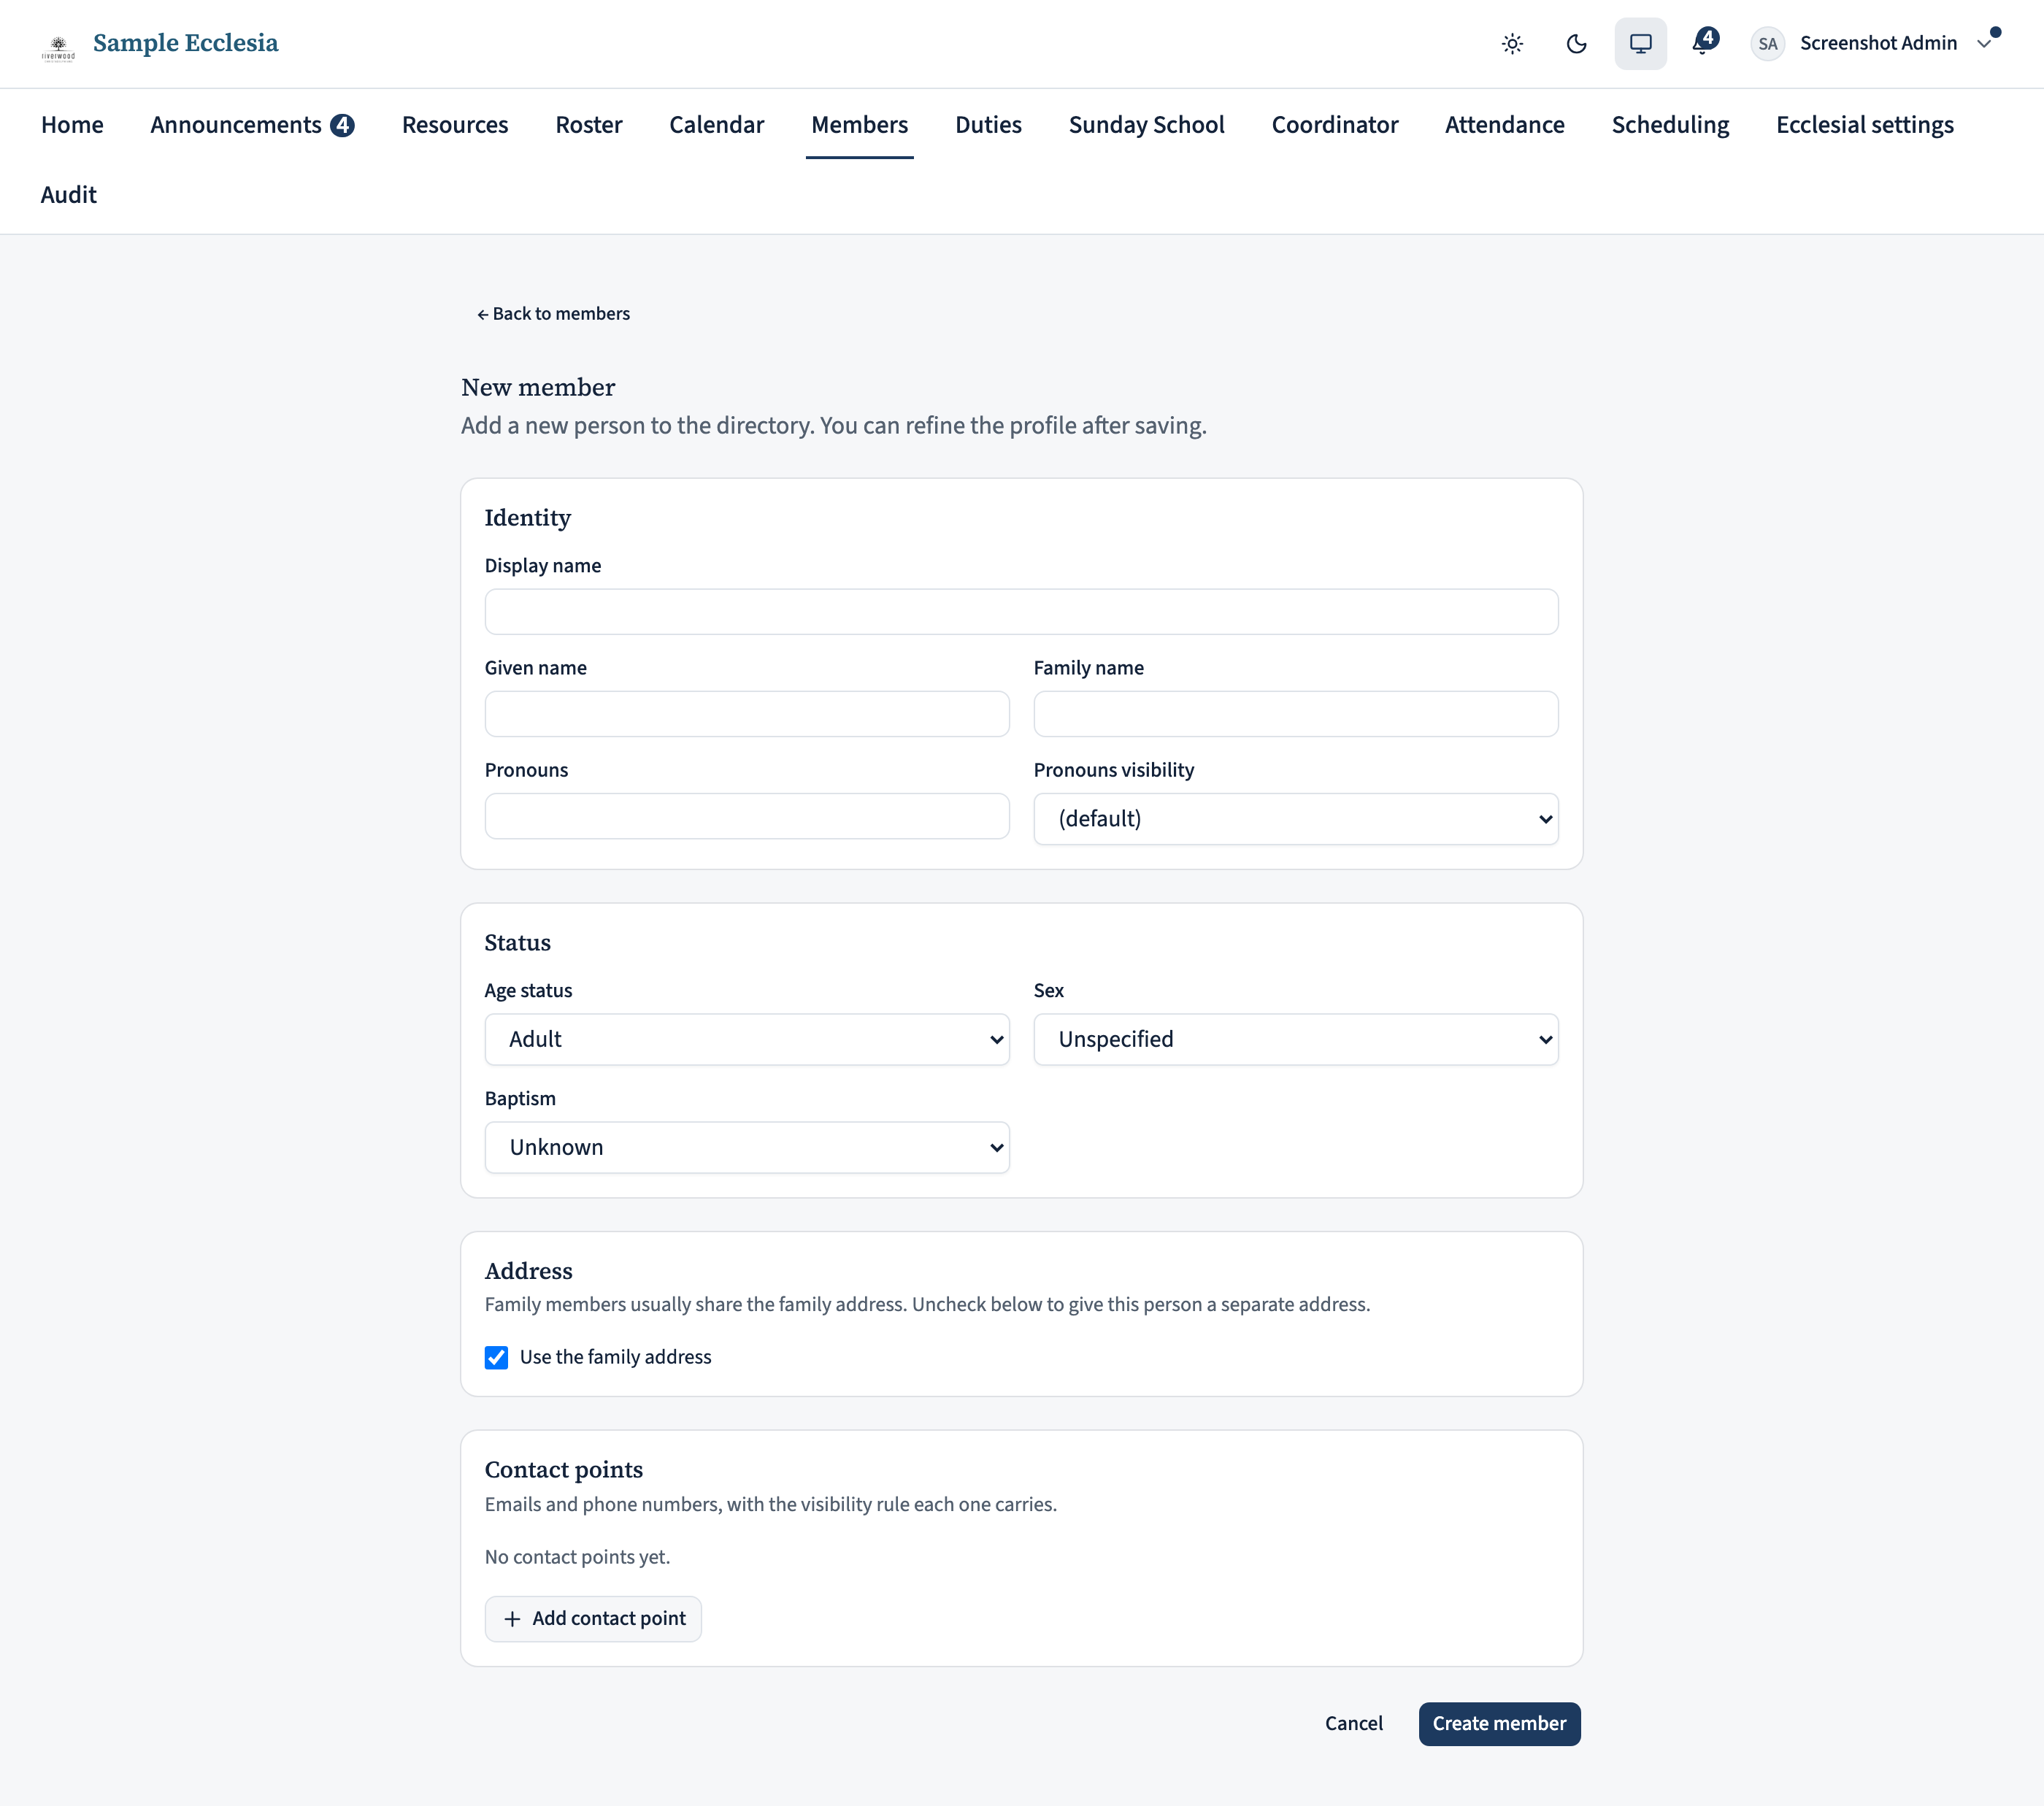
When you have more context up front — an address you’ve been given, contact details, baptism status — the New member form is the right entry. Click New member on the Members header and fill in what you know across the Identity, Status, Address, and Contact points cards. Only display name and the Status selects are required; the rest is optional and editable later. (Household membership and tenant roles aren’t on this form — you set those afterwards from the person’s profile.)
Save creates the profile without sending an invitation. Open the person’s profile page and click Invite to create account when you’re ready to email them — typically after you’ve double-checked the profile and (if relevant) linked them to a household.
Following up on pending invitations
If a member doesn’t activate within a few days, open their profile from the Members page. A Pending activation badge marks the invitation as unclaimed and two buttons appear:
- Resend invitation — issues a fresh activation link. The old link is invalidated.
- Cancel invitation — deletes the placeholder entirely so the email address is free to invite again.
Invitation emails can end up in spam. If someone tells you they didn’t get one, ask them to search their mailbox for “cdroster” before you resend.
